I want to use my ROCK Pi 4, among other things, for a web server, a mail server and a cloud storage, so reliability is quite important. In the setup I use up until now I only have a backup, so if the SSD with my root file system would fail all these services would be down – and I would be really stressed out – for several hours (until I manage to get home, install Debian and restore the system). That’s why I decided to make use of data mirroring (RAID 1) for my new home server.
I also want to strengthen security, so I encrypt all partitions (dm-crypt) except my boot partition. And since I’m not entirely convinced of my chosen partitioning scheme I make use of the Logical Volume Manager to be able to manage my partitions more flexible.
Here I wrote down how I managed to encrypt all partitions (except my boot partition), mirror my whole file system (including the boot partition) and ensure that my boot loader U-Boot can read the files necessary to boot the system.
My environment
In my last post I wrote about how I installed U-Boot on the SPI flash of the ROCK Pi 4. For reasons mentioned there I use the Debian SD card installer image to install Debian Bookworm.
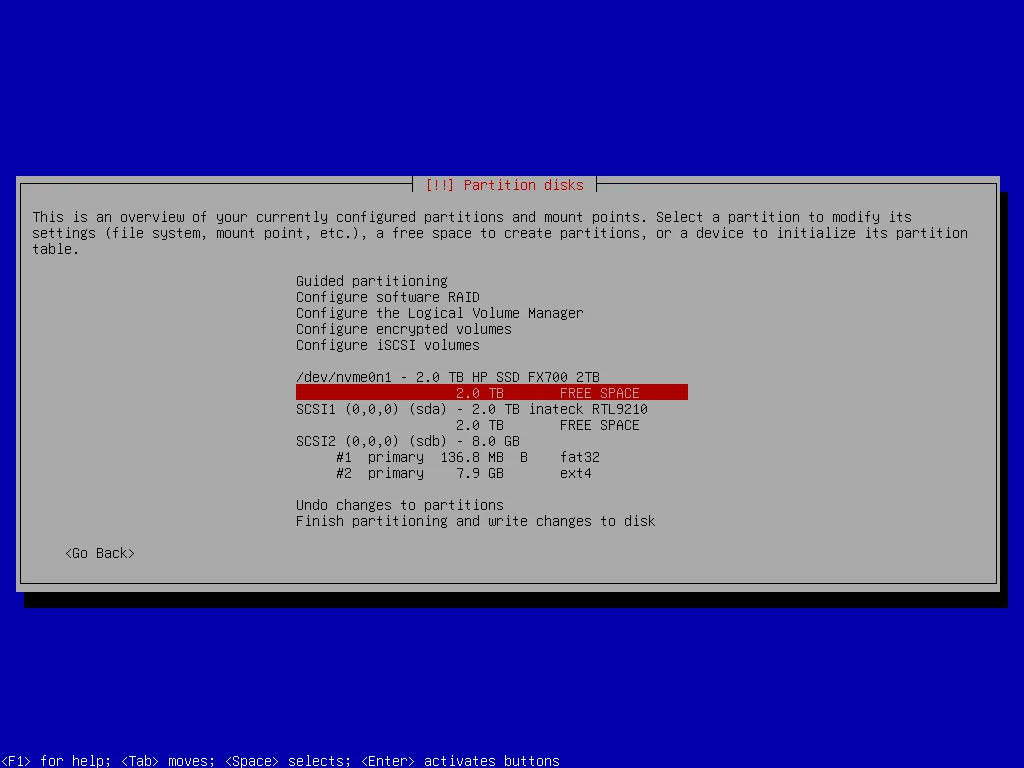
As storage devices I use two HP FX700 SSDs with 2 TB each. One is connected using the M.2 extension board for the ROCK Pi 4, the other one in an external hard drive enclosure via one of the two available USB 3.0 ports.
U-Boot and the RAID superblock
With the Debian Installer it is possible to create Software RAIDs, but apparently U-Boot can’t read these RAIDs. So I had to find a way to mirror my boot partition after installation to keep it readable for U-Boot.
As I understand it, the problem is related to the RAID metadata (superblock) location on the device. By default, the superblock is stored 4K from the start of the device – and I can’t get U-Boot to boot my OS. But when the superblock is stored at the end of the device everything works as expected.
I ended up creating two RAIDs: one for my boot partition and the other one for the rest of my file system. I create the second one with the Debian Installer and the first one after installation.
Partitioning using the Debian Installer
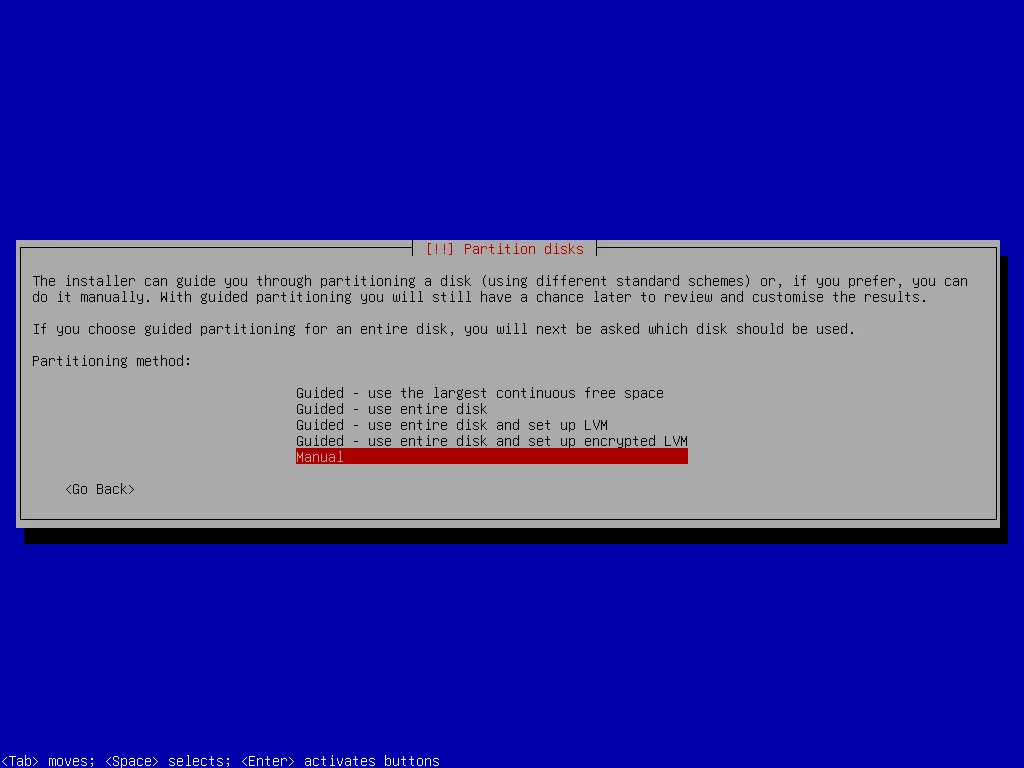
I begin with using the manual partitioning method offered by the Debian Installer.
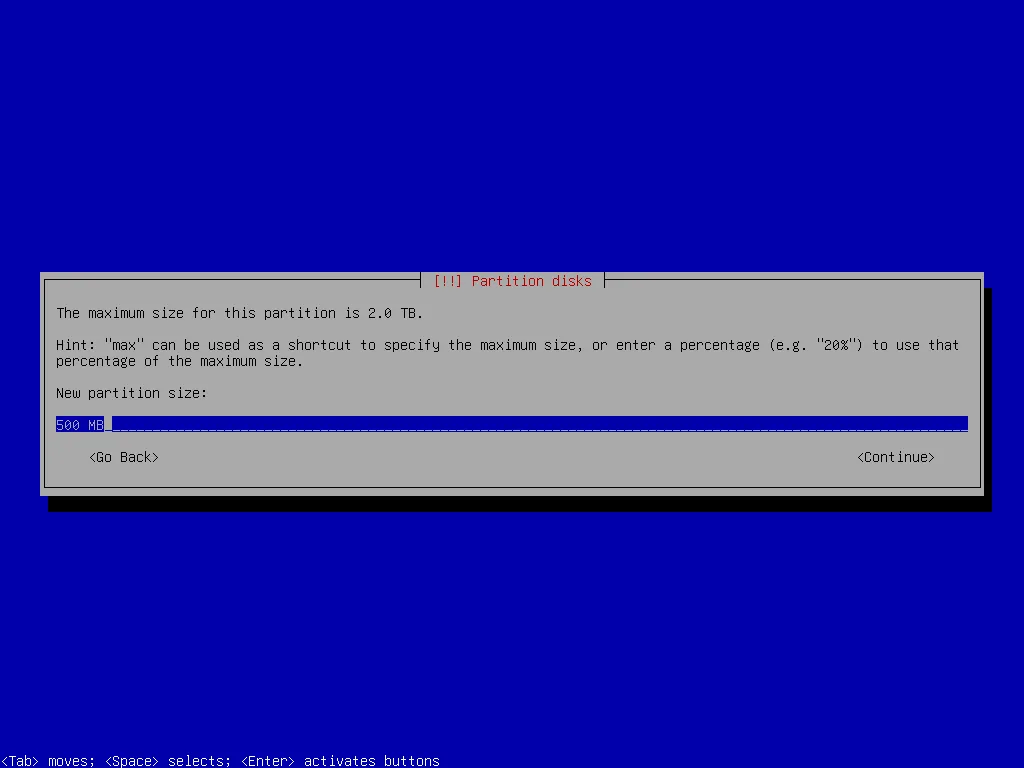
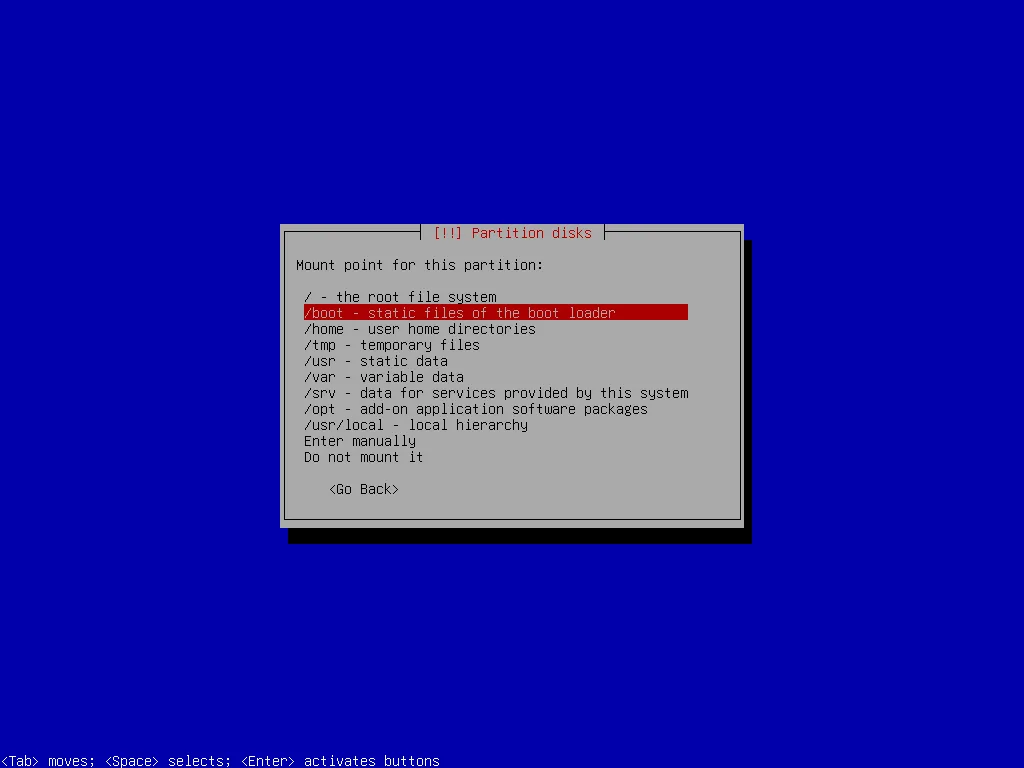
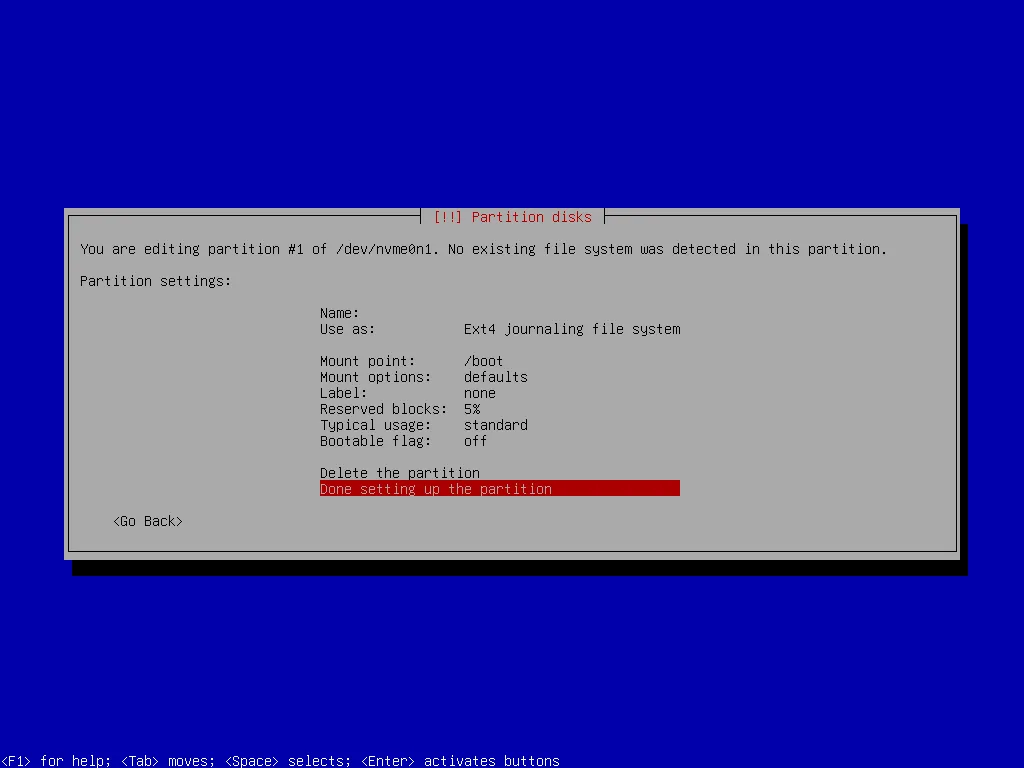
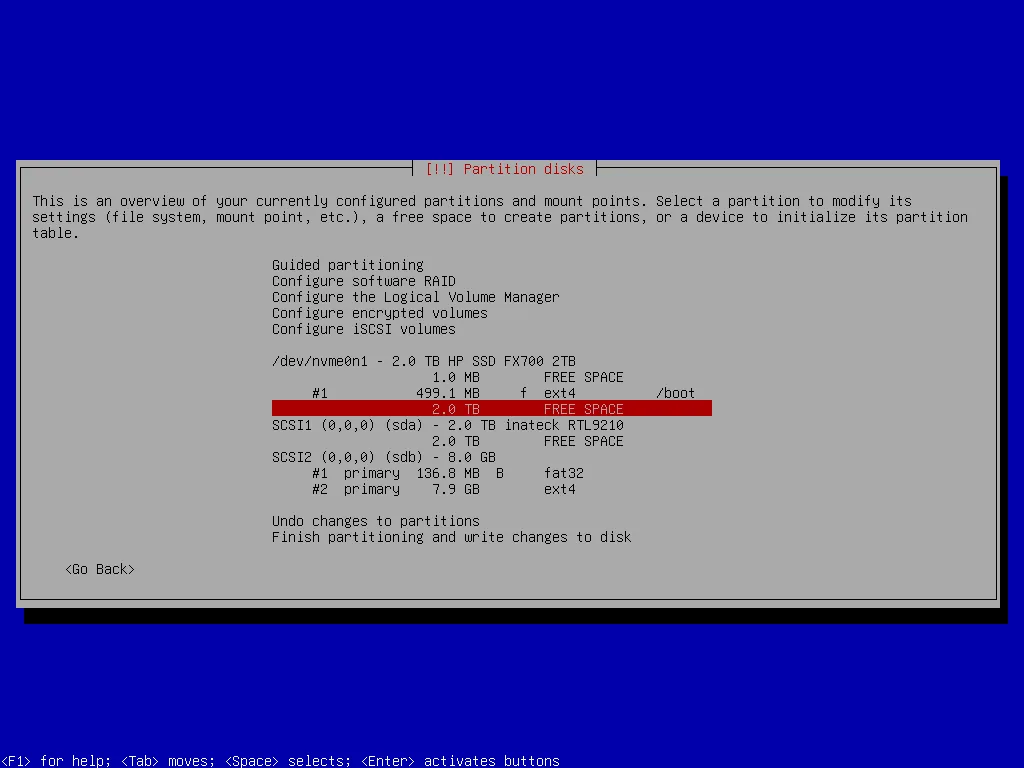
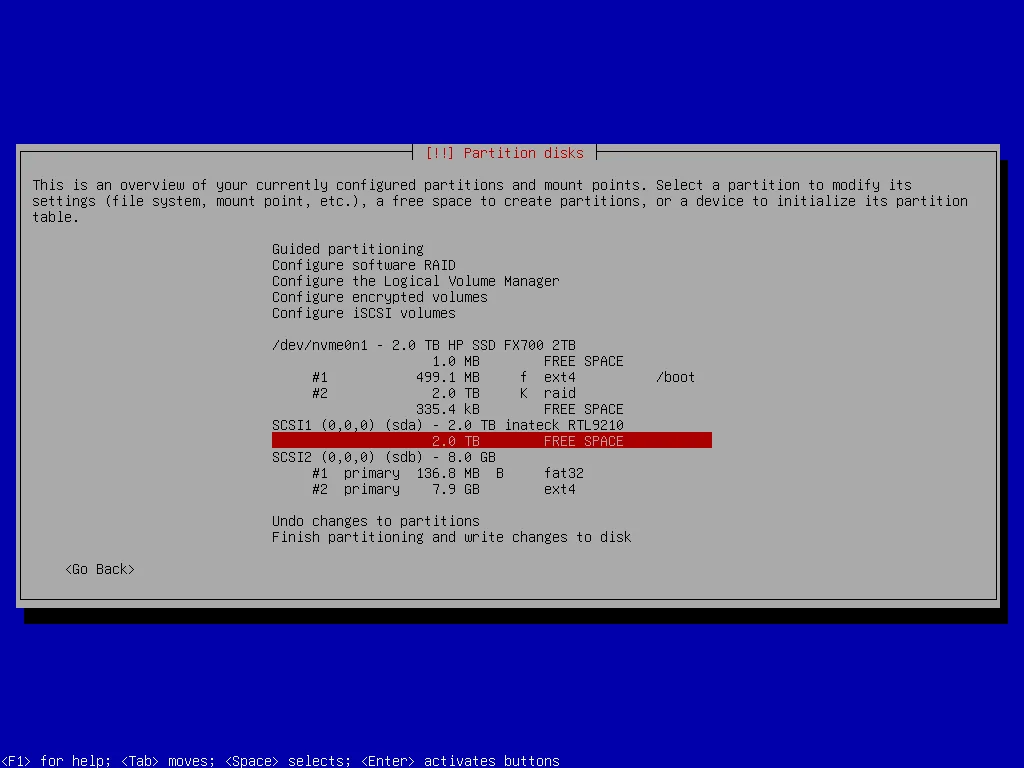
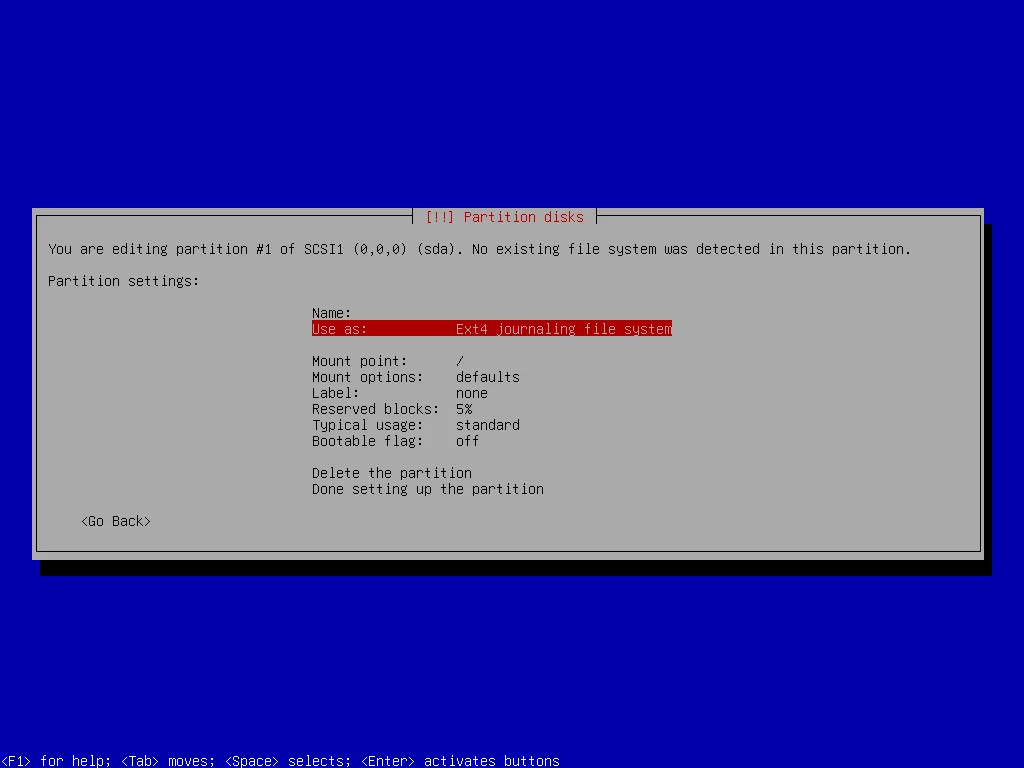
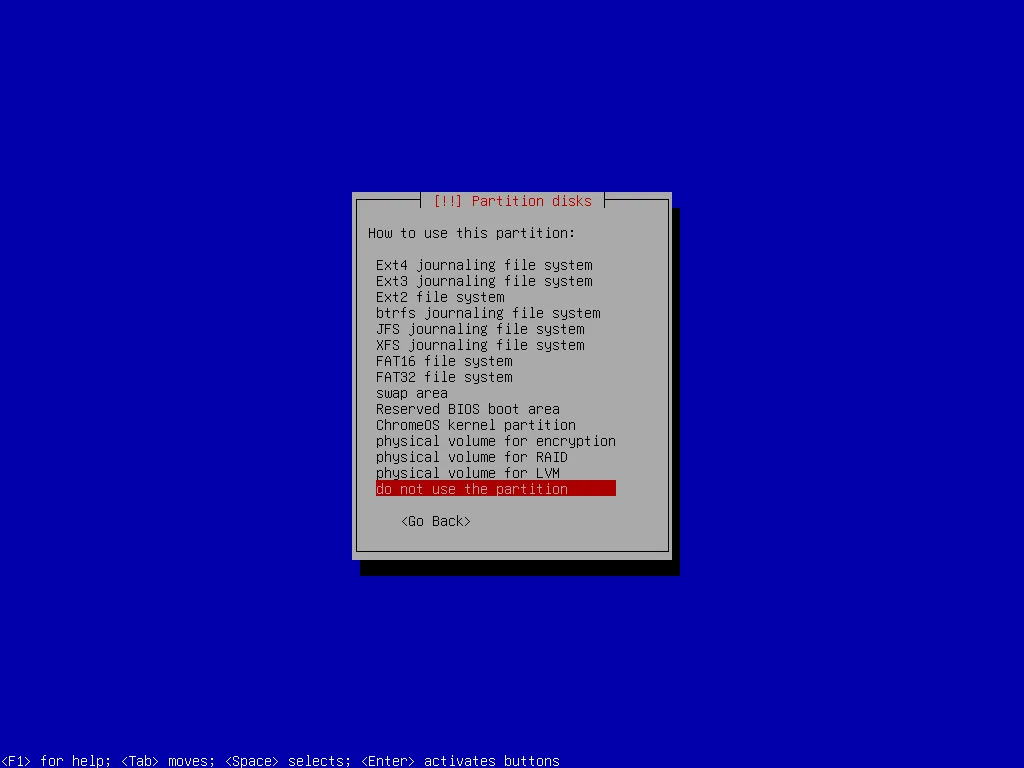
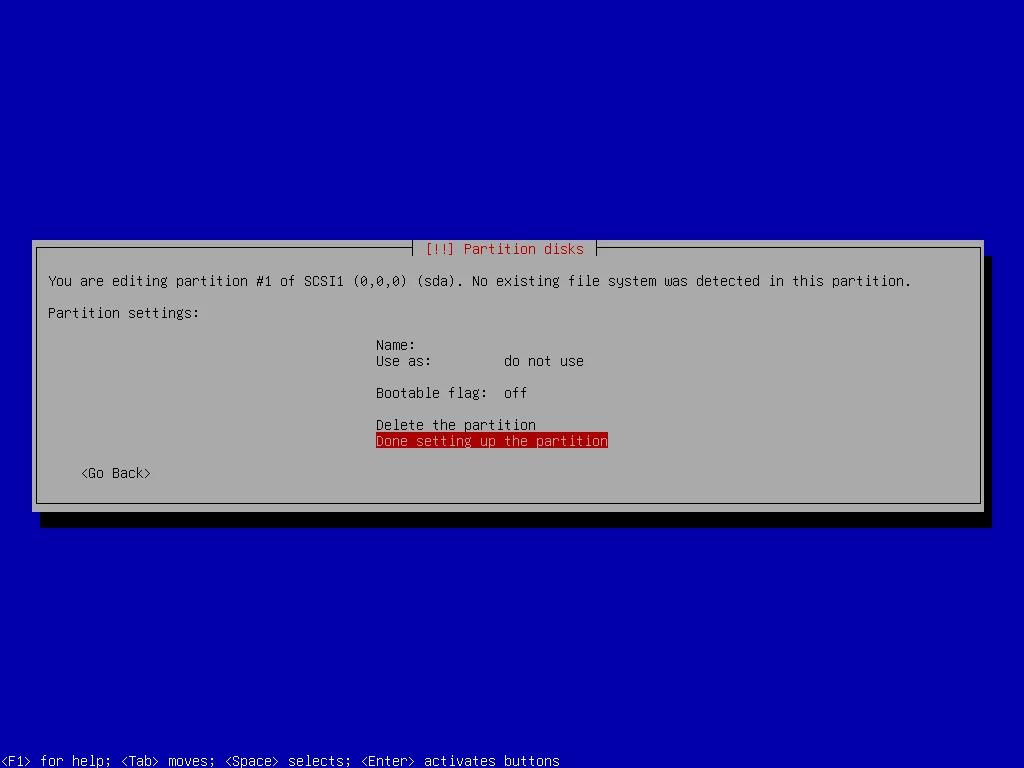
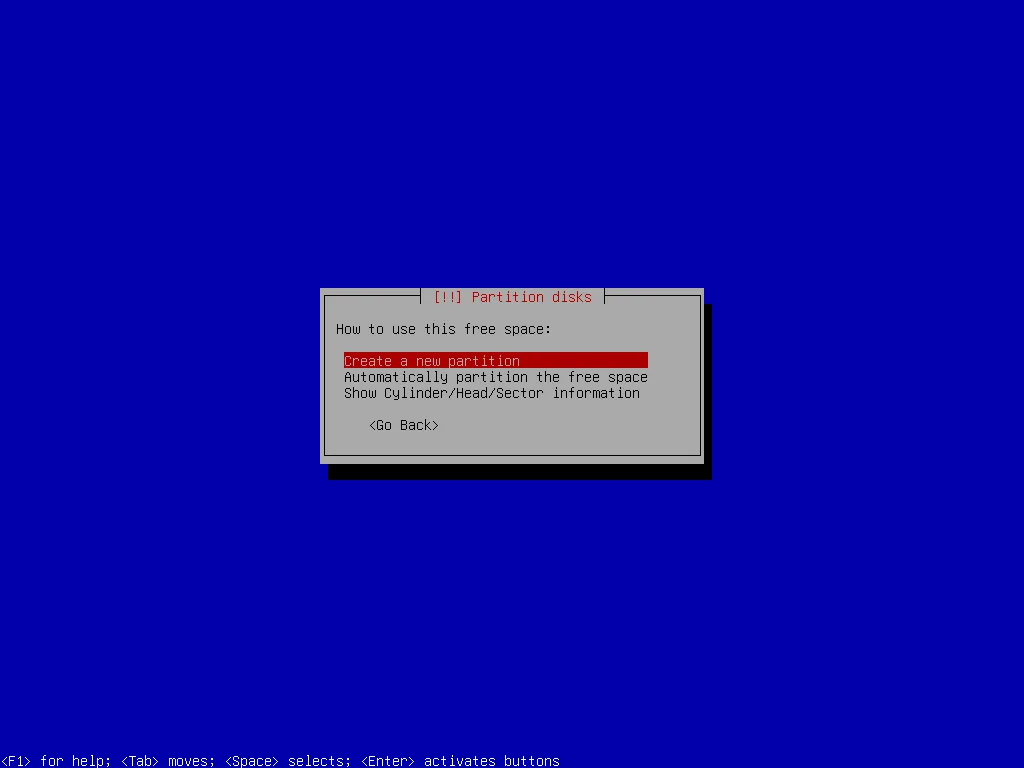
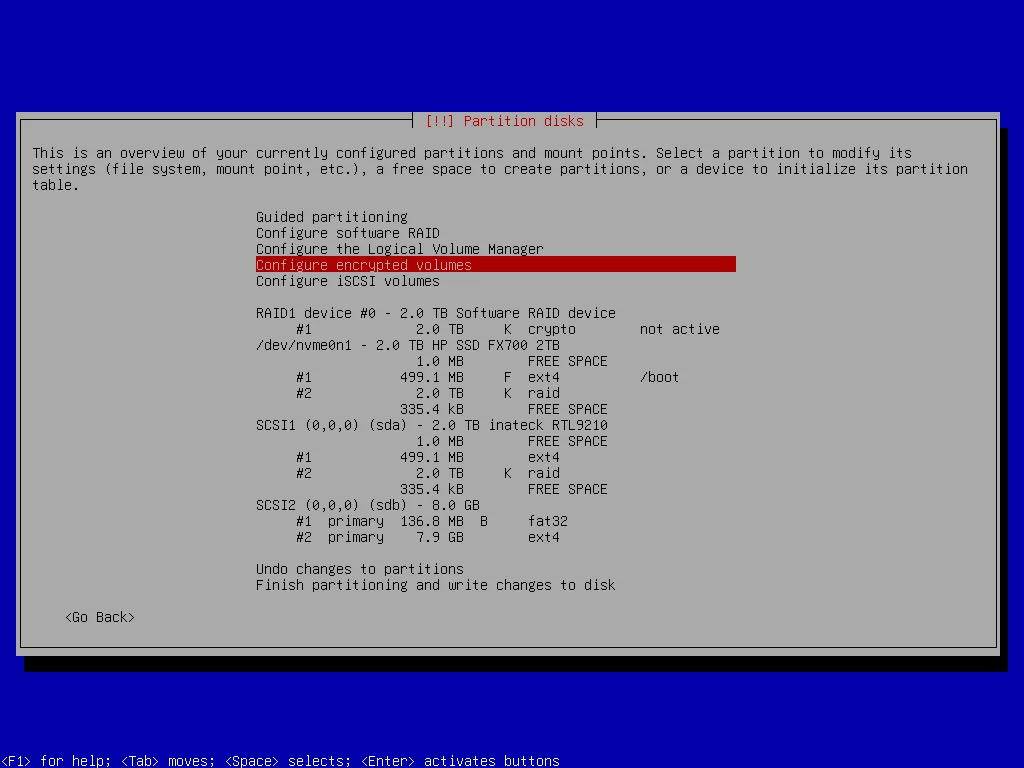
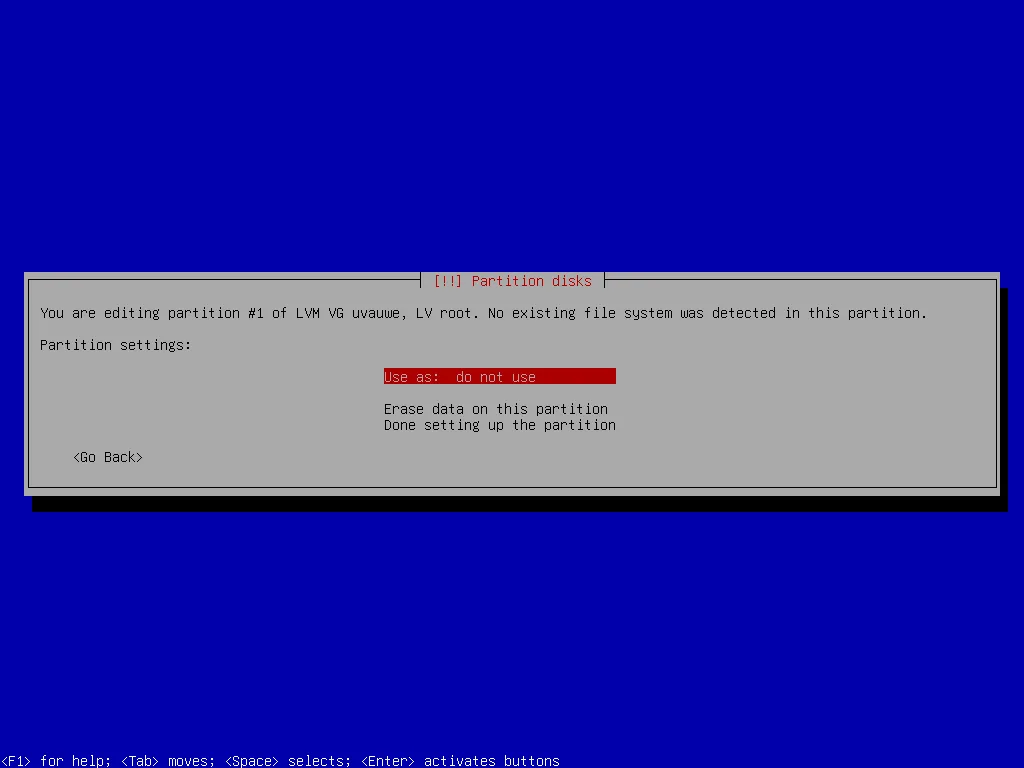
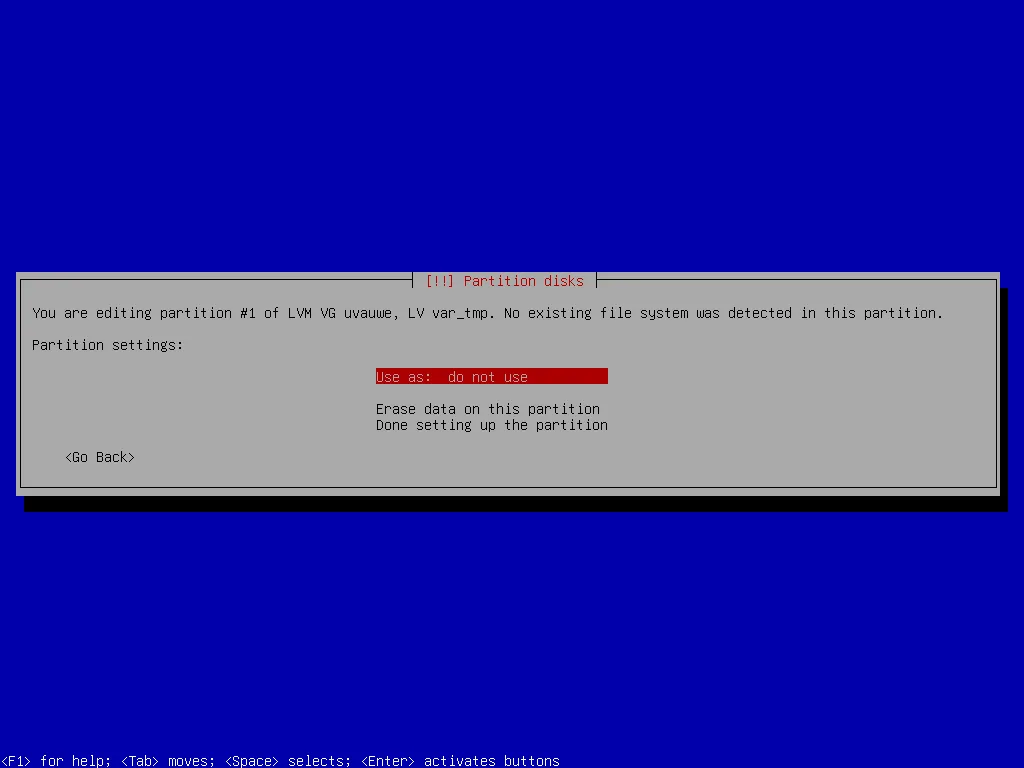
First I create two partitions on both SSDs: A smaller one (I decided that 500 MB should be enough) which I’ll use for the mirrored boot partition later. I will create a RAID 1 array with these partitions after installation. At this point on one drive I use it as simple boot partition to be able to boot the system after installation and on the other one I only create the partition but don’t use it.
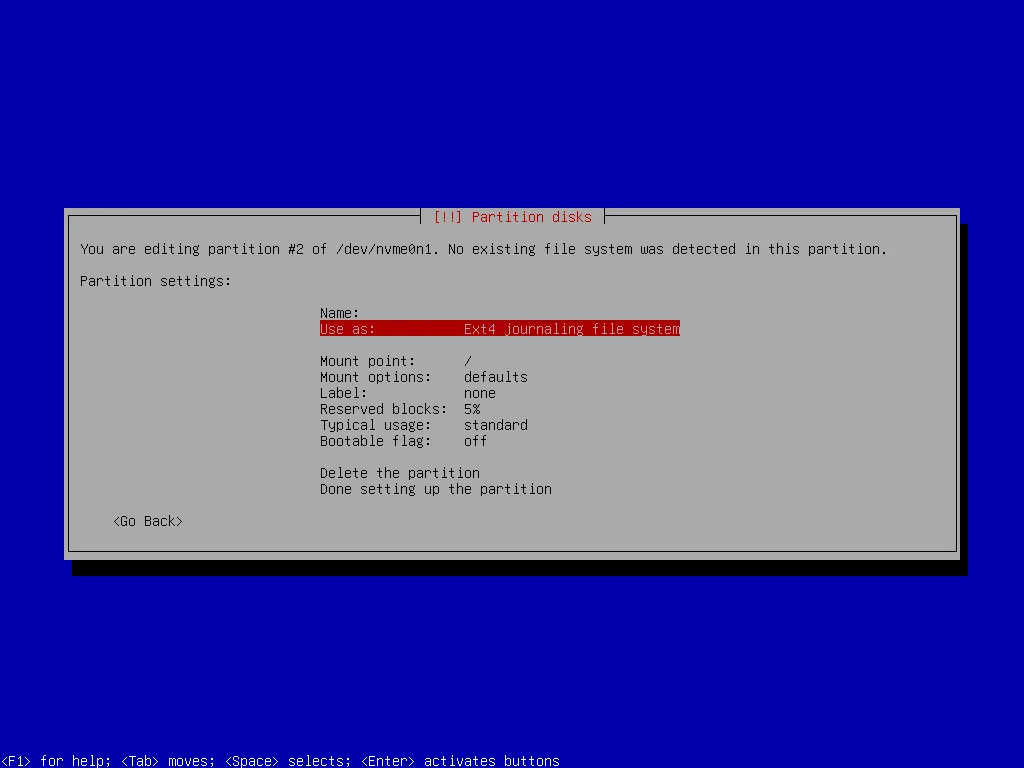
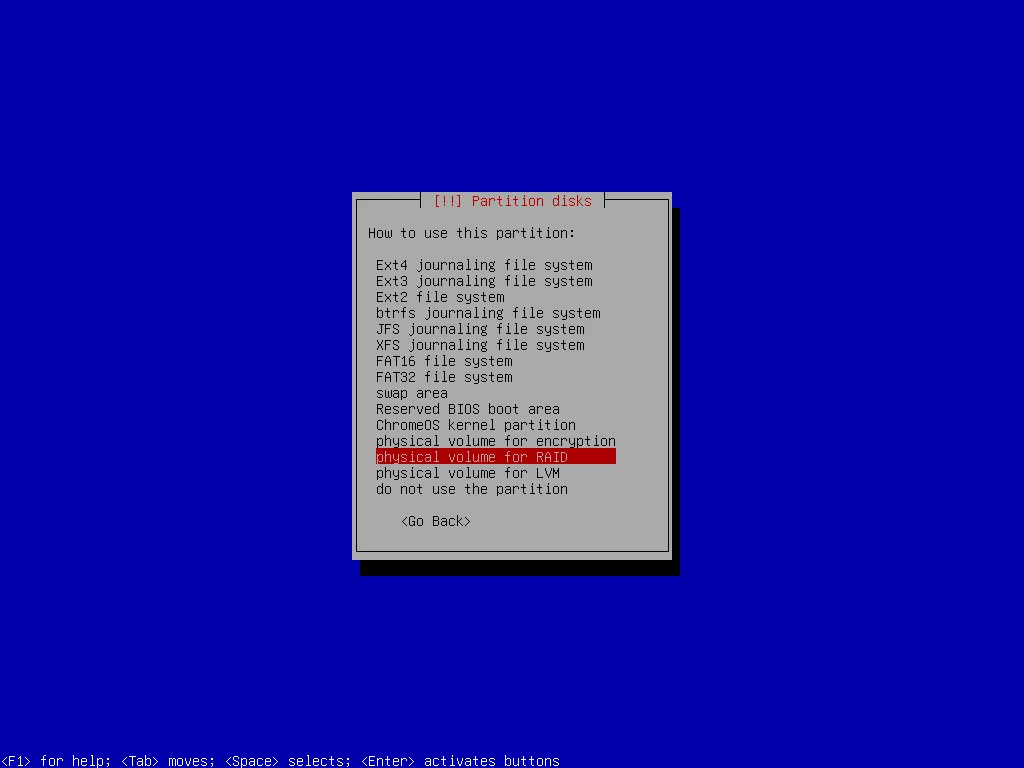
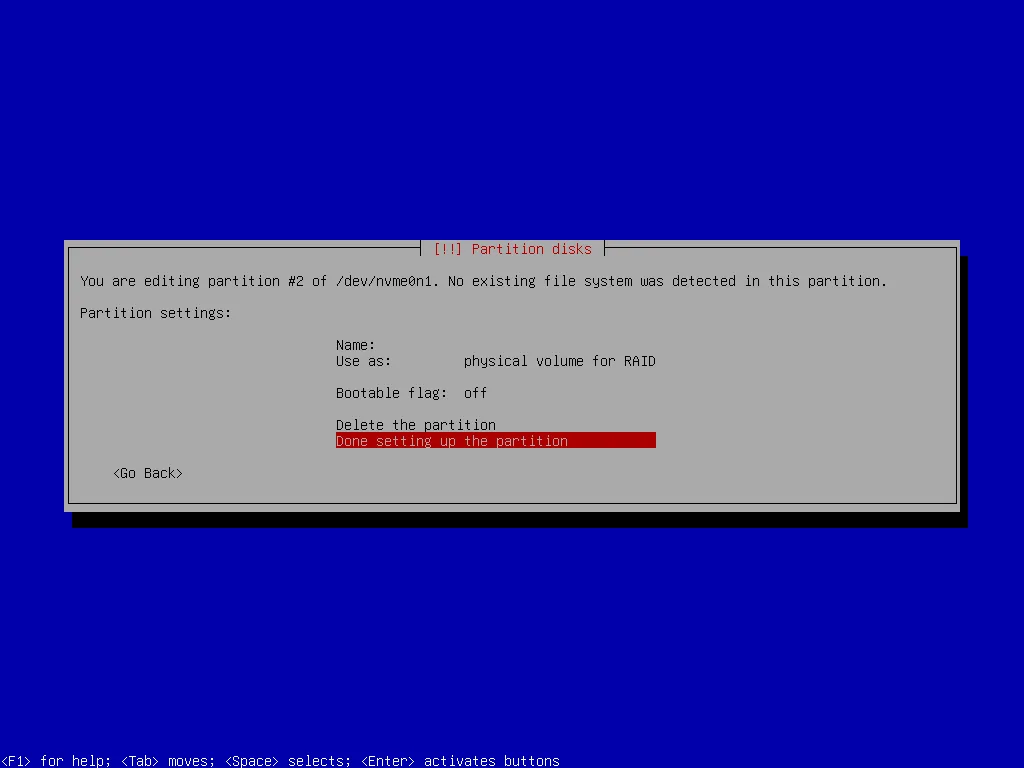
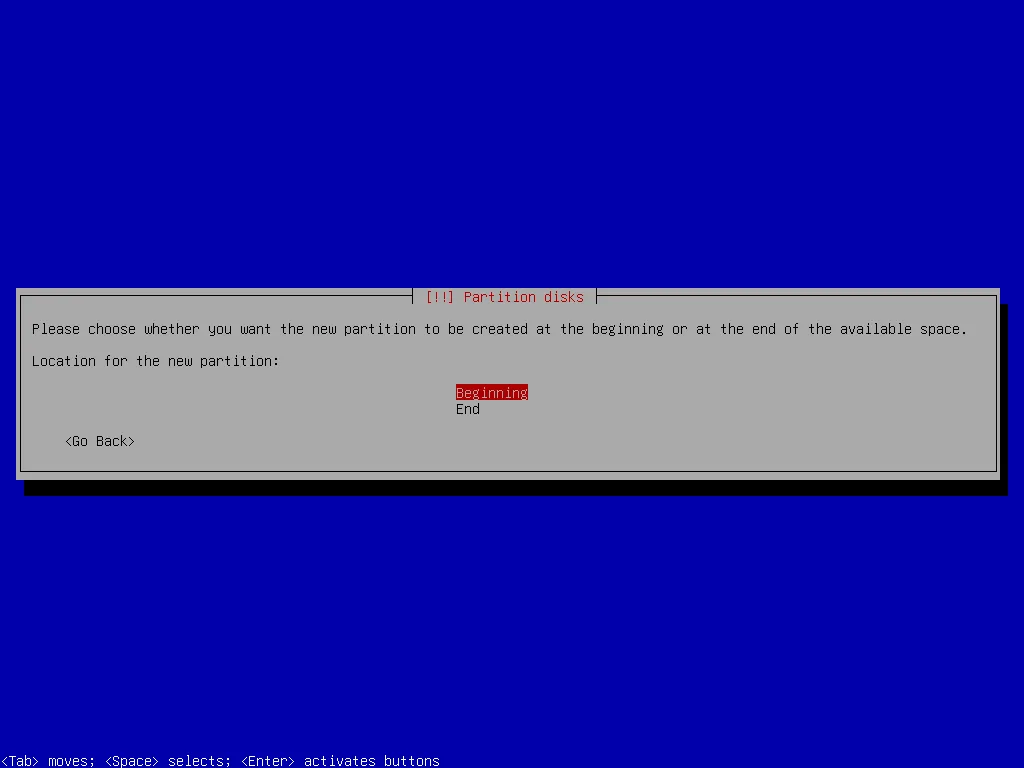
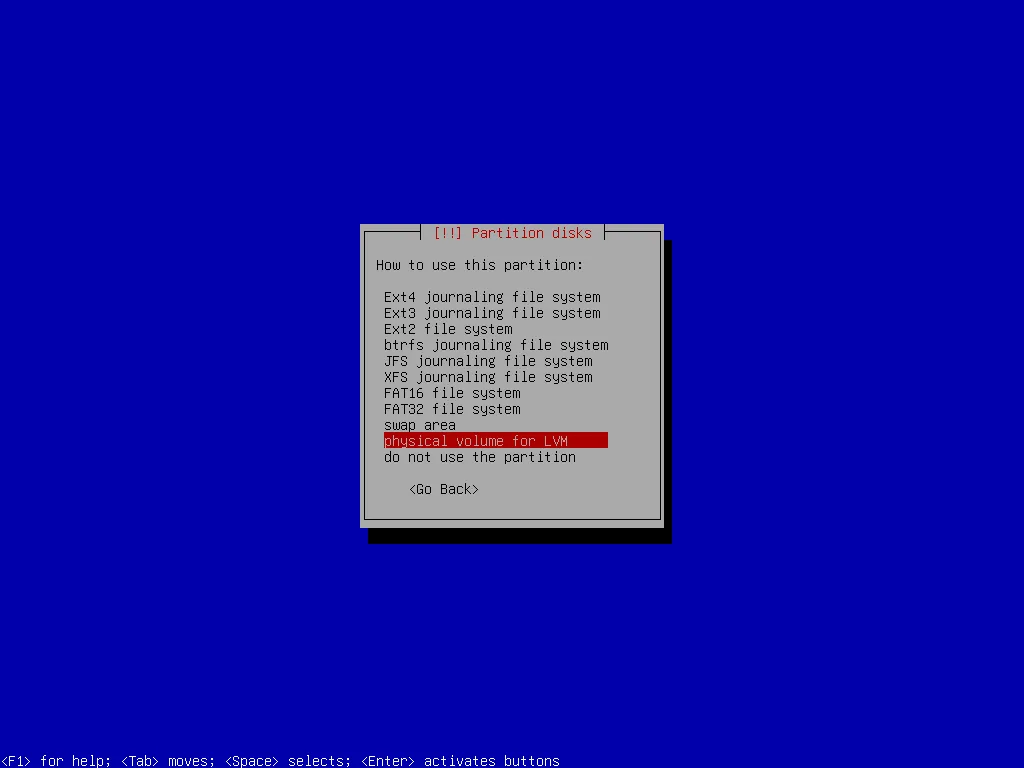
The second partition (utilizing the remaining space on both SSDs) I’ll use for the rest of the file system. For now I create the partition and mark it as Physical volume for RAID.


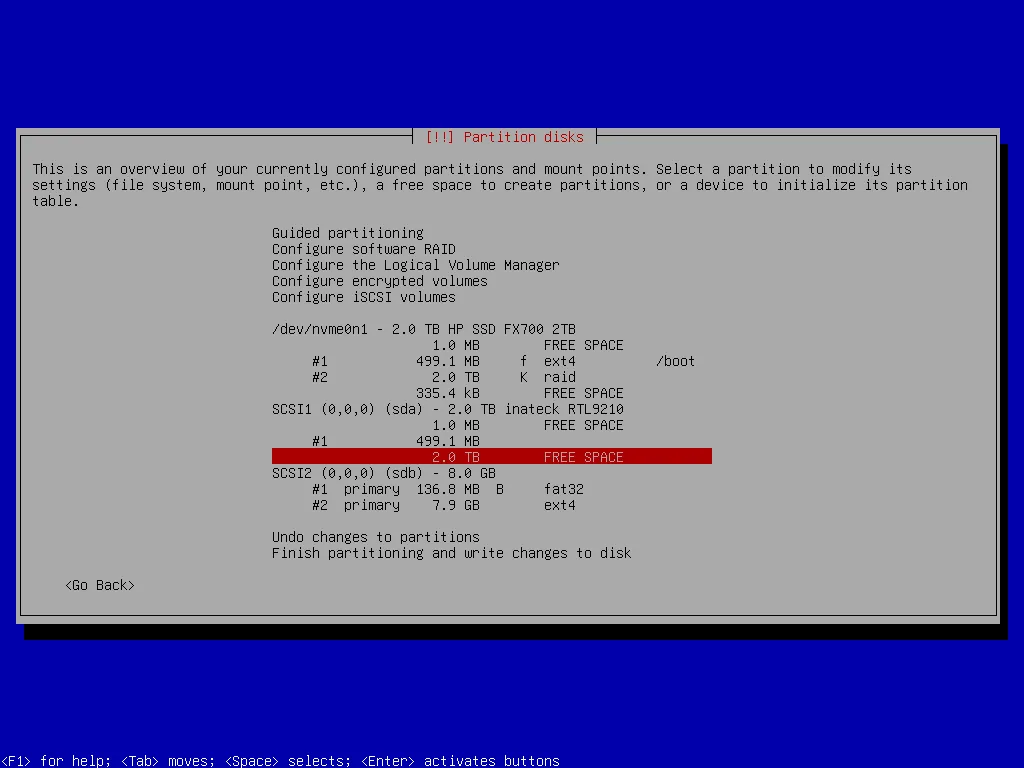


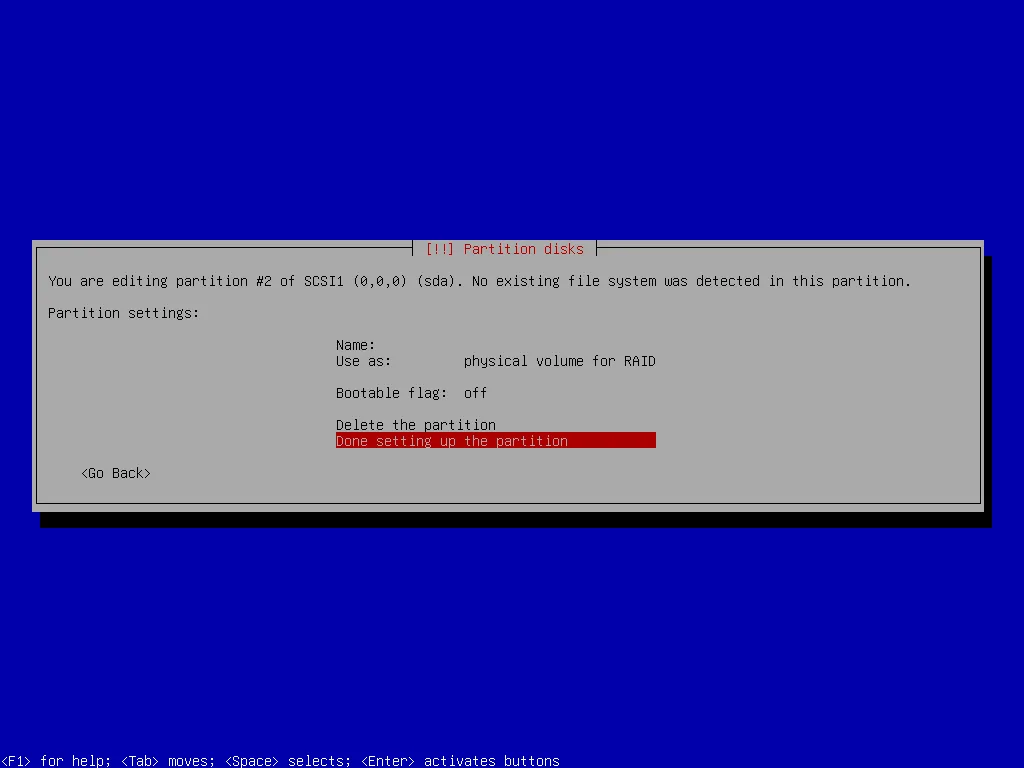
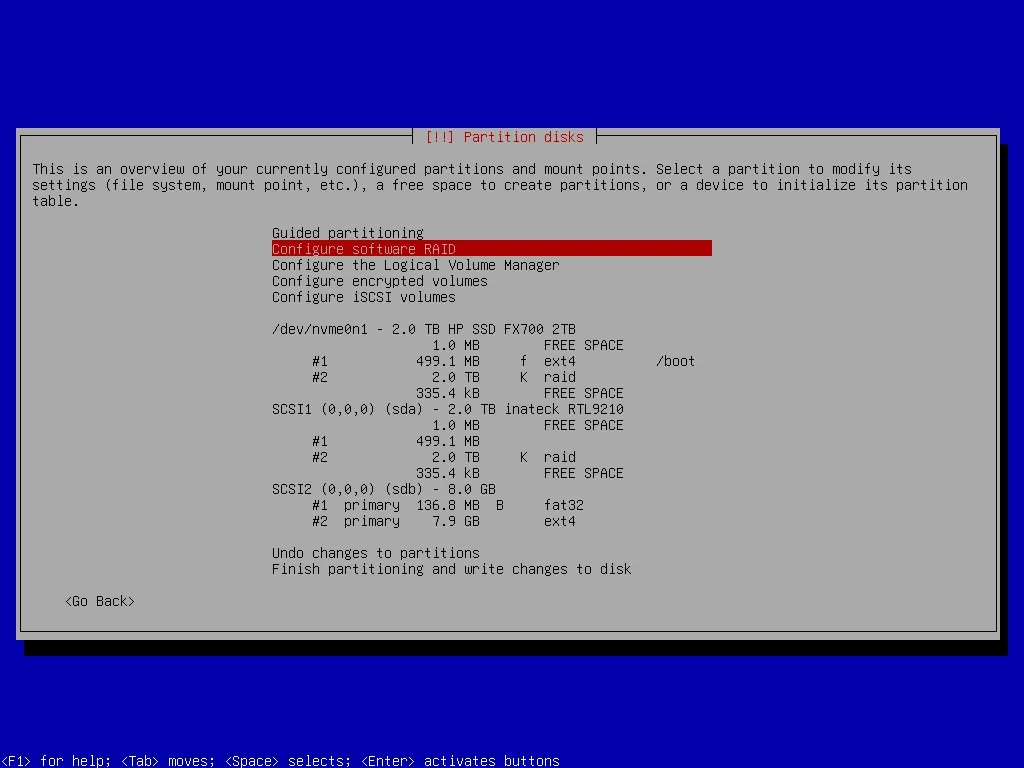
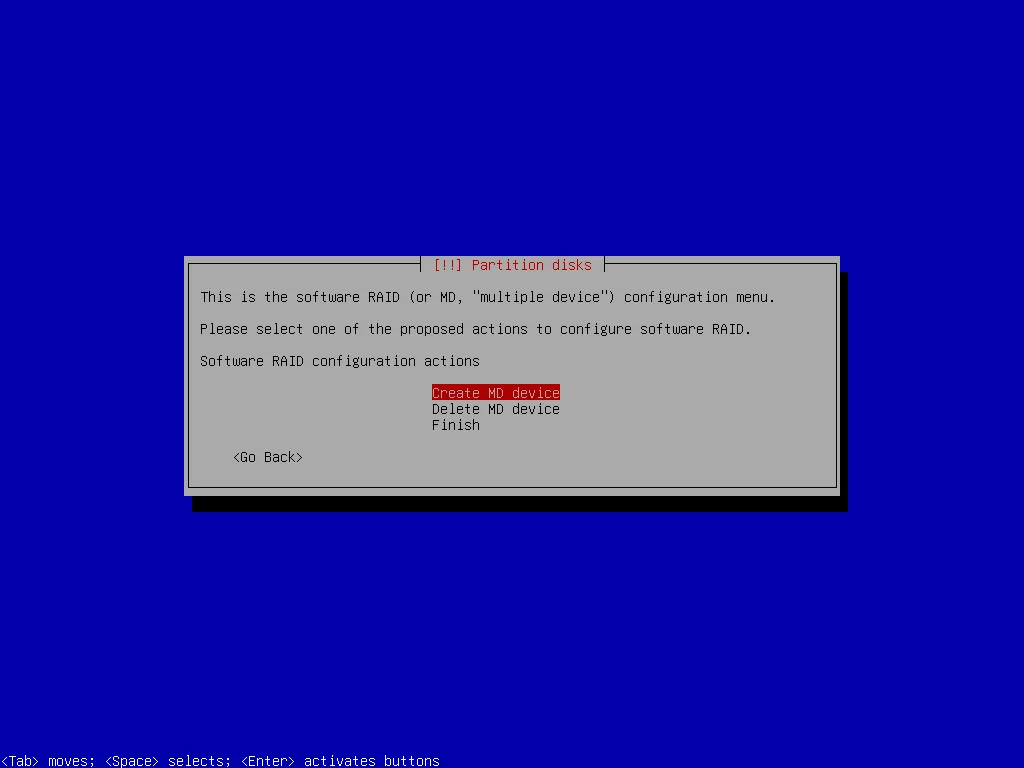
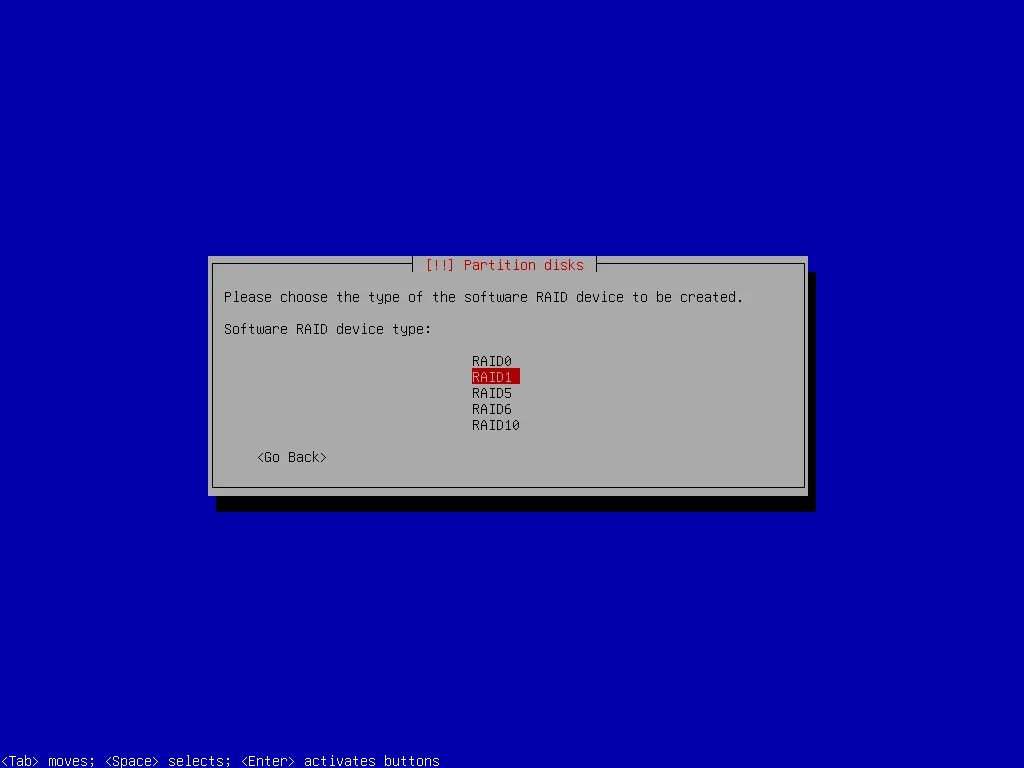
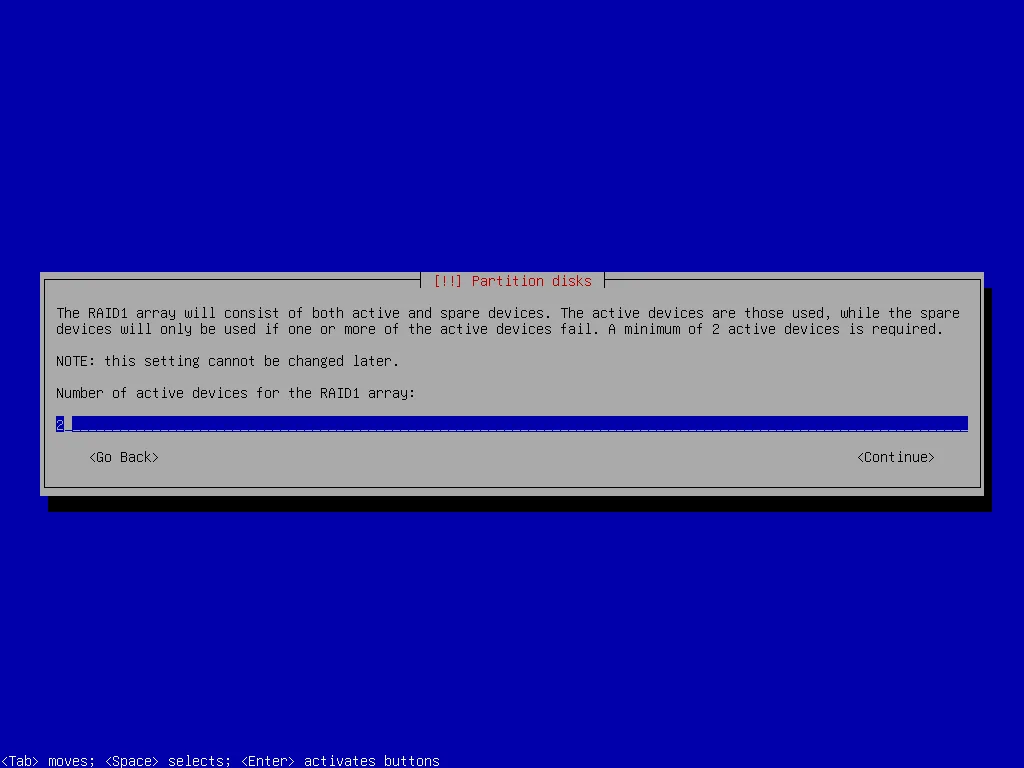
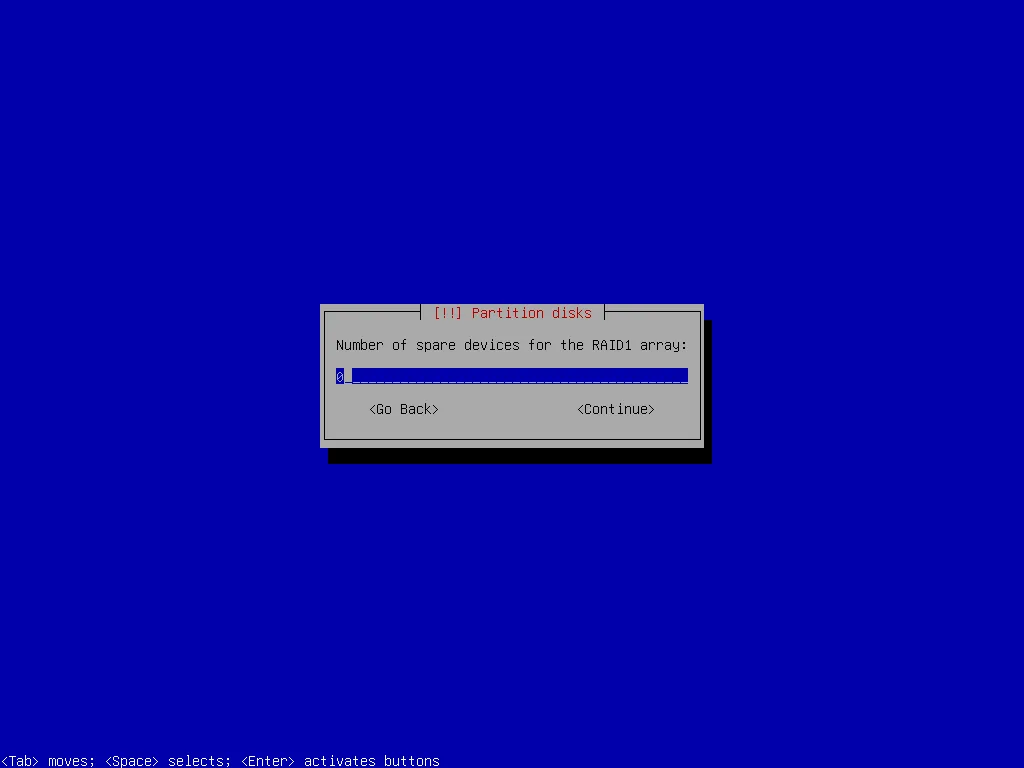
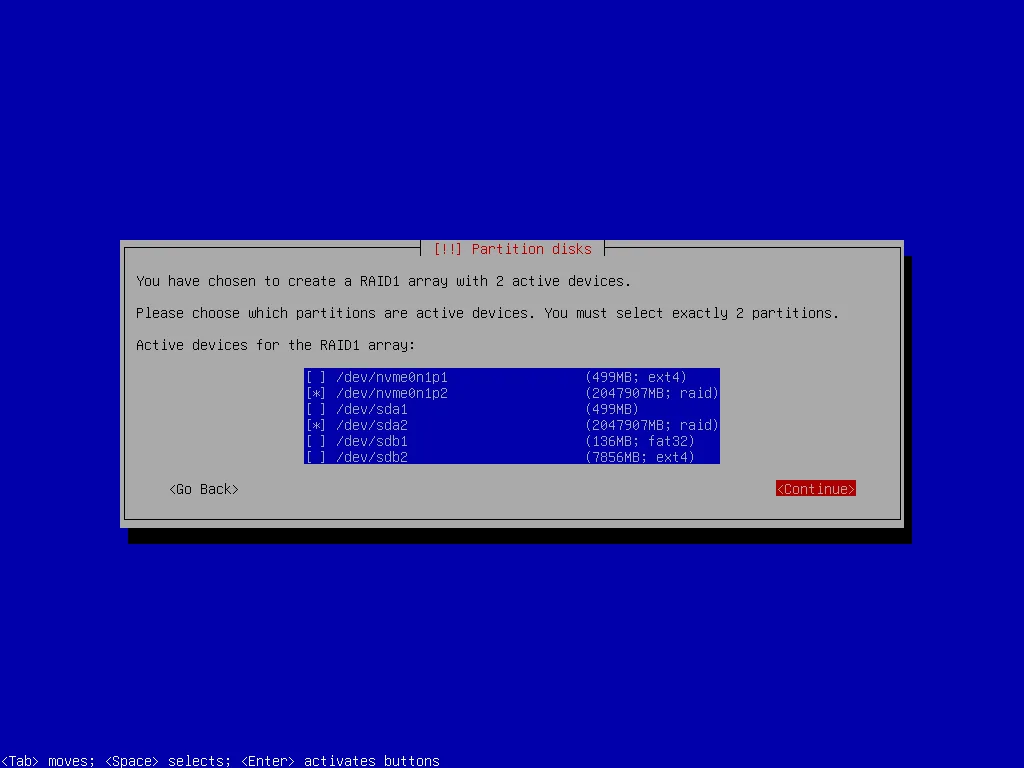
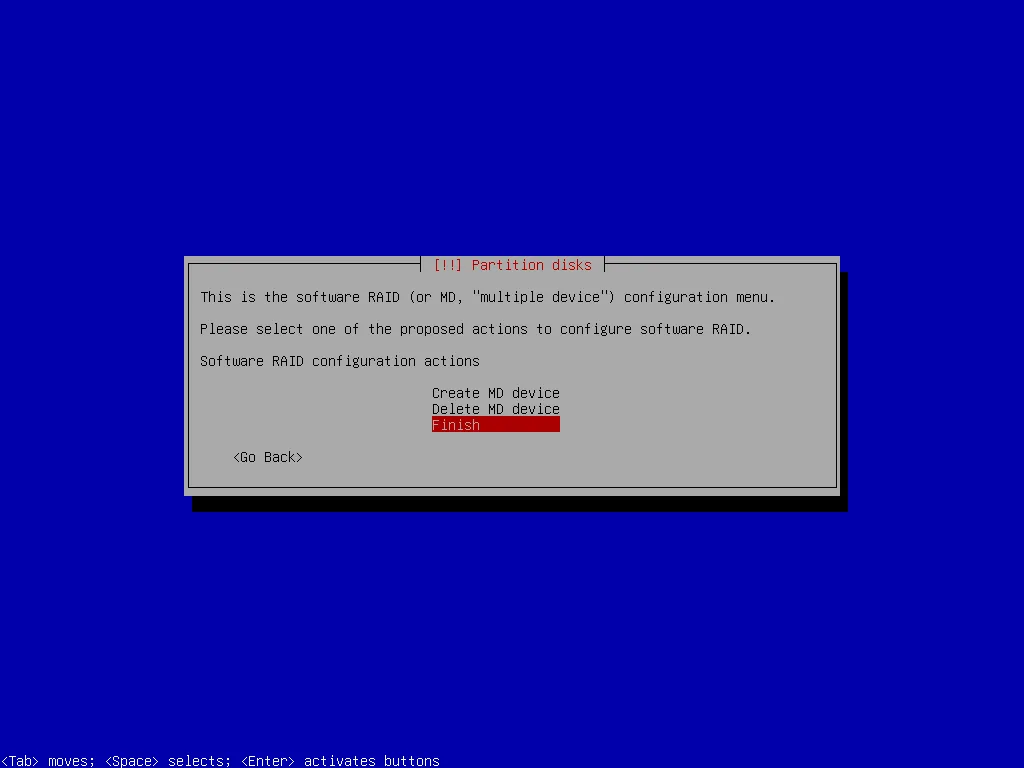
Then I create a RAID 1 virtual device with these two larger partitions.
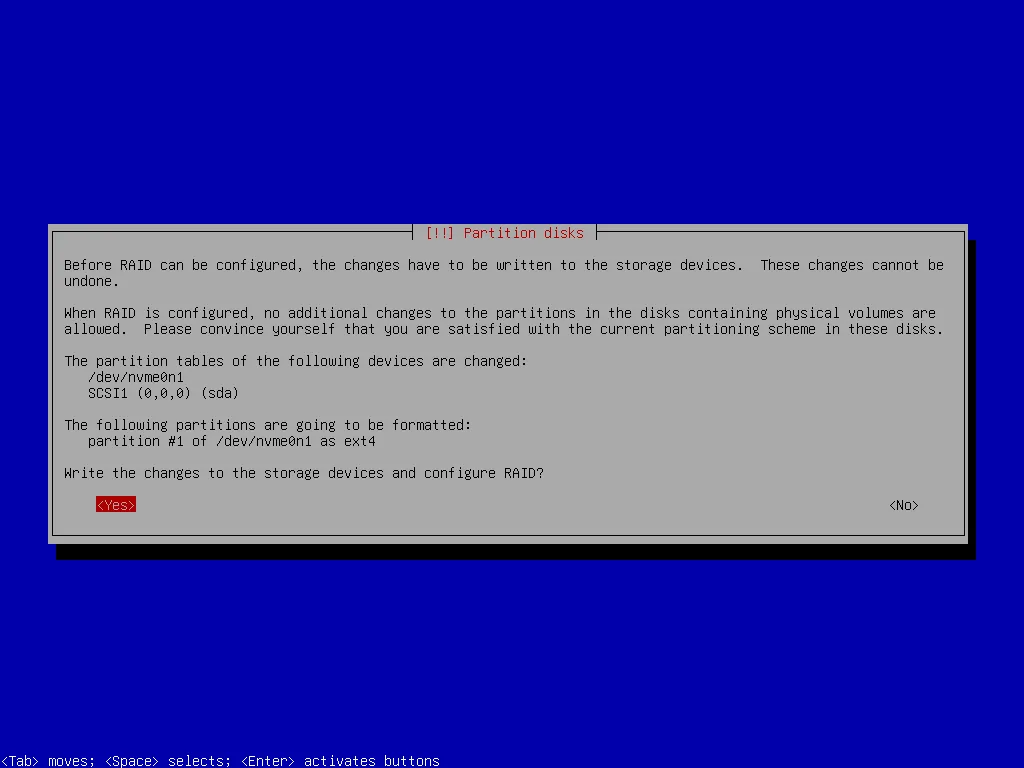
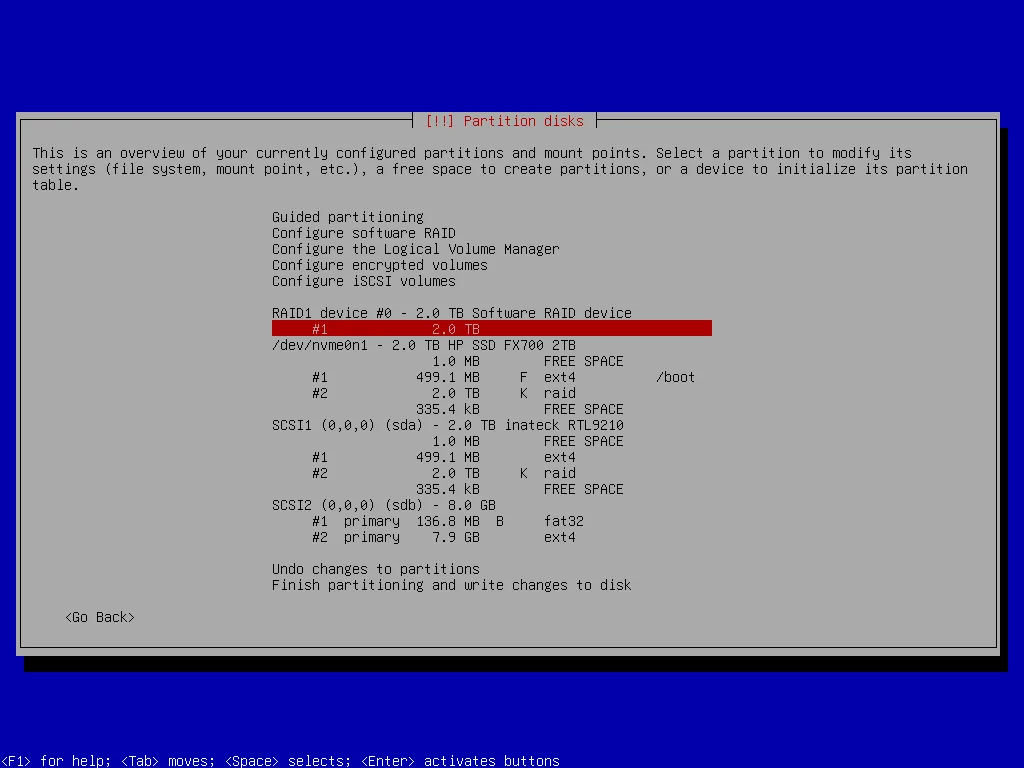
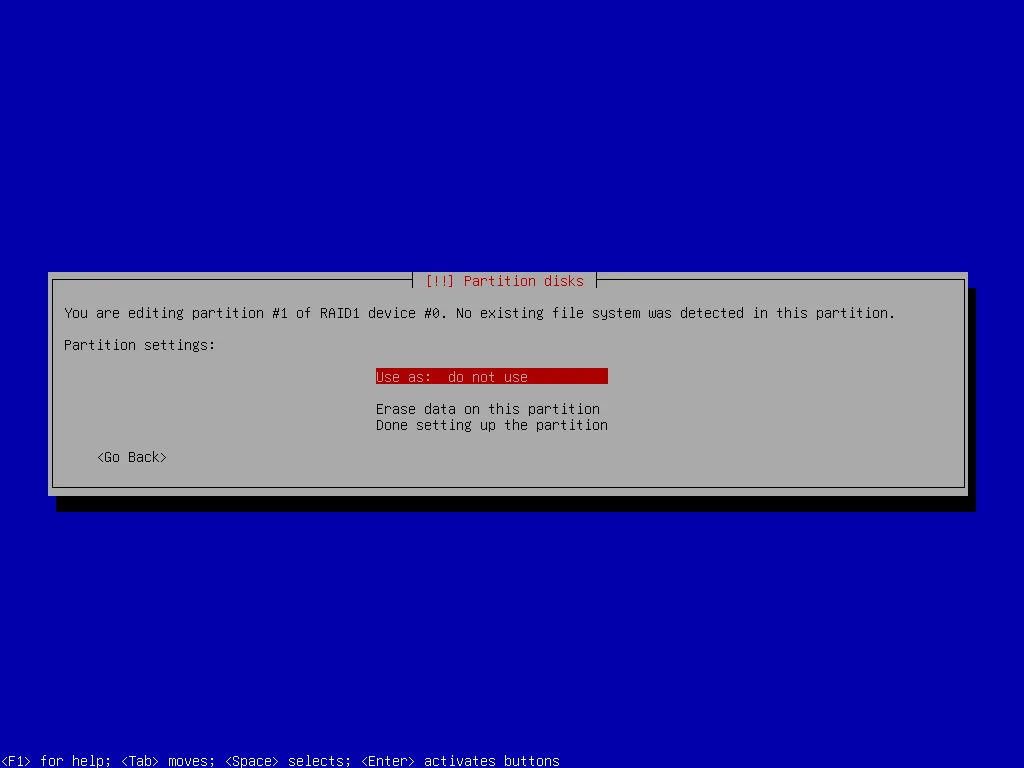
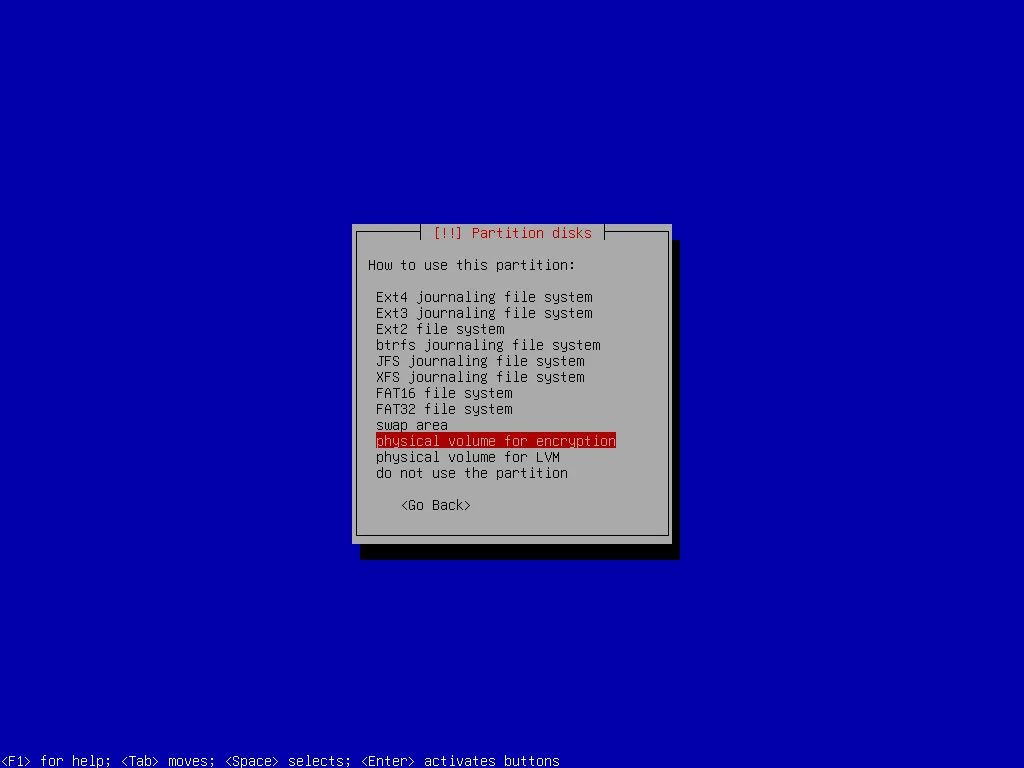
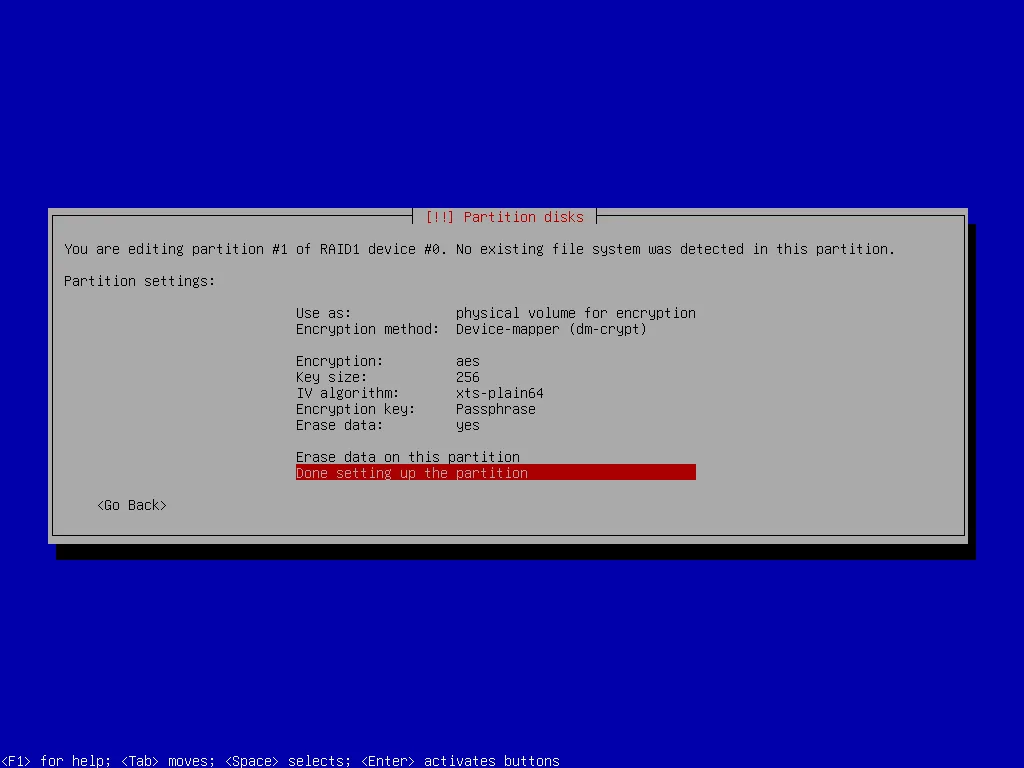
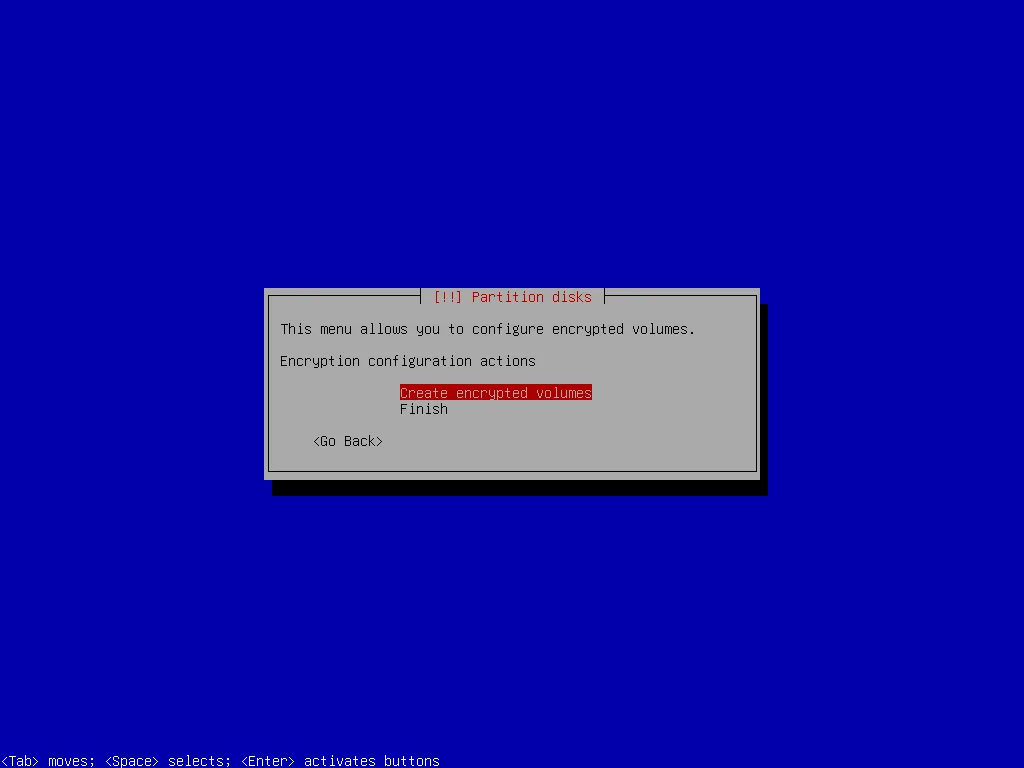
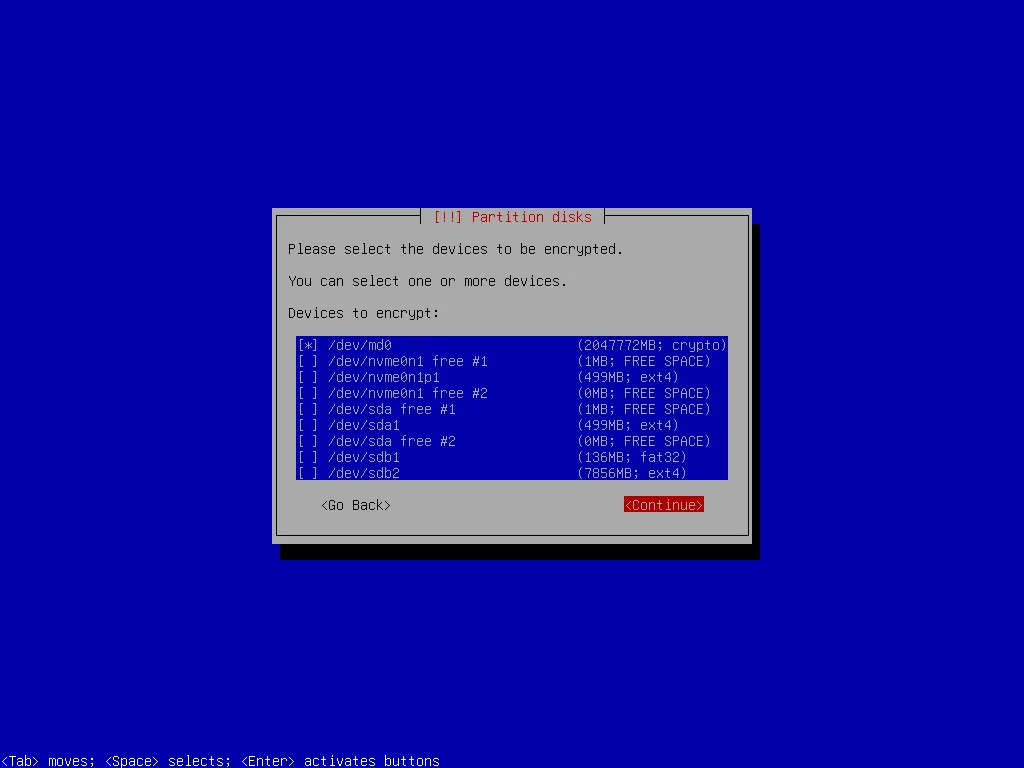
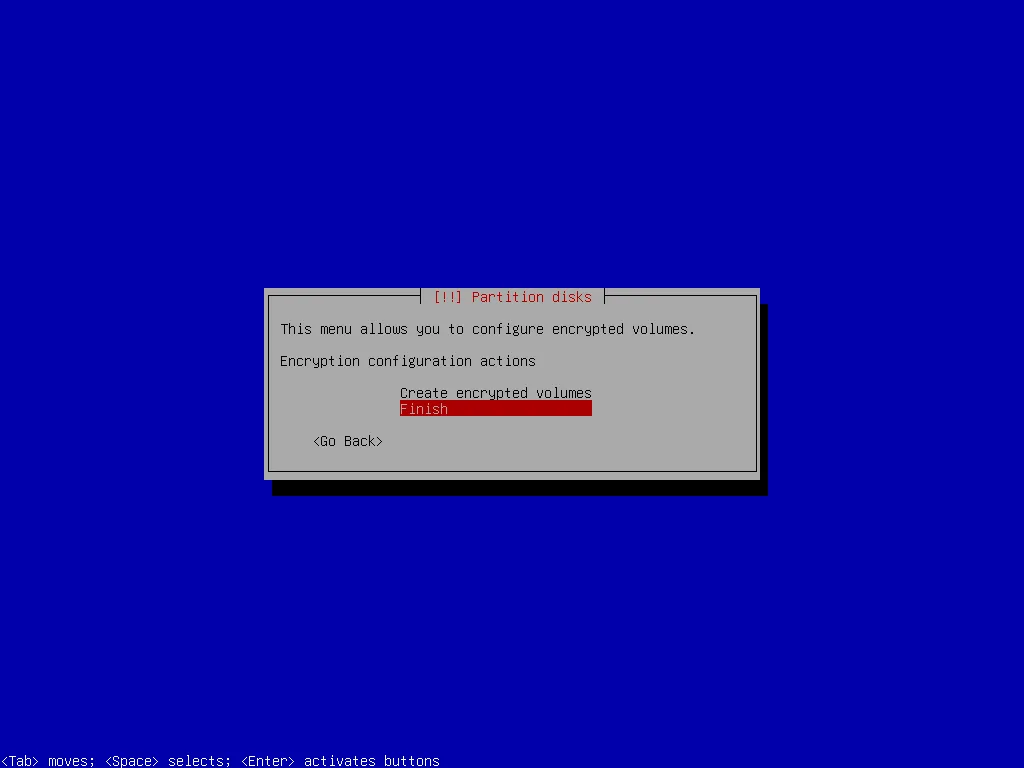
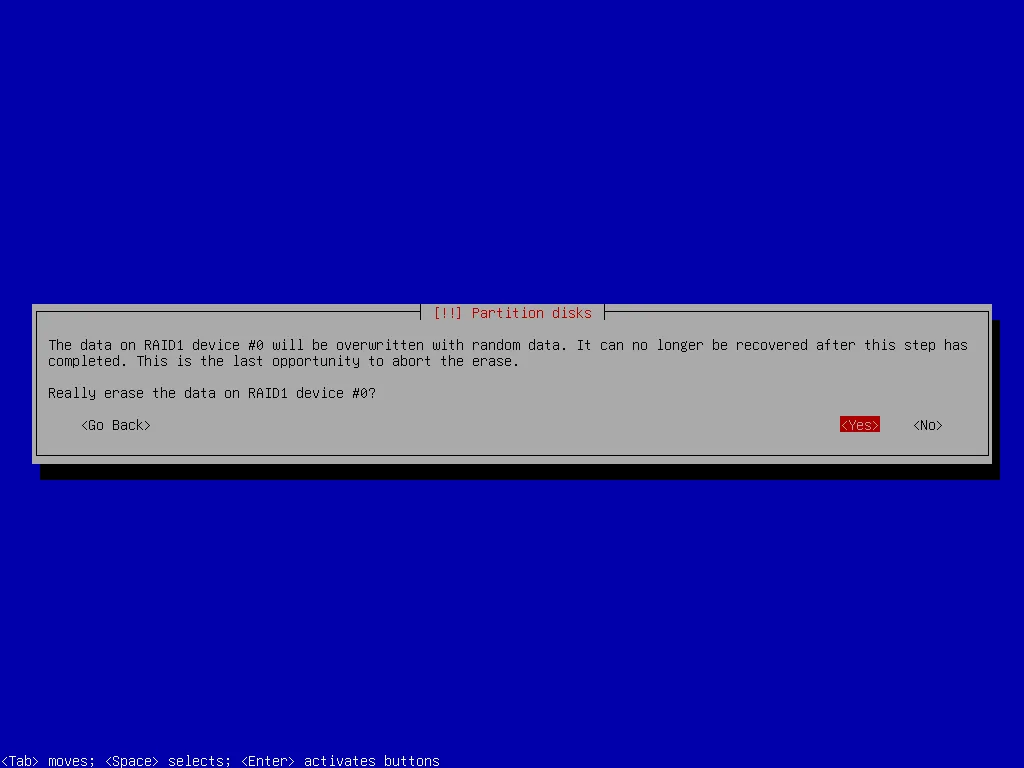
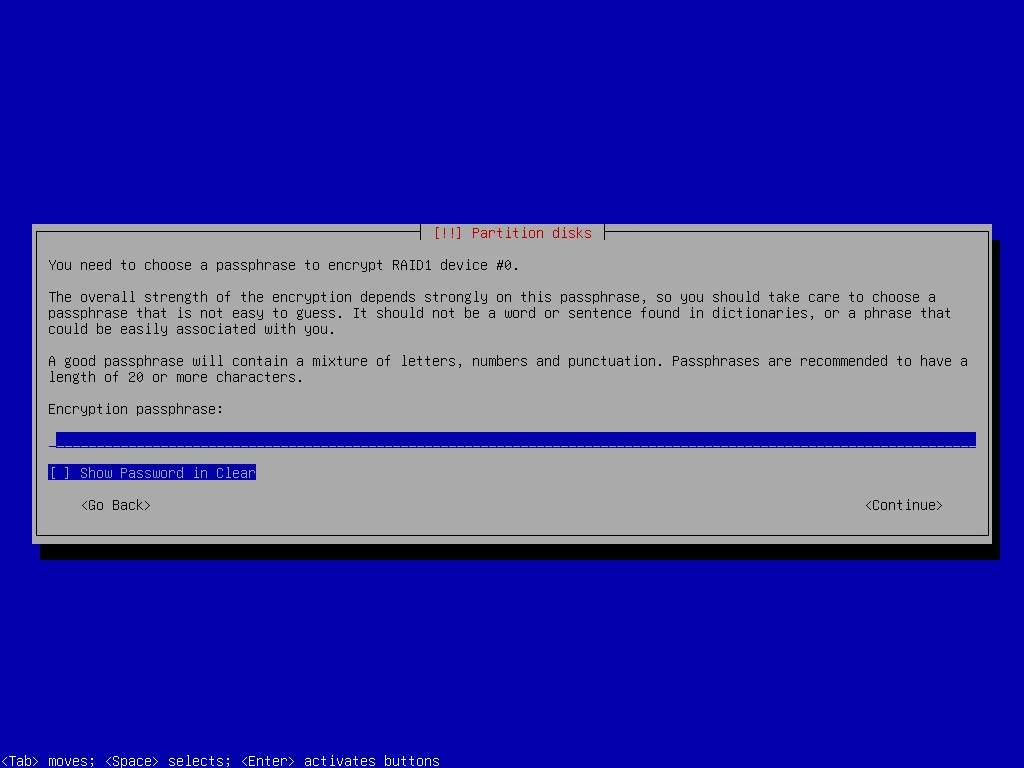
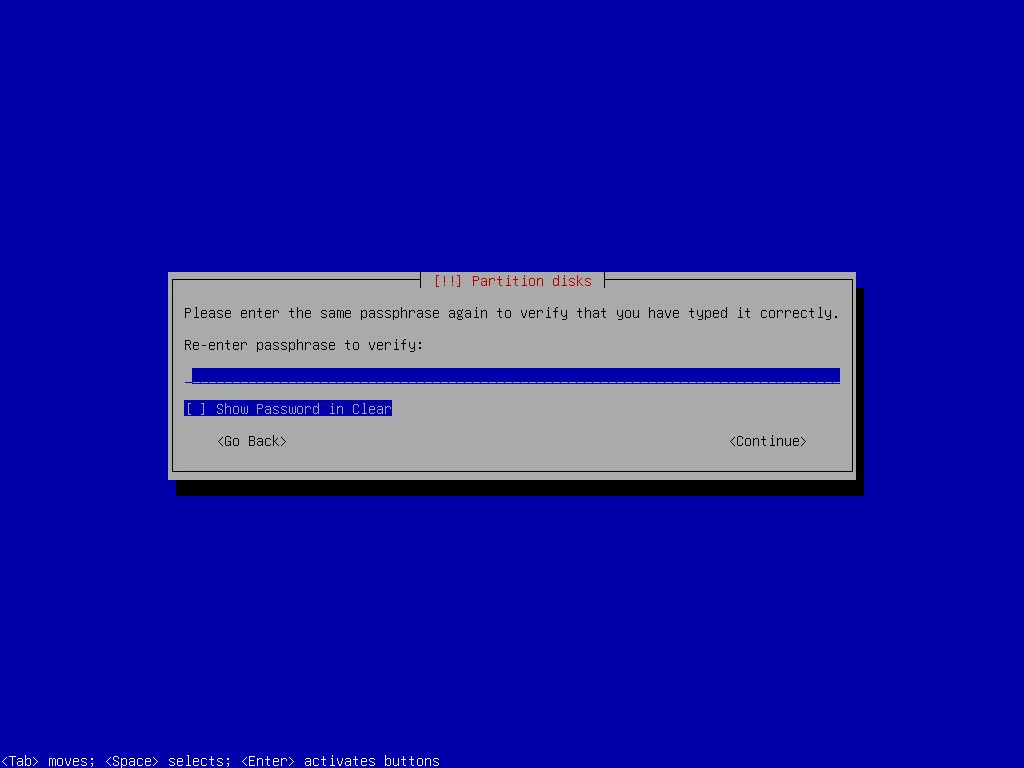
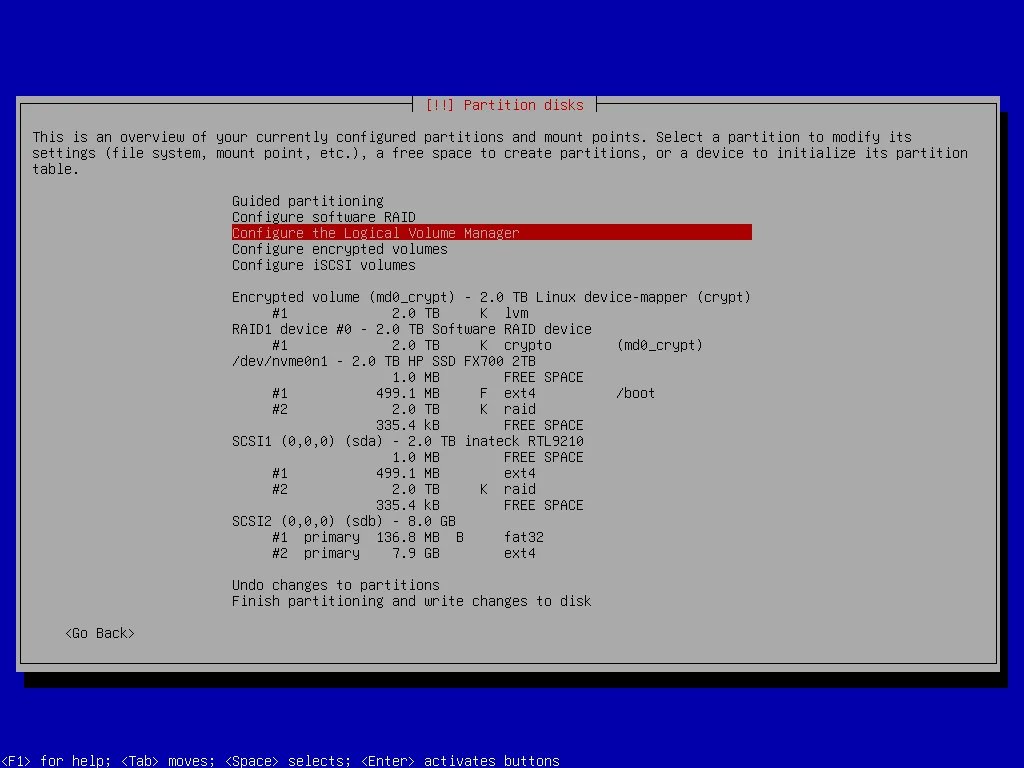
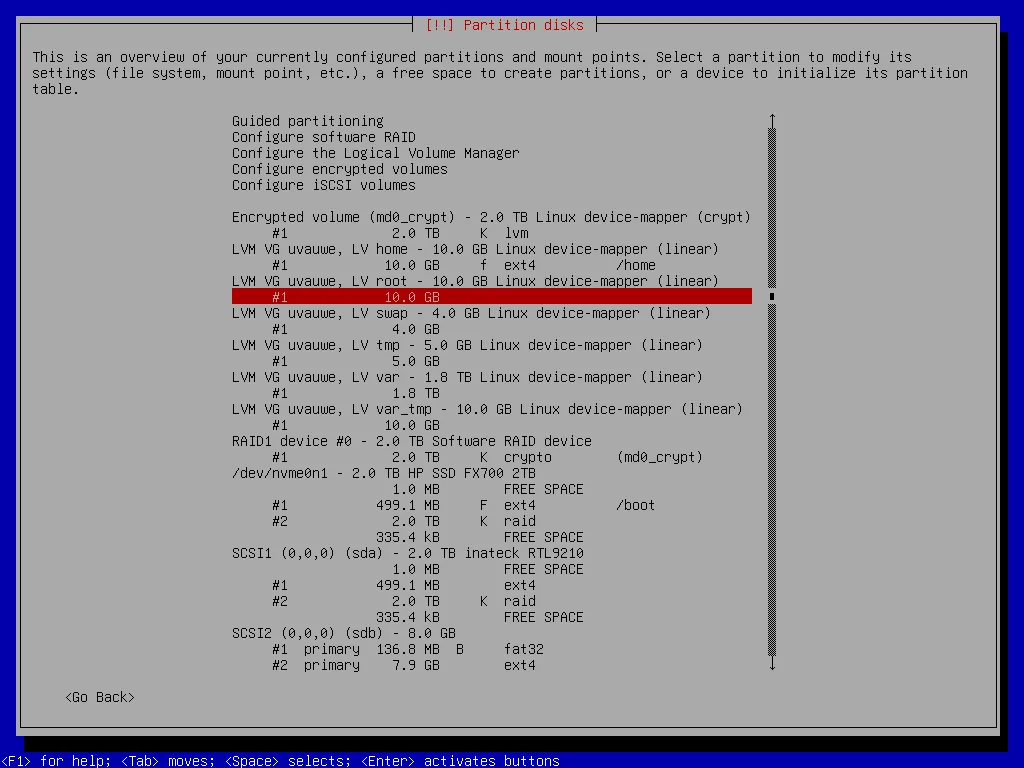
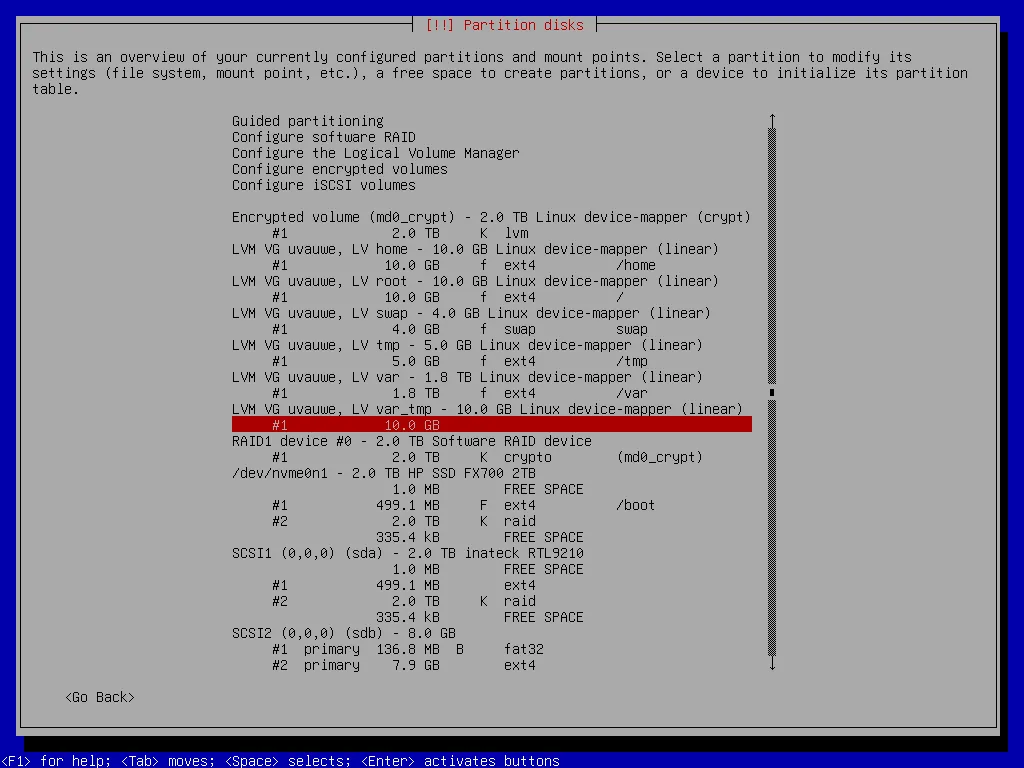
Now the list of devices and partitions contains a RAID1 device. I mark this device as physical volume for encryption and then I create the encrypted volume.

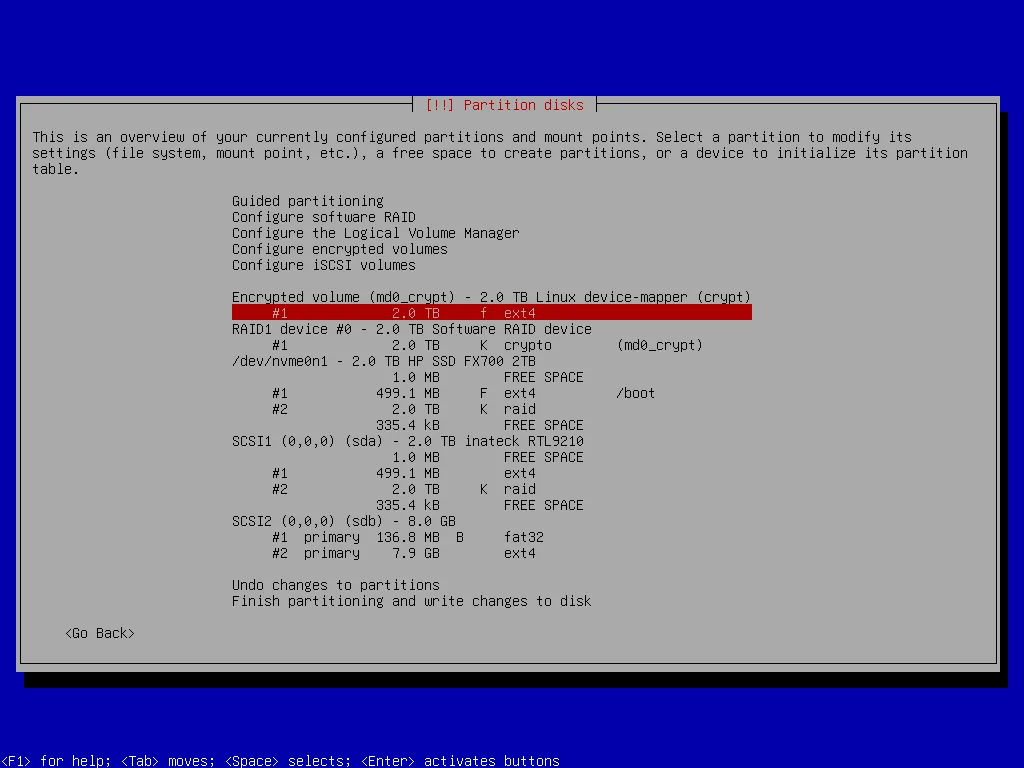
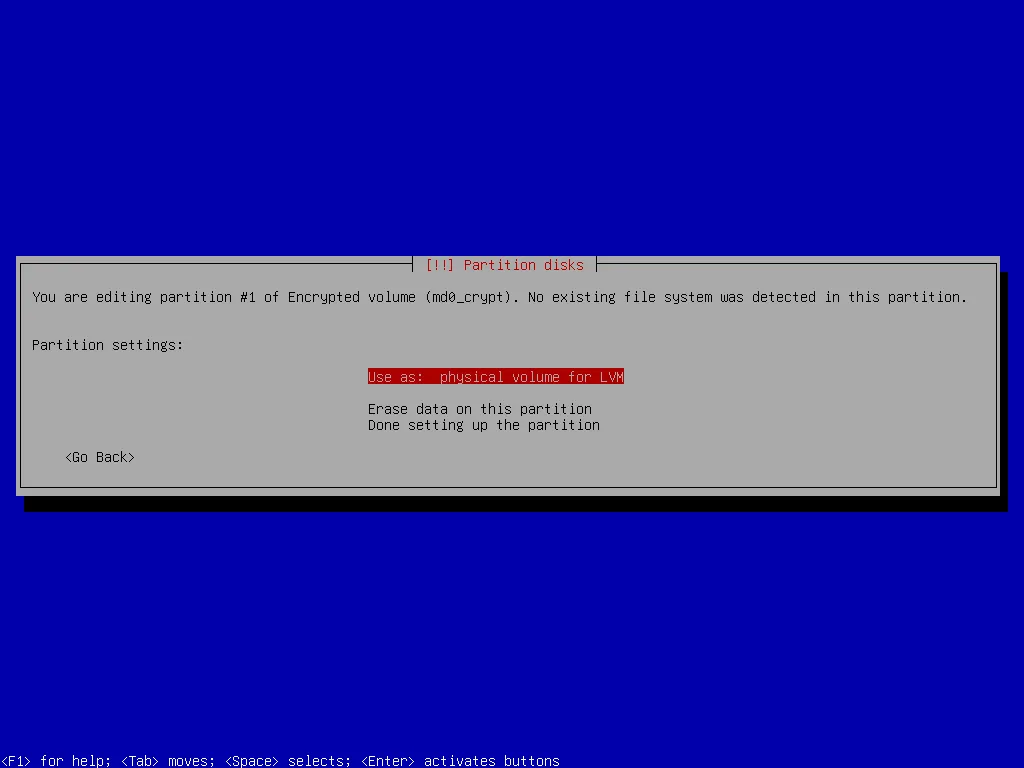
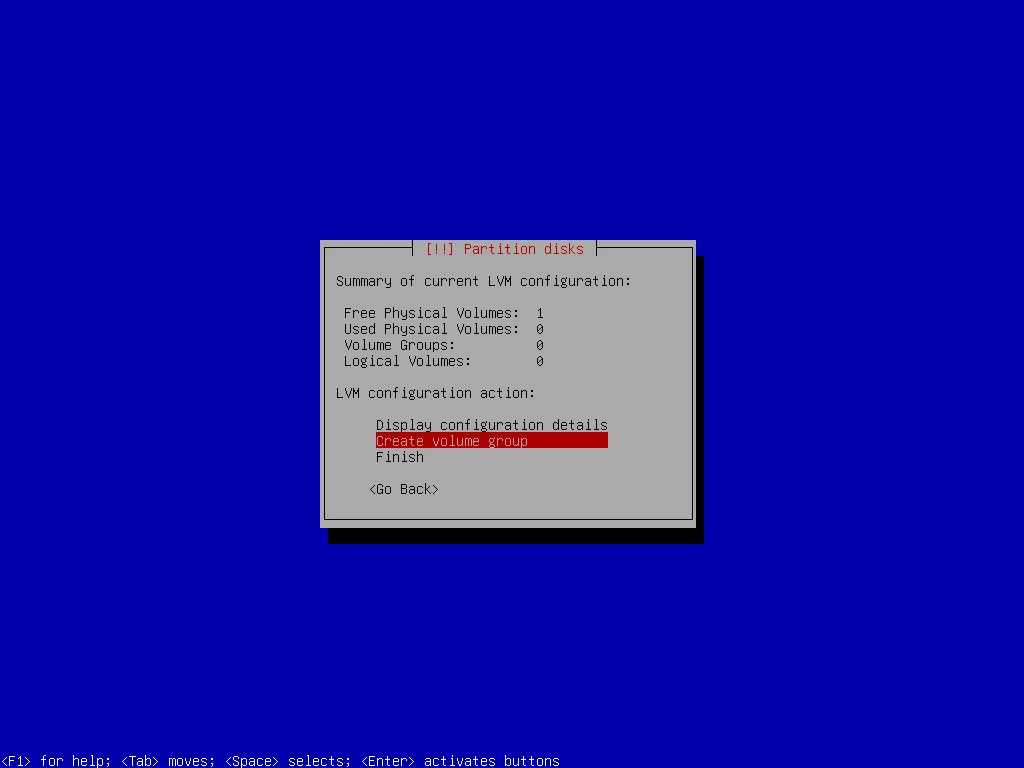
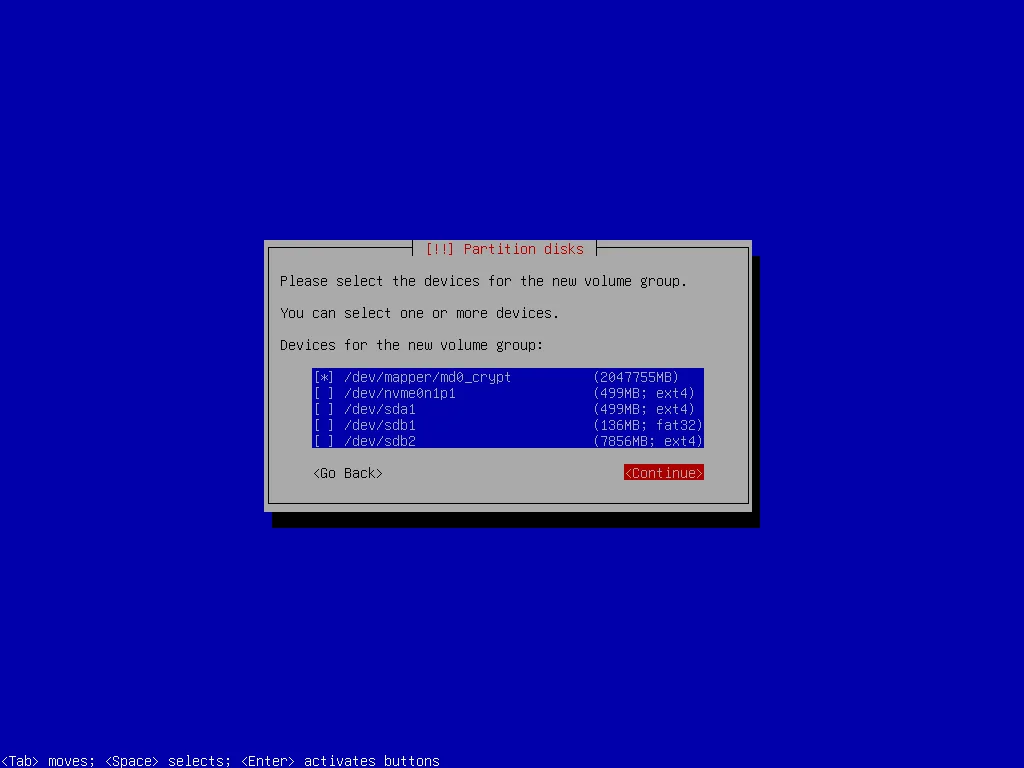
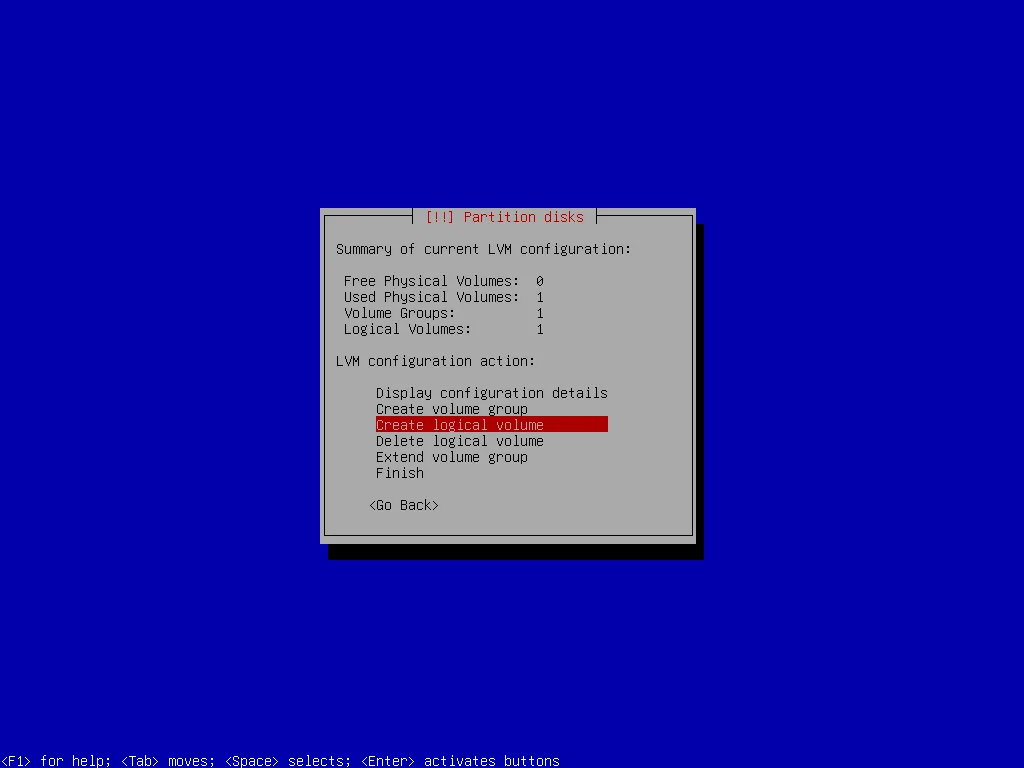
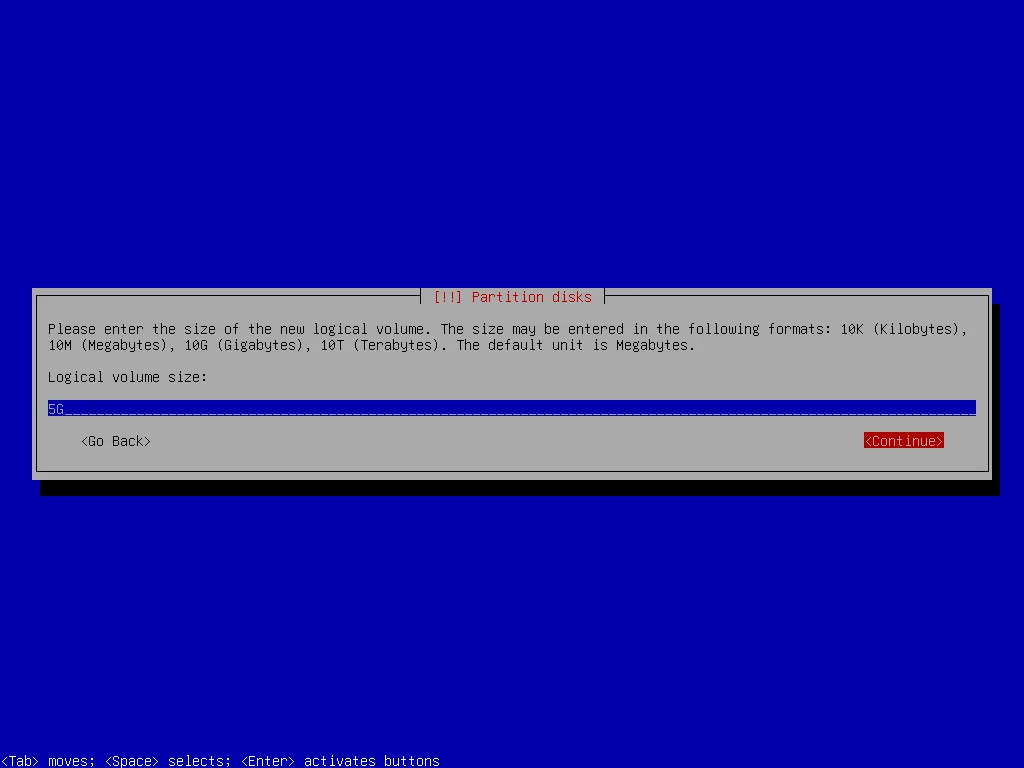
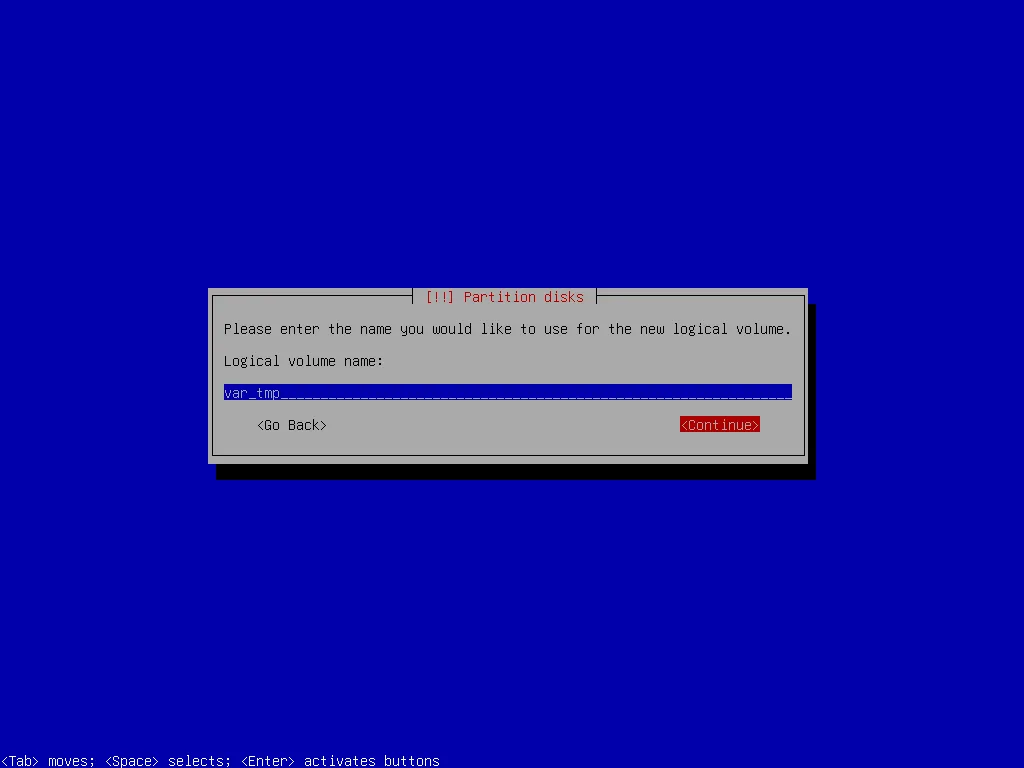
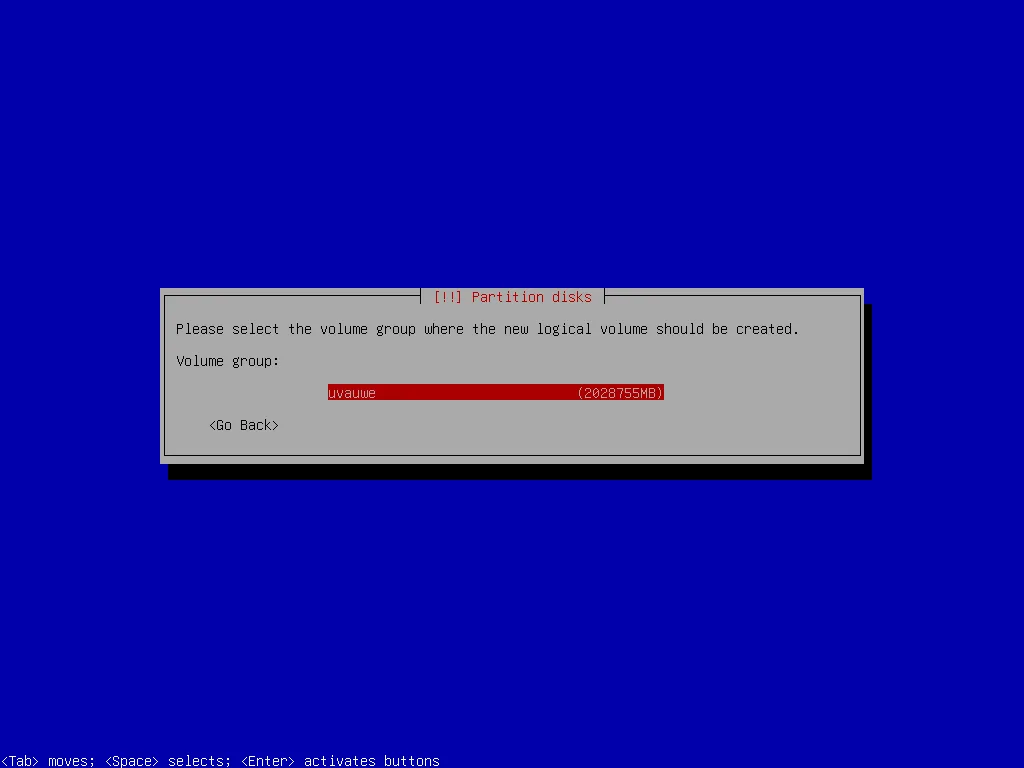
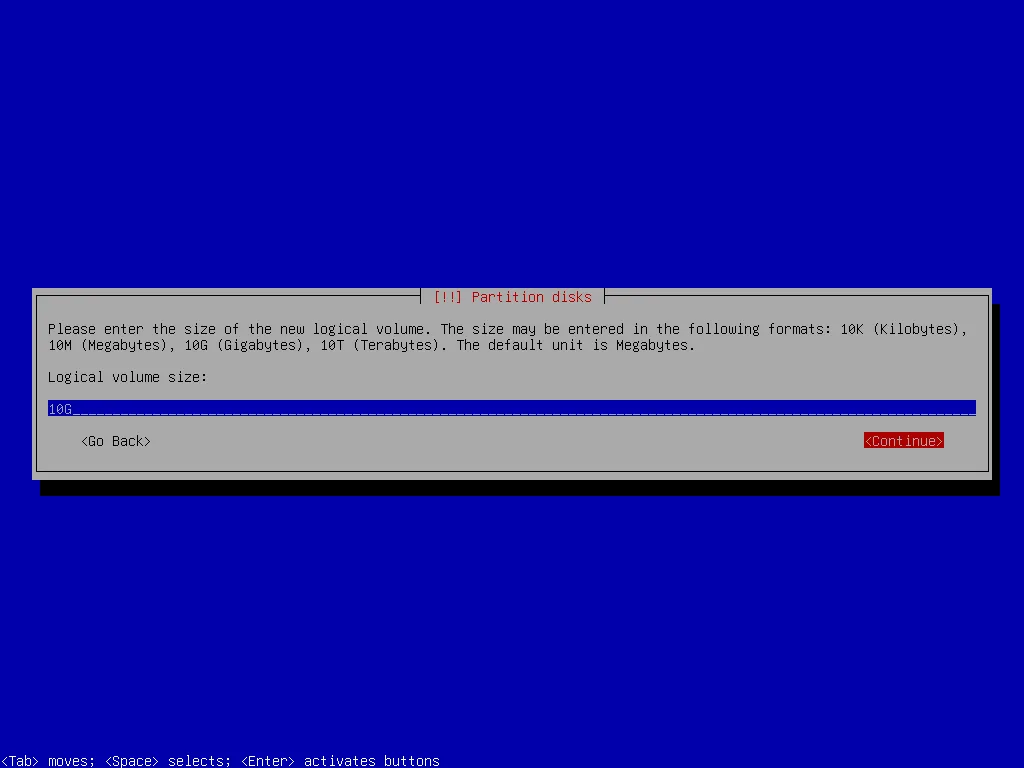
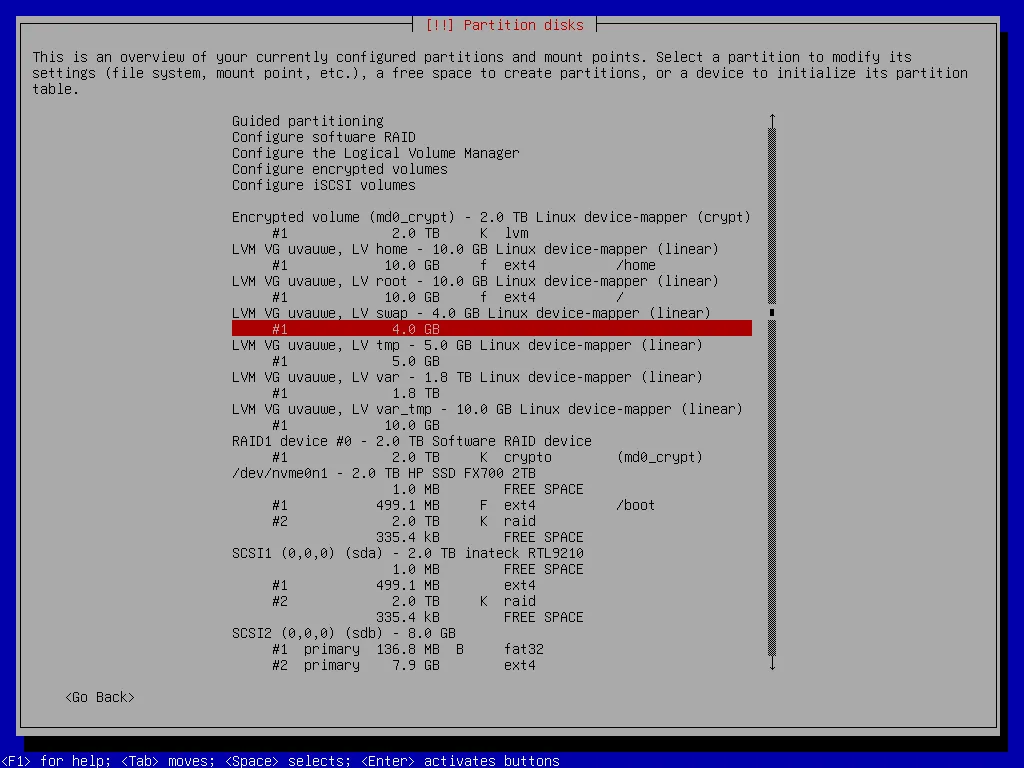
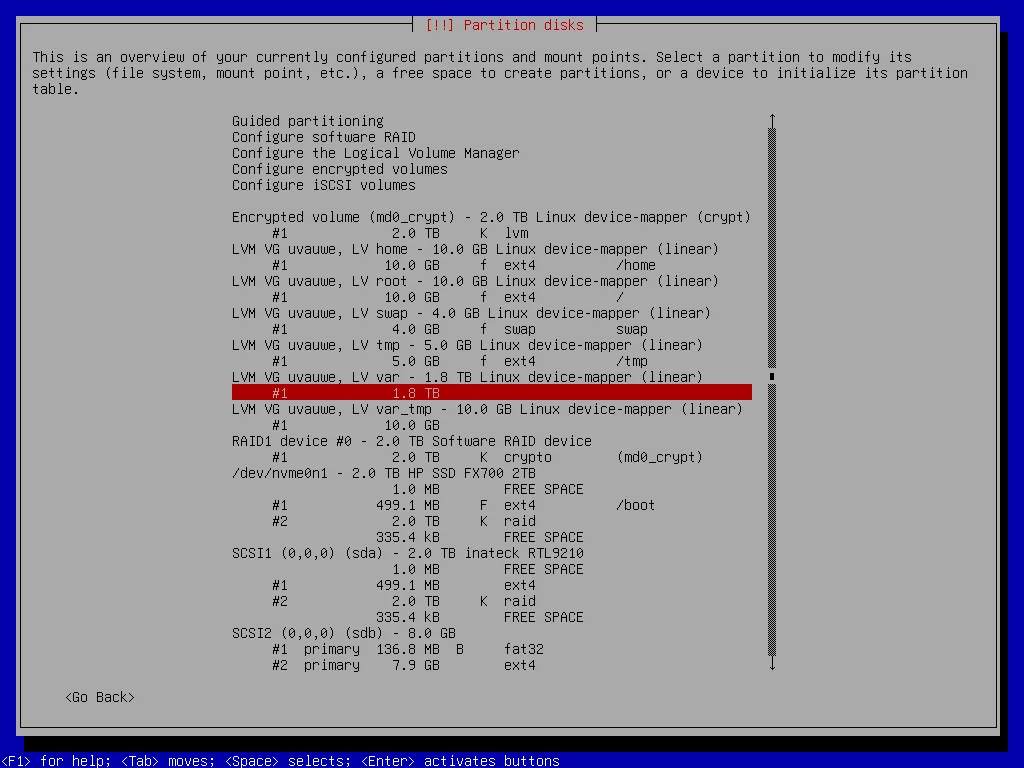
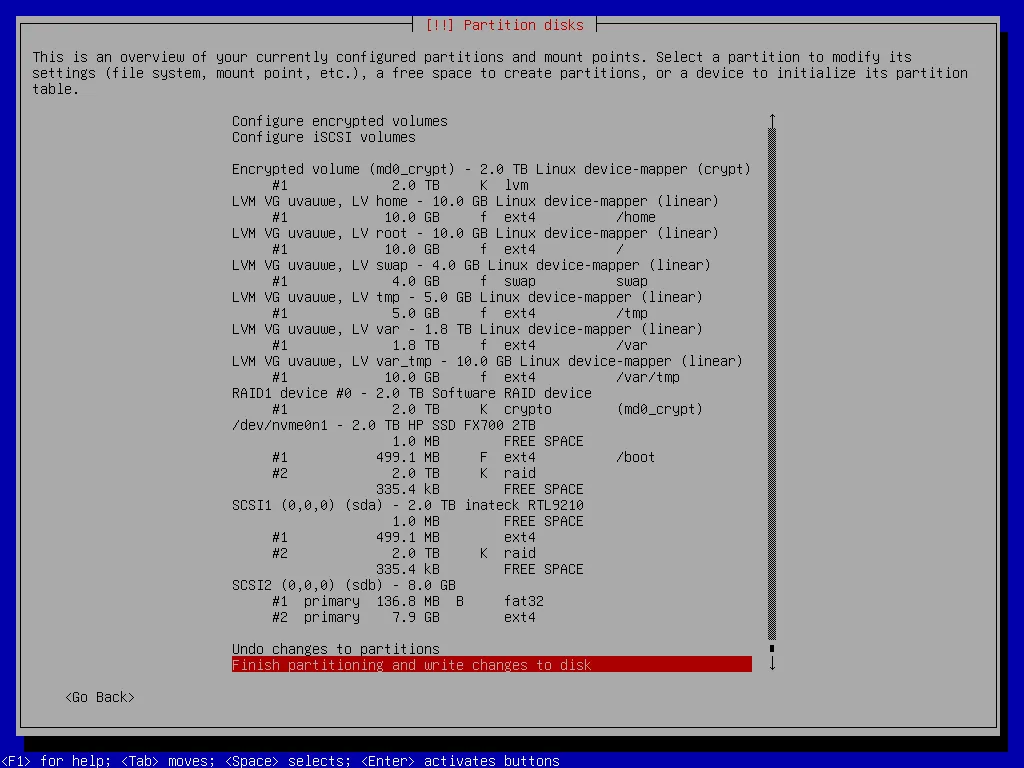
After that the list of devices and partitions contains an Encrypted volume. I use it as physical volume for LVM and after that create first a volume group and then partitions (logical volumes) for my filesystem.
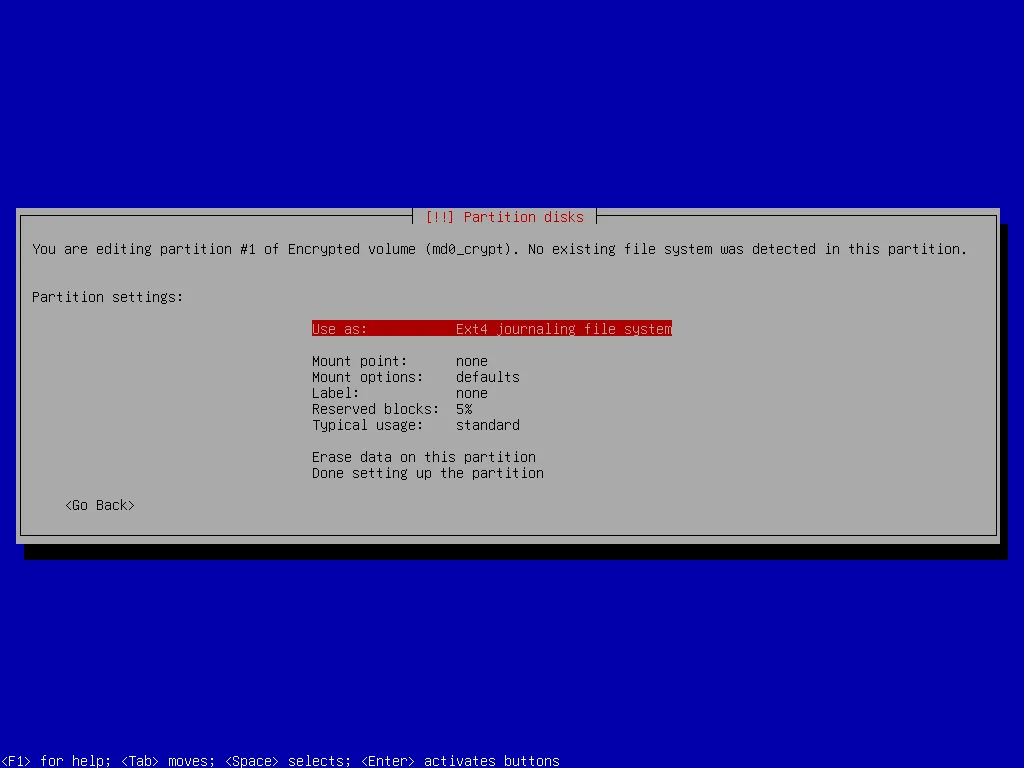


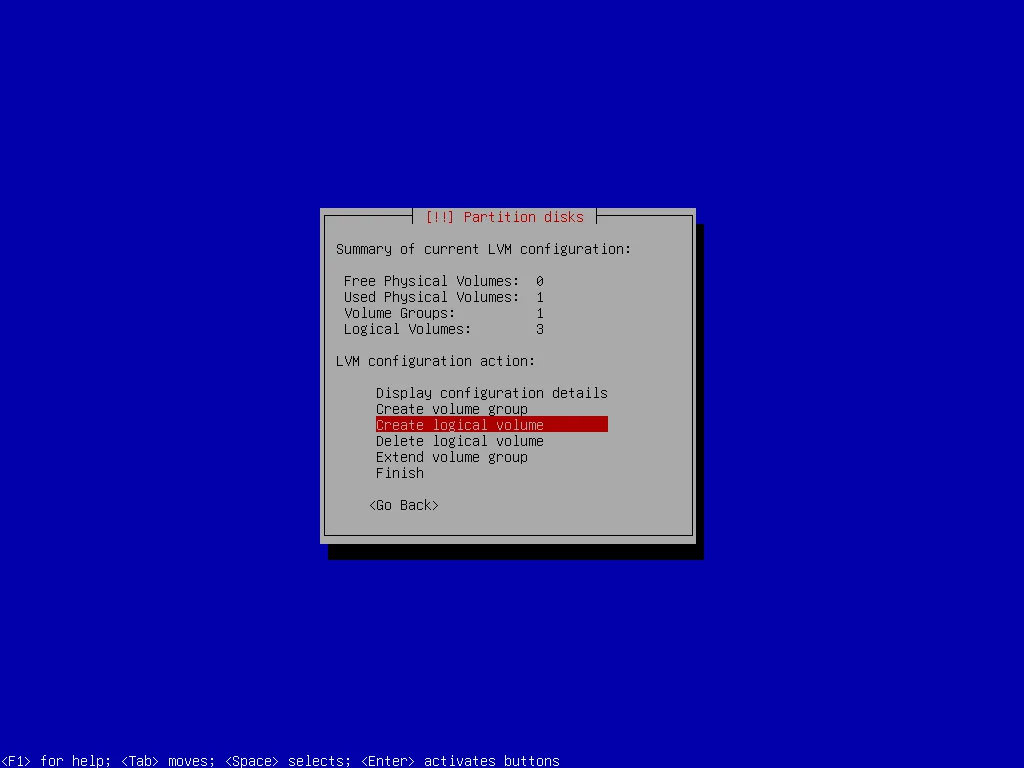


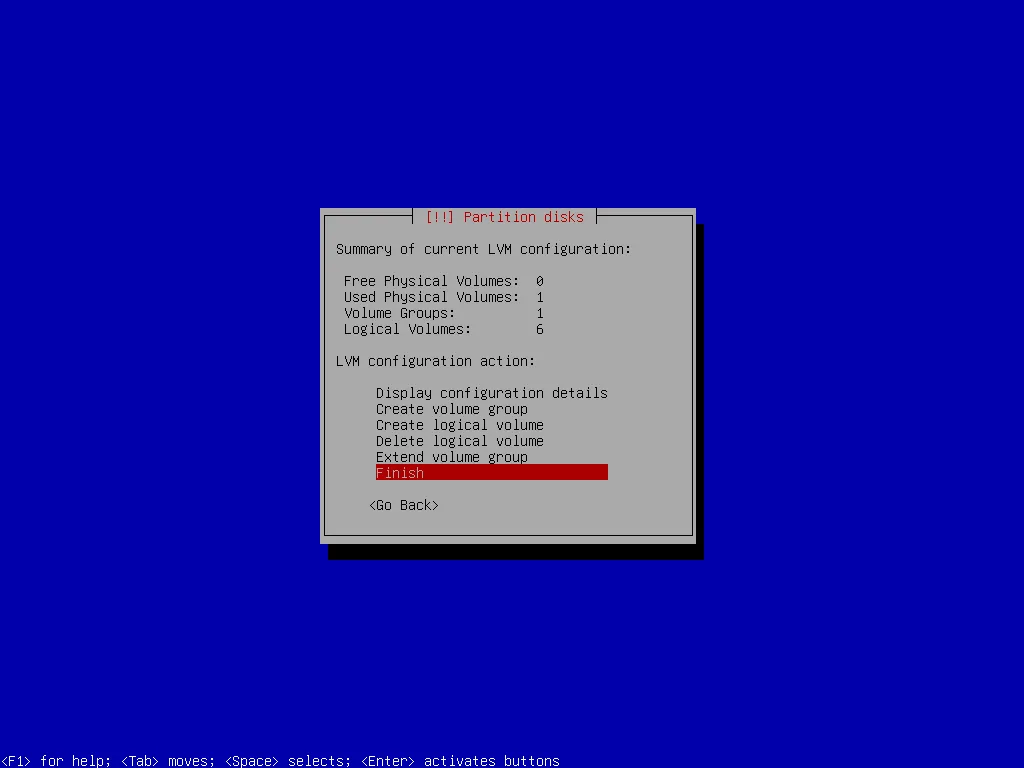
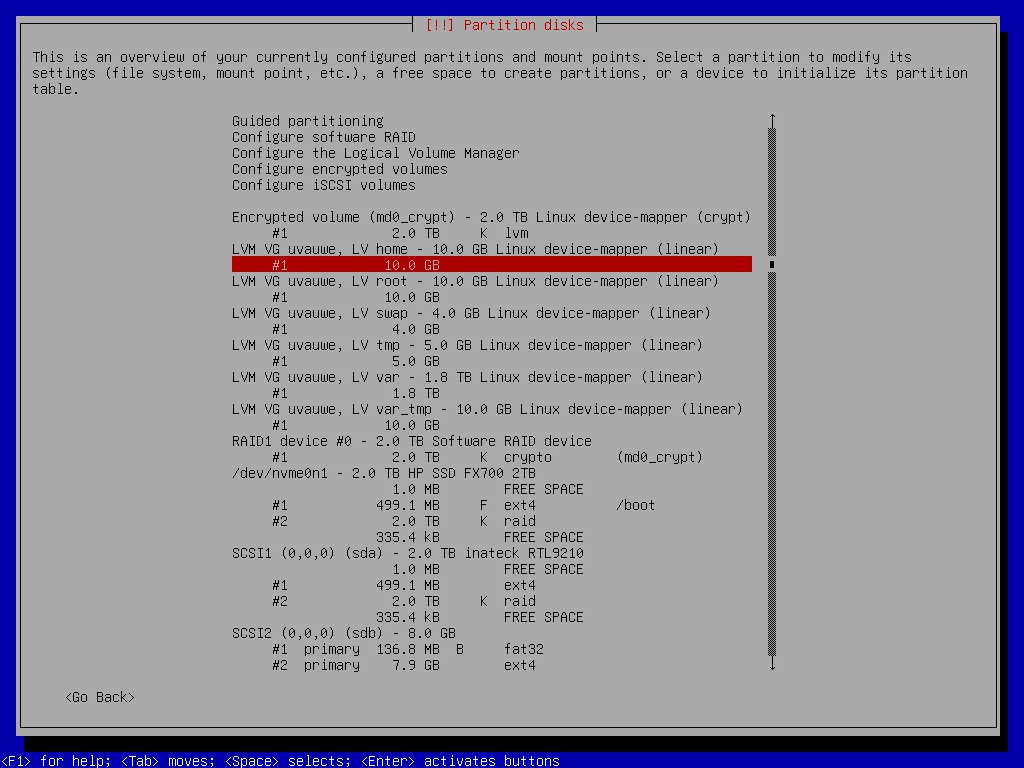
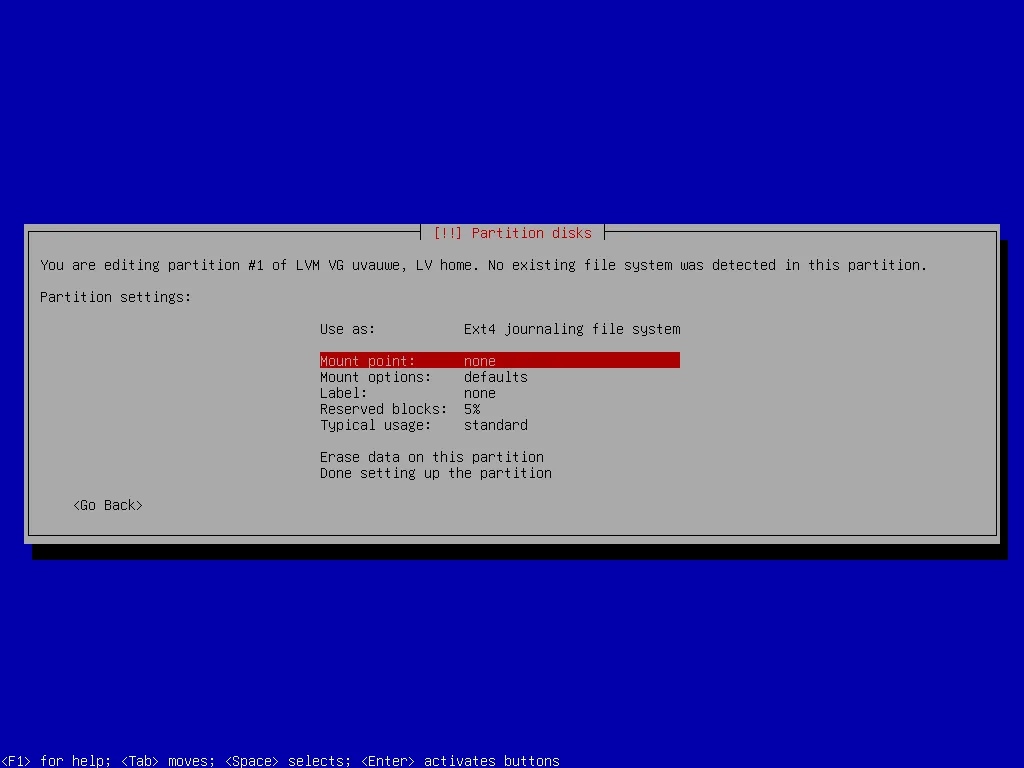
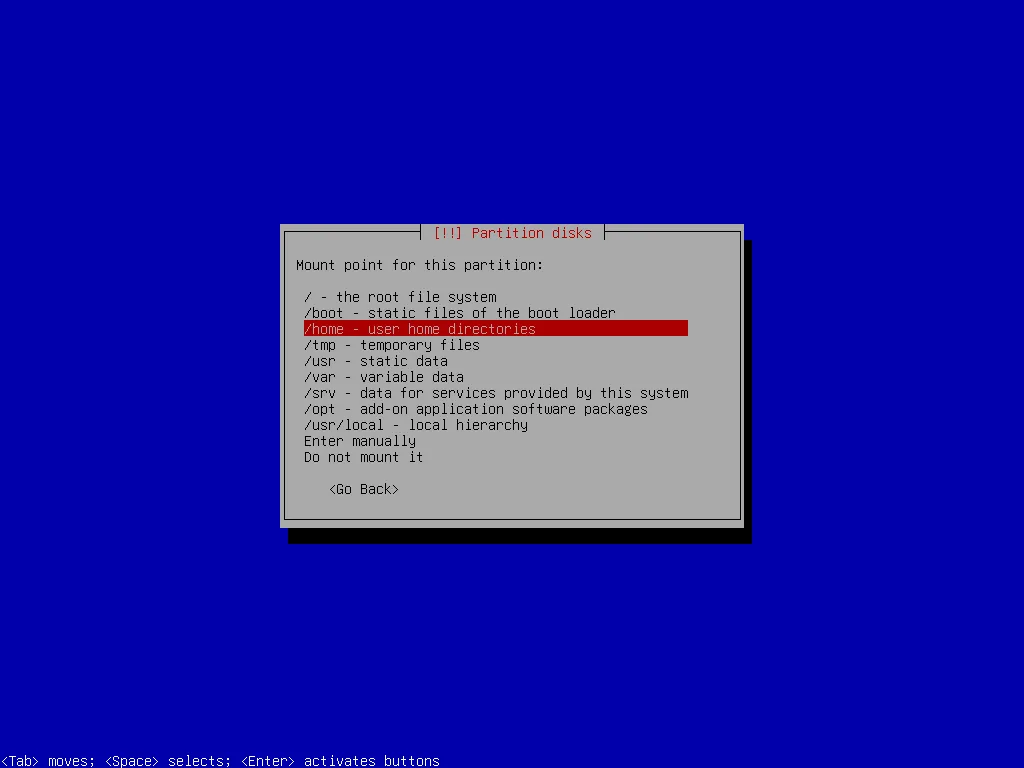
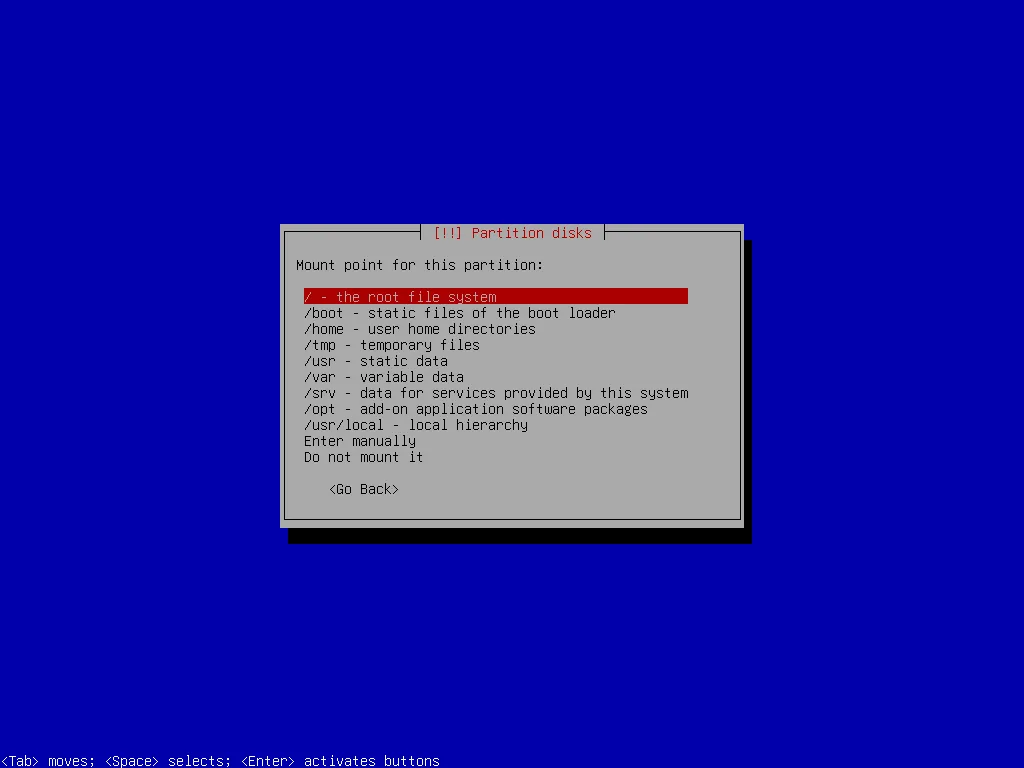
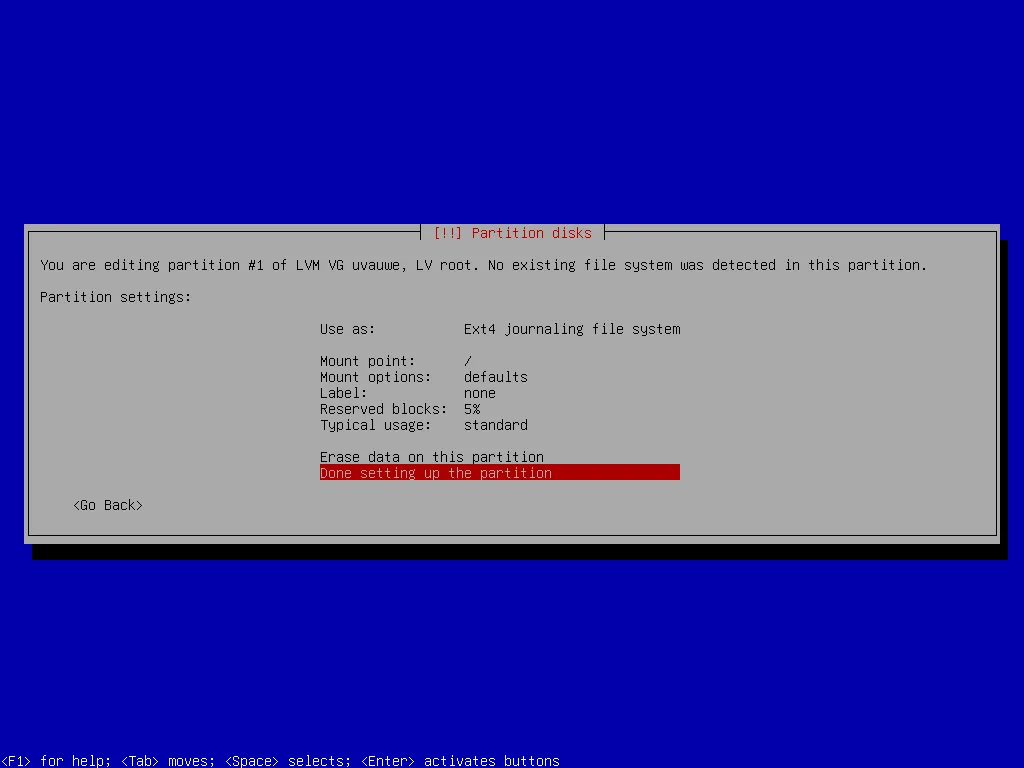
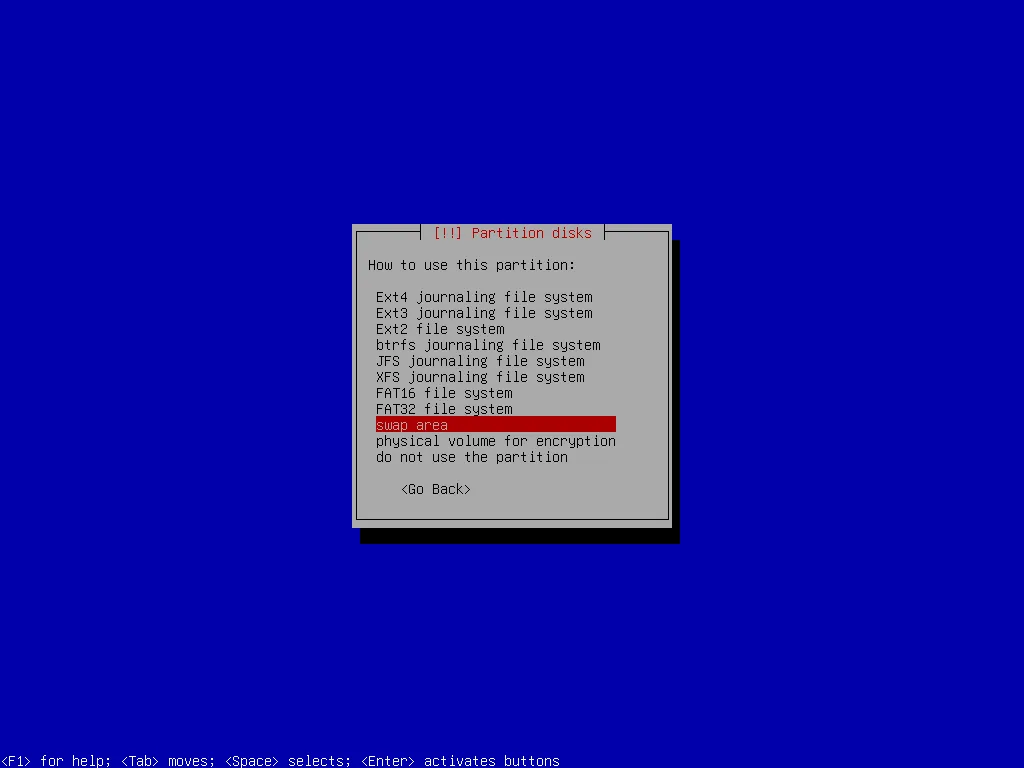
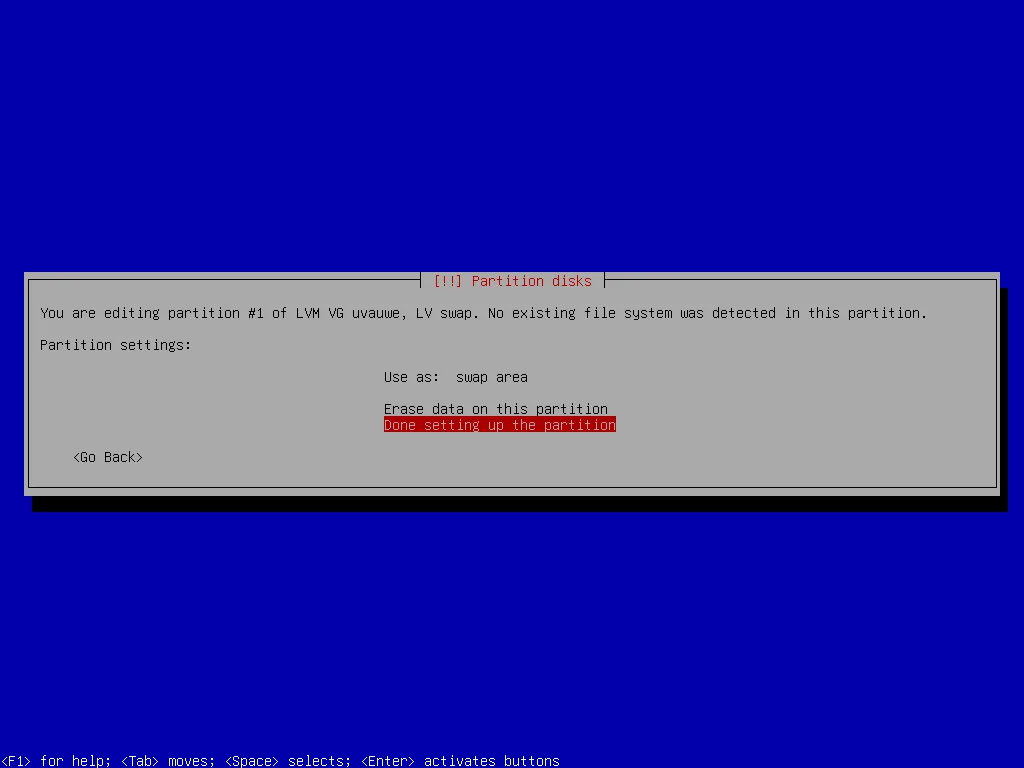
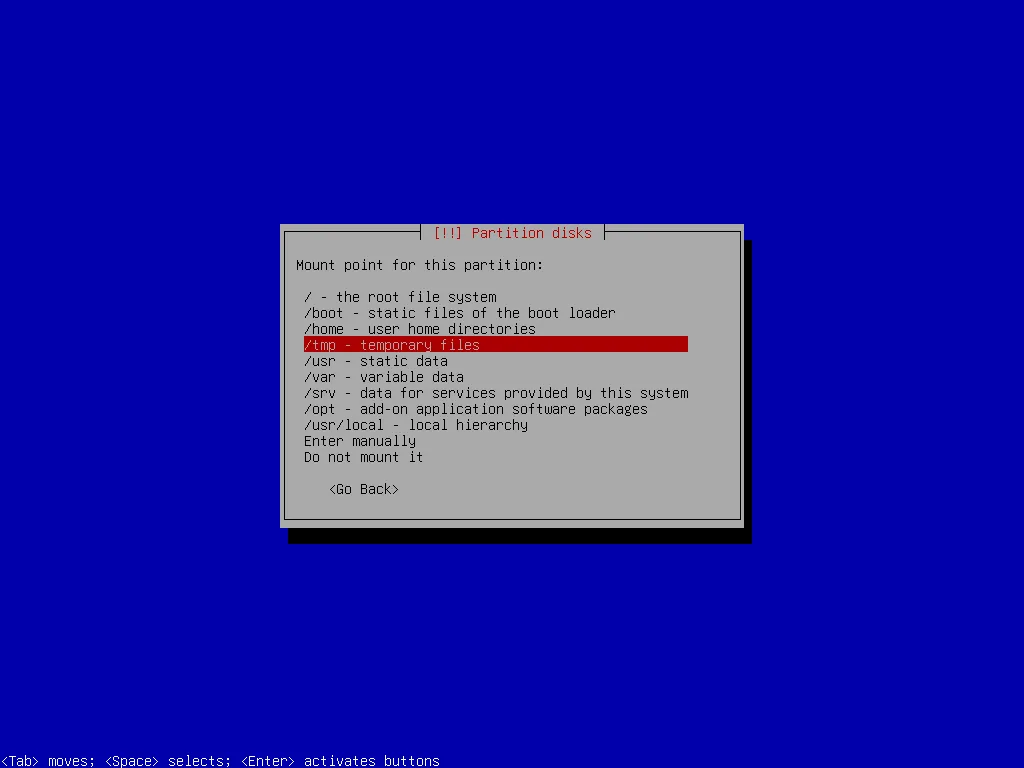
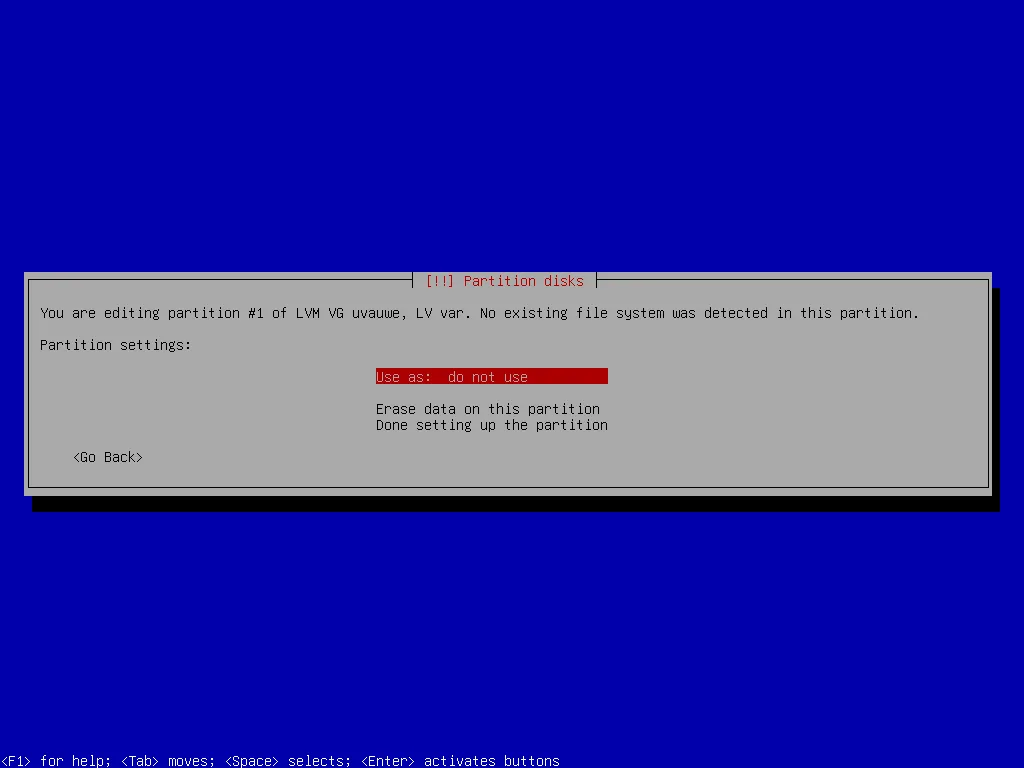
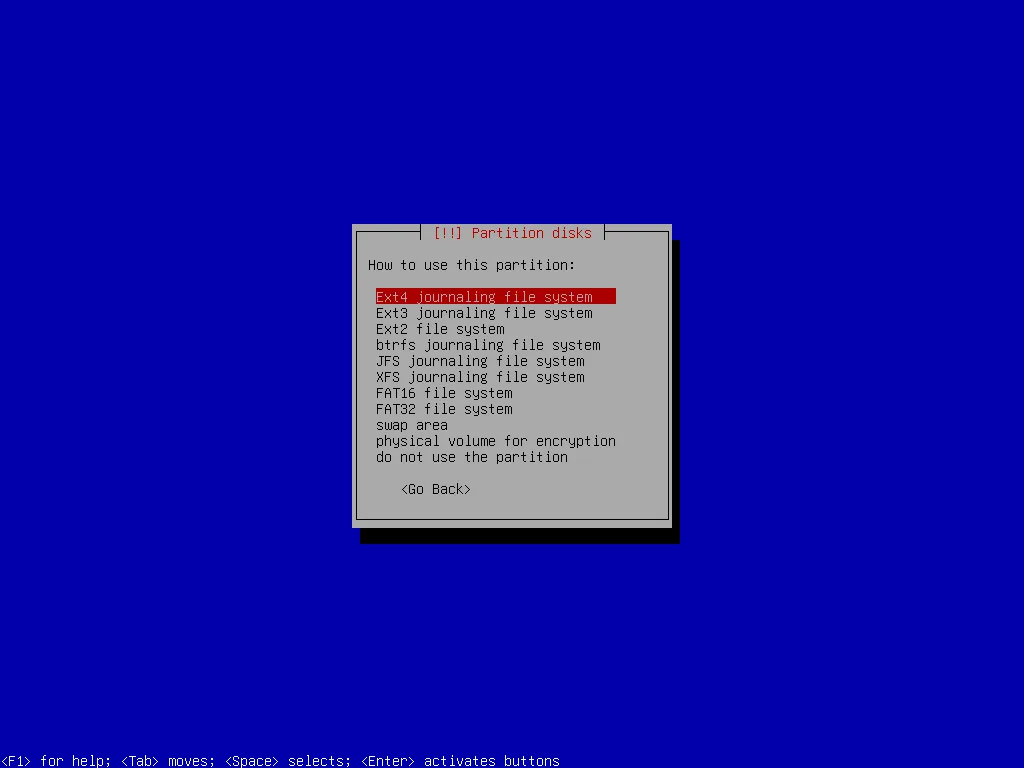
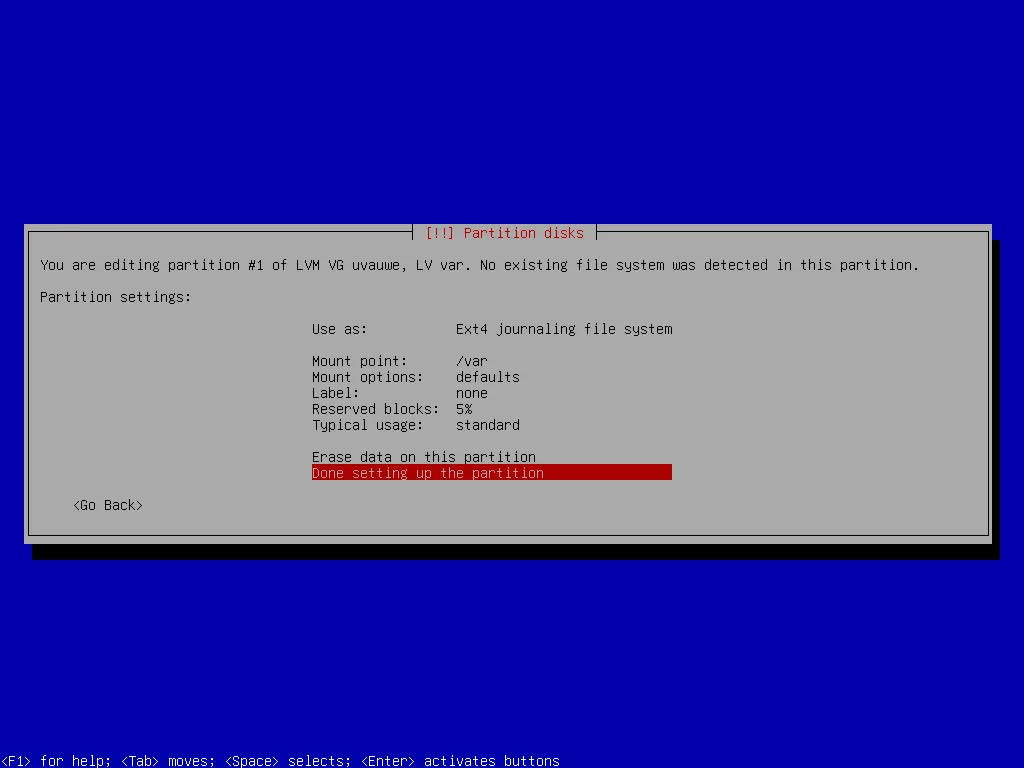
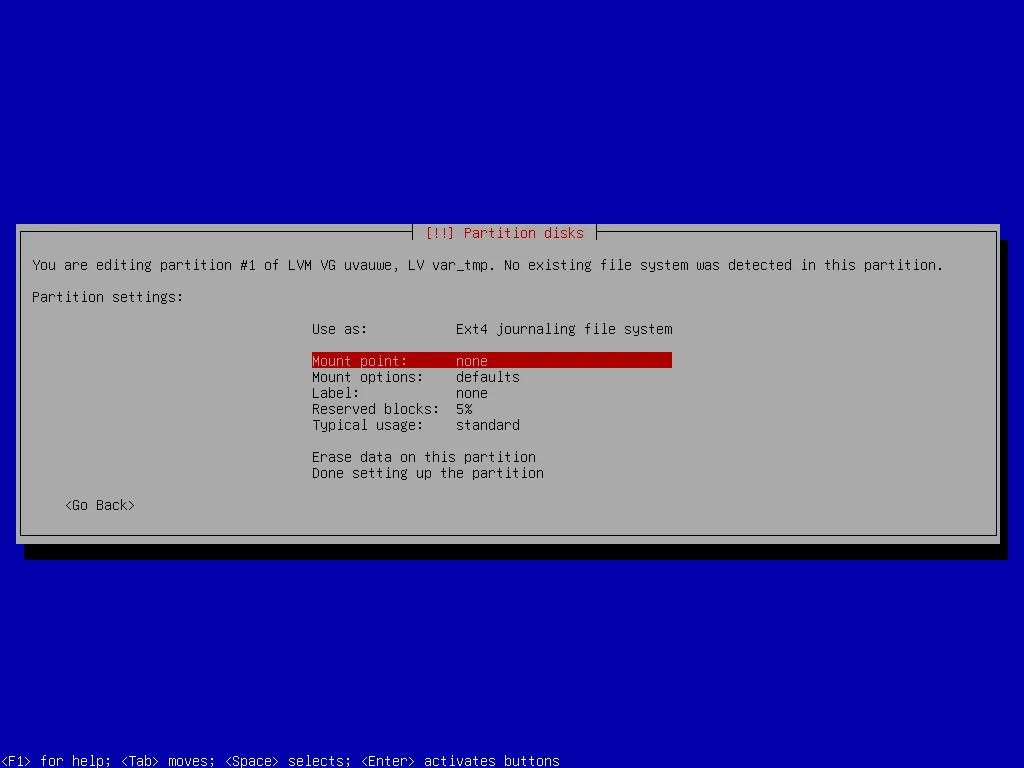
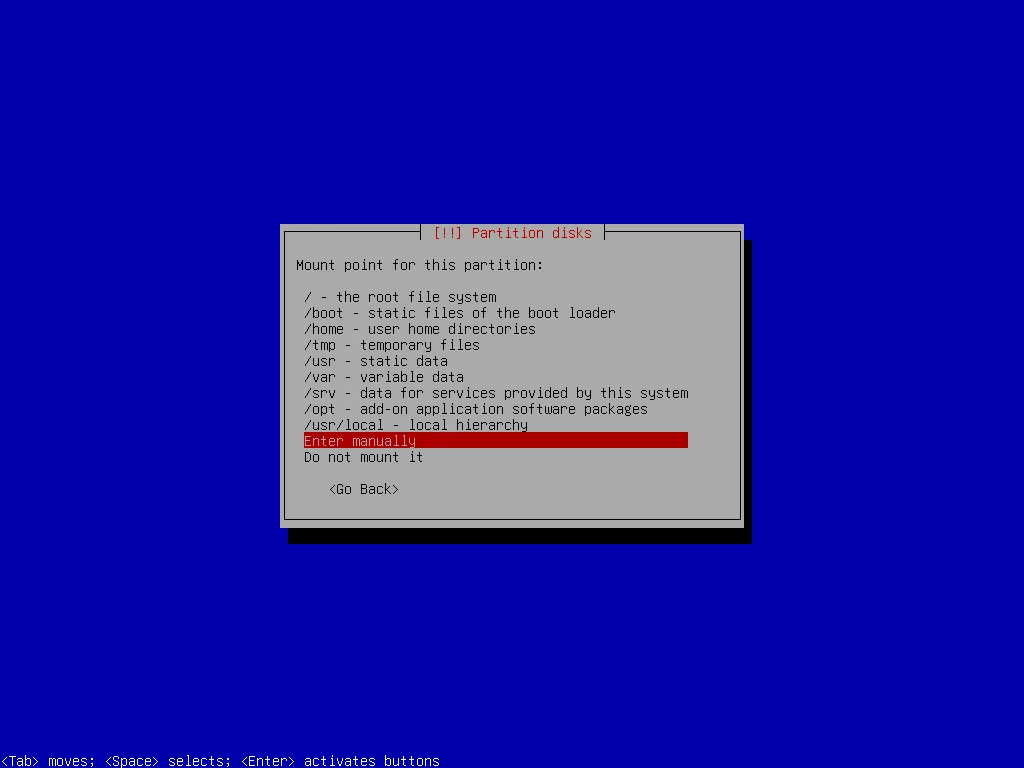
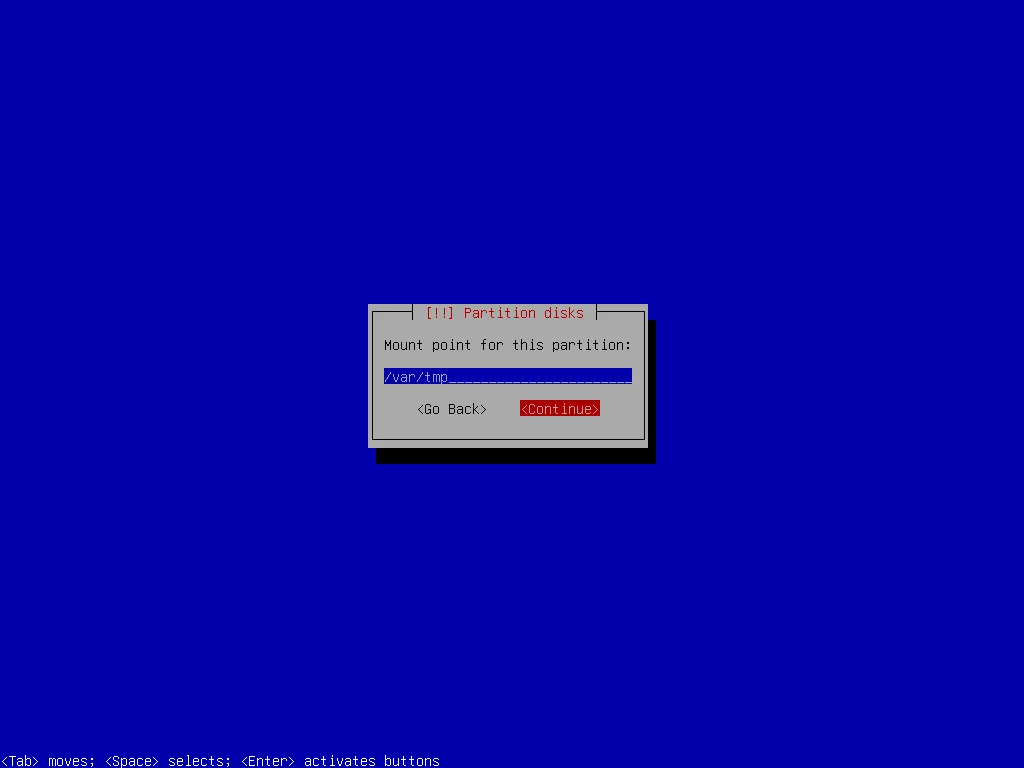
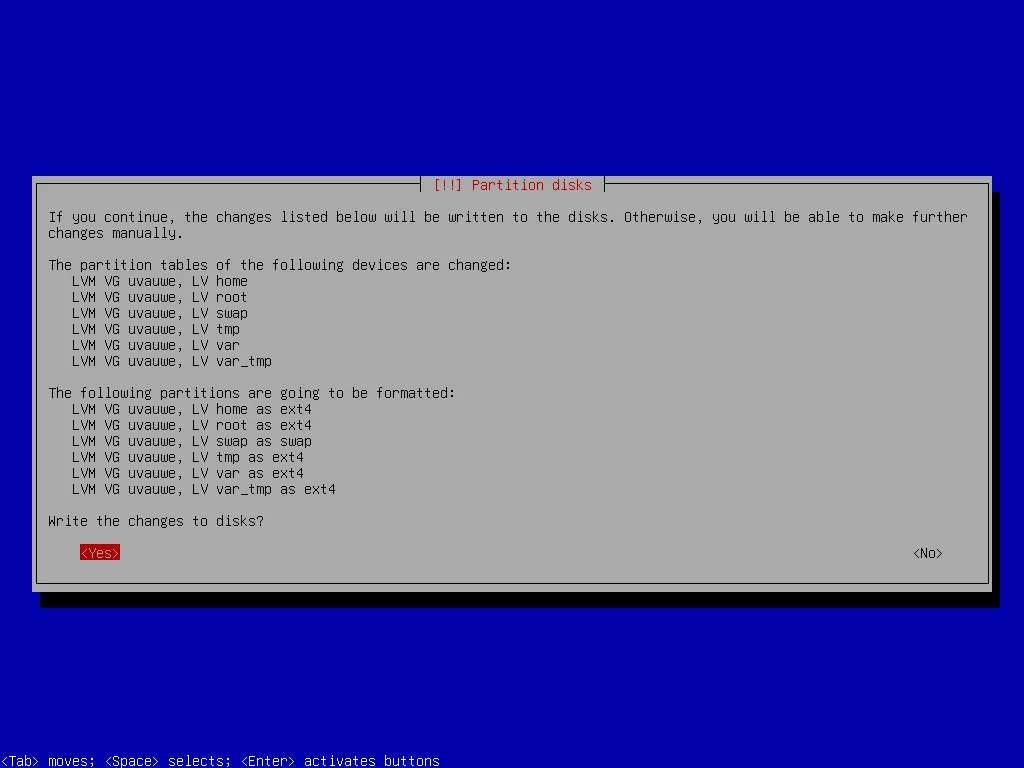
I put those partitions to use by selecting the respective file systems and mount points. Finally, I write the changes to disk.


Now I finish installation and reboot.
Unlock the encrypted LVM after installation
When I boot the system I need to unlock the encrypted LVM but I didn’t get the prompt on my display connected via HDMI and I couldn’t enter the password using my USB keyboard. After some time I found out that it works – but only via serial console.
However, I can avoid using the serial console by hitting any key in U-Boot to stop autoboot and then using the U-Boot command line to pass a boot parameter to the kernel:
=> env set bootargs "console=tty1"
=> boot
Now I can unlock the encrypted LVM as expected and login. The first thing I do is to install a more recent Linux kernel from Debian Backports to benefit from improved hardware support for the ROCK Pi 4.
~$ echo -e "\ndeb http://deb.debian.org/debian/ bookworm-backports main" | sudo tee -a /etc/apt/sources.list > /dev/null
~$ sudo apt update
~$ sudo apt -t bookworm-backports install linux-image-arm64
~$ sudo reboot
Create software RAID after installation
Now I can start to create the RAID 1 array for my boot partition. First I change into a root shell because I’ll need superuser privileges for all the upcoming commands.
I’ll use the one partition I left unused at installation time to create the RAID array and add the second partition (the on my other SSD) later. Using fdisk at first I change the partition type to Linux RAID, then I create the RAID device with mdadm. Option --metadata=1.0 makes sure the superblock (RAID metadata) is stored at the end of the device so that U-Boot can read it (see above). After that I update the Software RAID configuration file mdadm.conf.
~$ sudo -i
~# fdisk /dev/sda
Command (m for help): t
Partition number (1,2, default 2): 1
Partition type or alias (type L to list all): raid
Command (m for help): w
~# mdadm --create /dev/md1 --metadata=1.0 --level=1 --raid-devices=2 missing /dev/sda1
~# bash /usr/share/mdadm/mkconf | tee /etc/mdadm/mdadm.conf > /dev/null
Then I build an ext4 file system on the virtual device, mount it and copy all contents of my current boot partition.
~# mkfs.ext4 /dev/md1
~# mkdir /mnt/md1
~# mount /dev/md1 /mnt/md1
~# cp -a /boot/. /mnt/md1/
Now it’s time to update /etc/fstab. I open the file, look for the row with the mount point /boot (second column) and simply replace the existing value for file system (first column) with the device node of my RAID device /dev/md1. To apply these changes I update the initial ramdisk.
~# editor /etc/fstab
~# update-initramfs -u
Finally, I unmount the still active partition I created for my /boot directory with the Debian Installer. I change its partition type and add it to my RAID device. Let’s reboot and see if everything works as expected!
~# umount /boot
~# fdisk /dev/nvme0n1
Command (m for help): t
Partition number (1,2, default 2): 1
Partition type or alias (type L to list all): raid
Command (m for help): w
~# mdadm /dev/md1 --add /dev/nvme0n1p1
~# reboot