I’m planning to use my ROCK Pi 4 as a home server with an NVMe M.2 SSD for the root file system. Therefore I bought an M.2 extension board v1.6 and an ecoPI PRO HP aluminum housing. Here I want to share some pictures of the assembly.
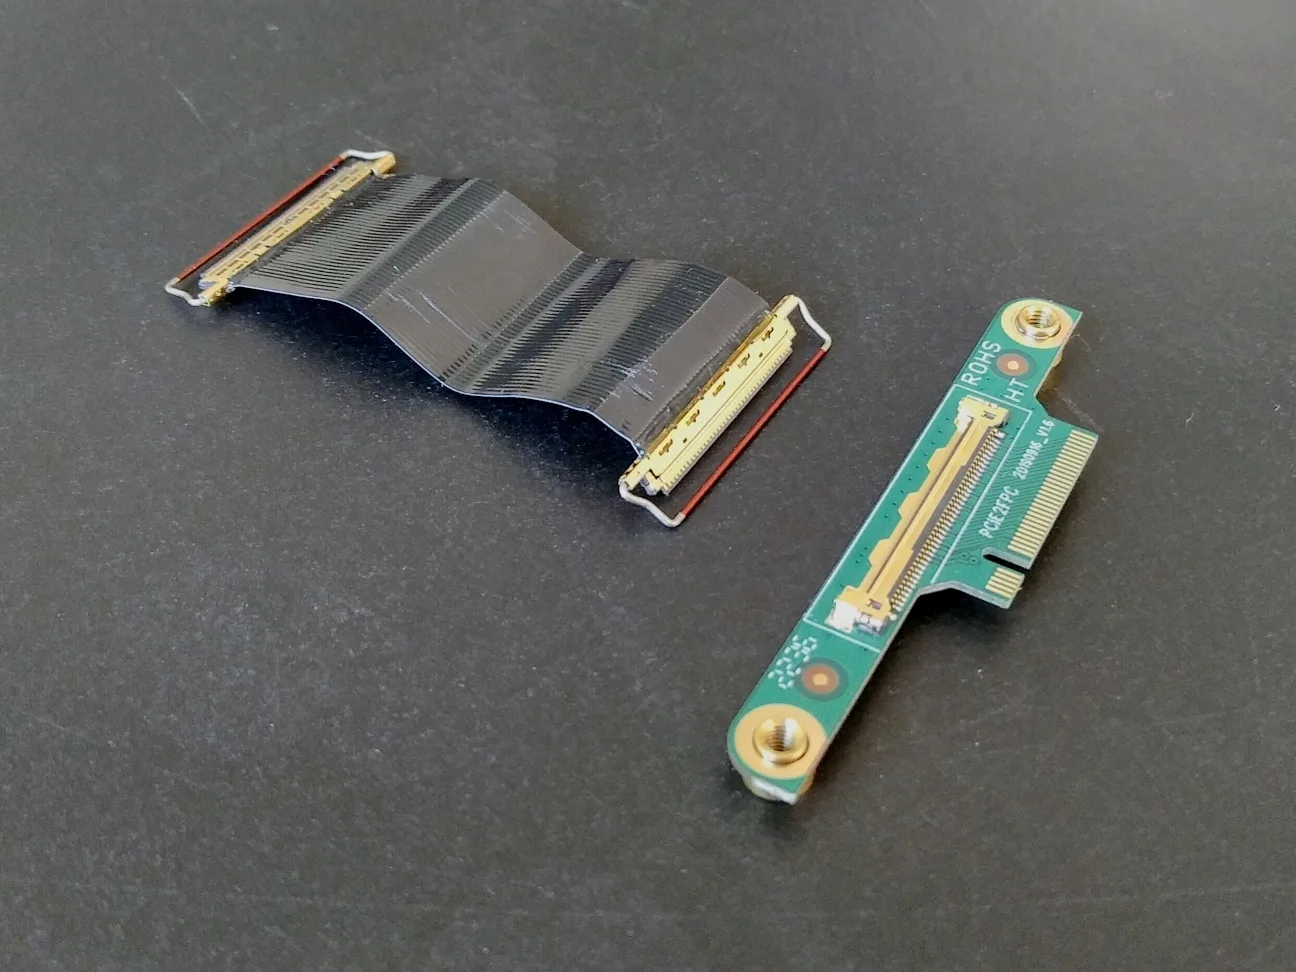
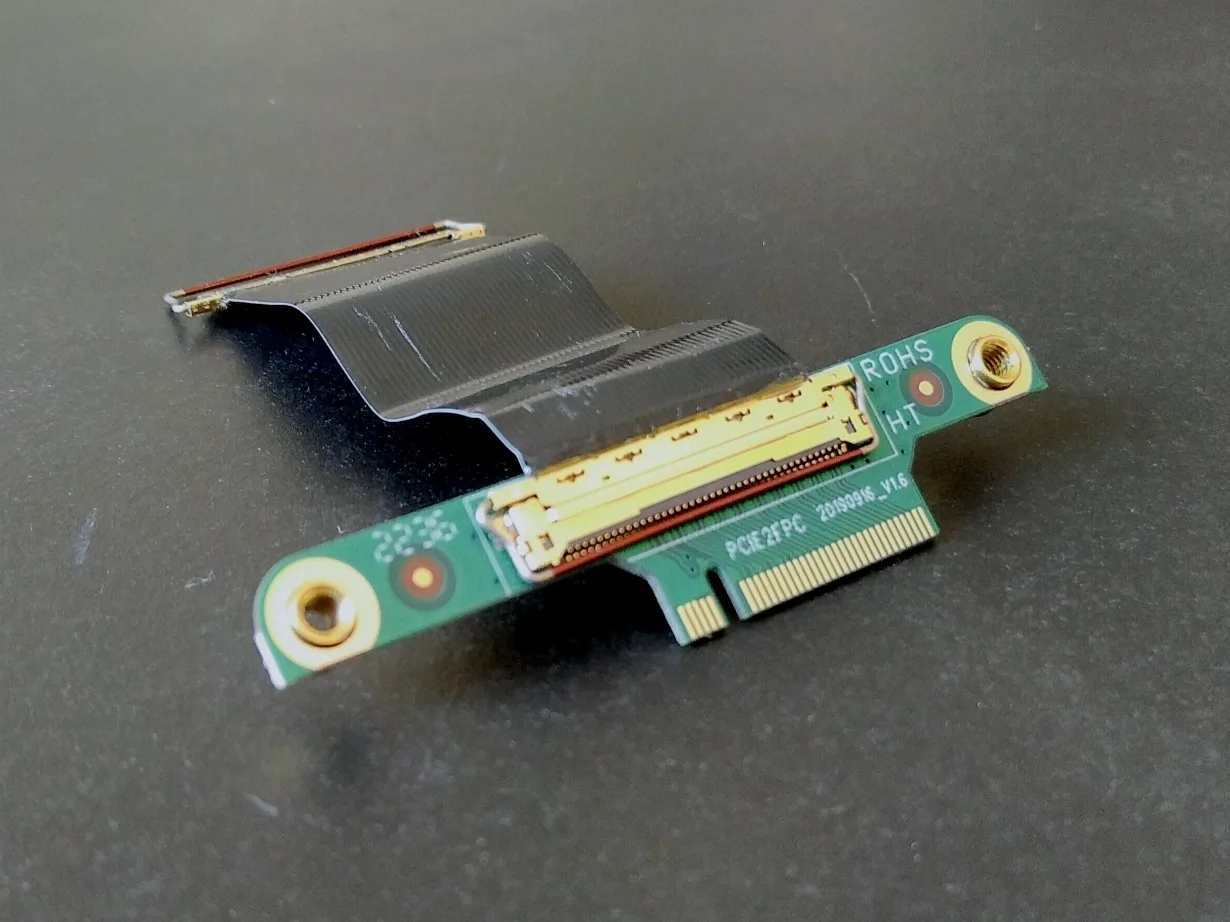
At first I connected the ribbon cable with the small PCB which came with the extension board.
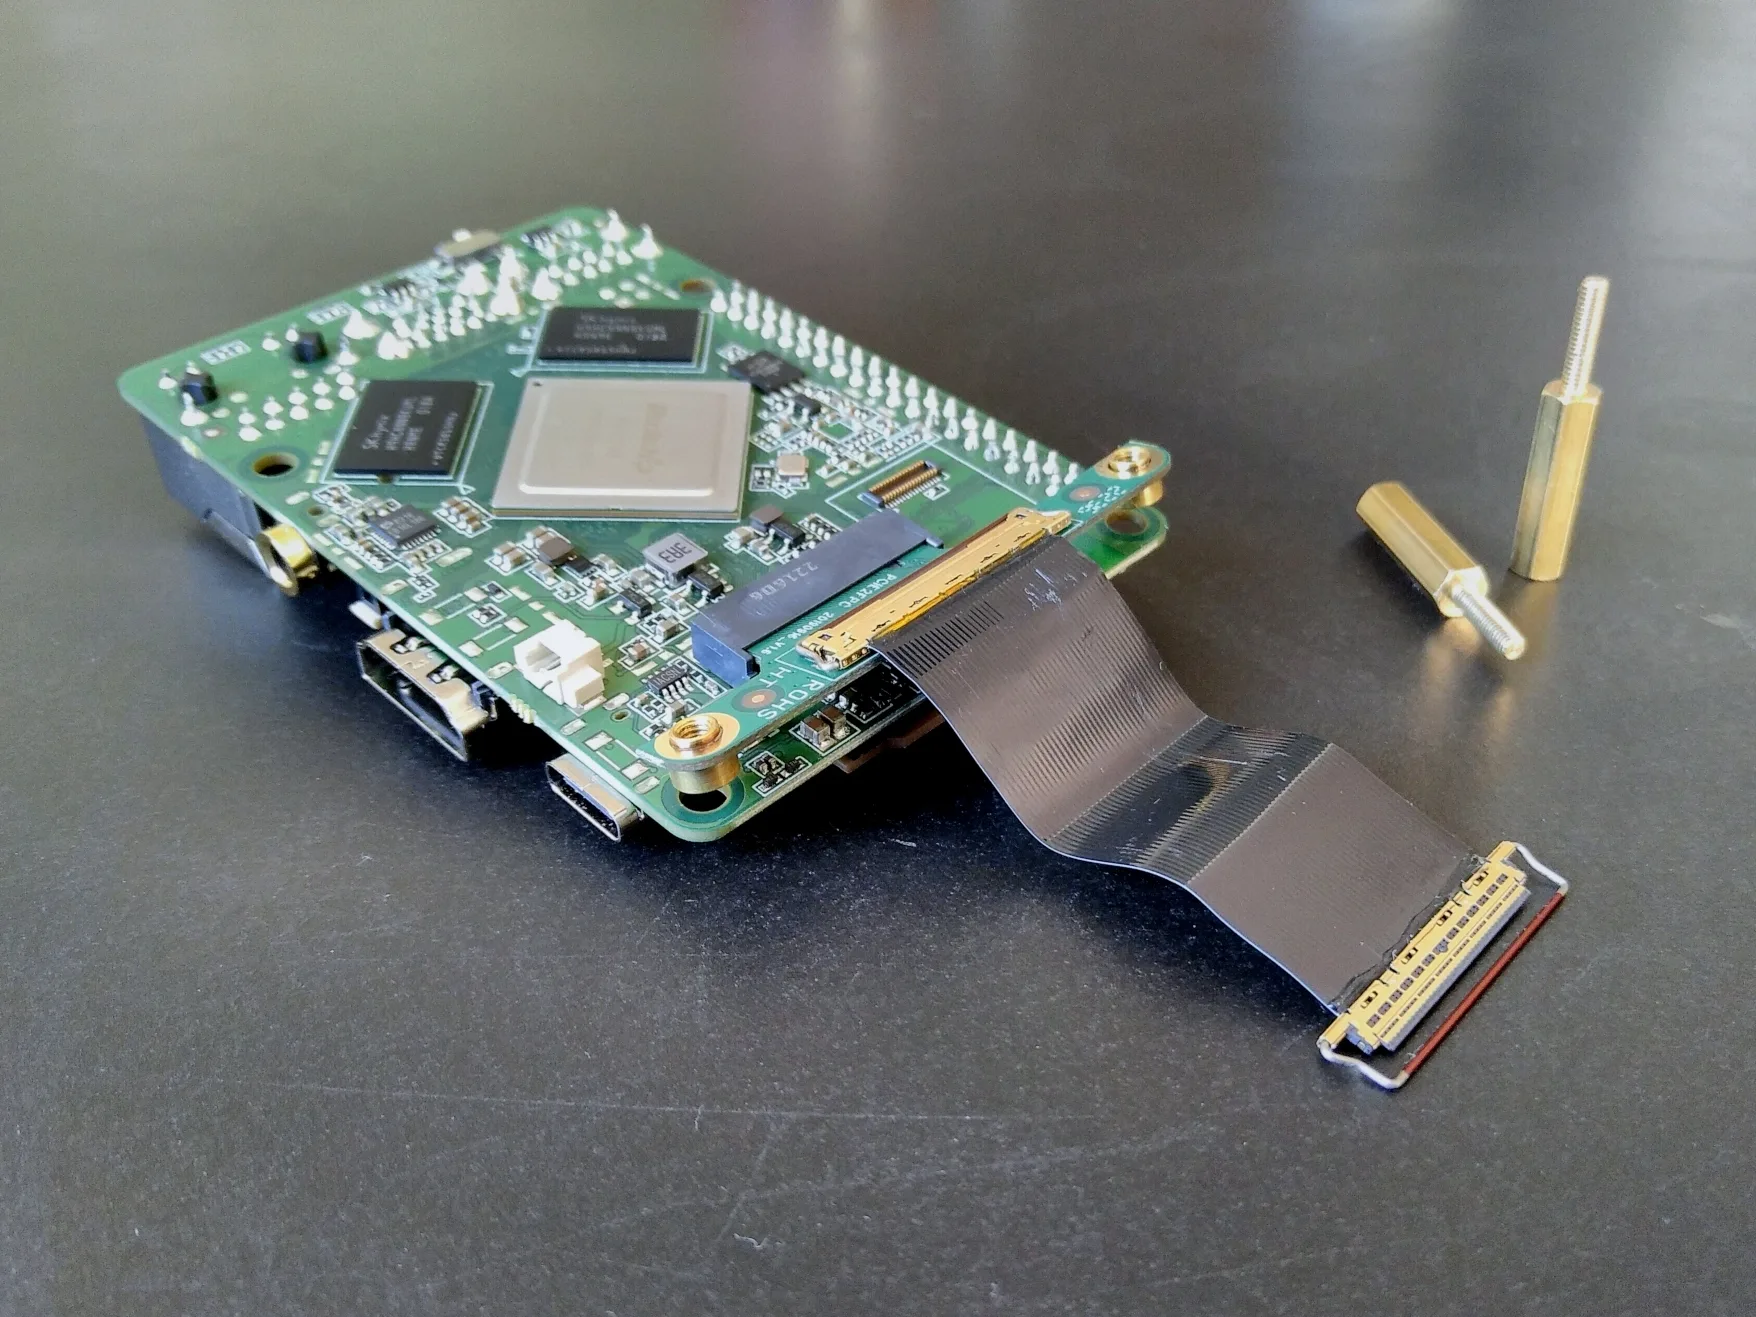
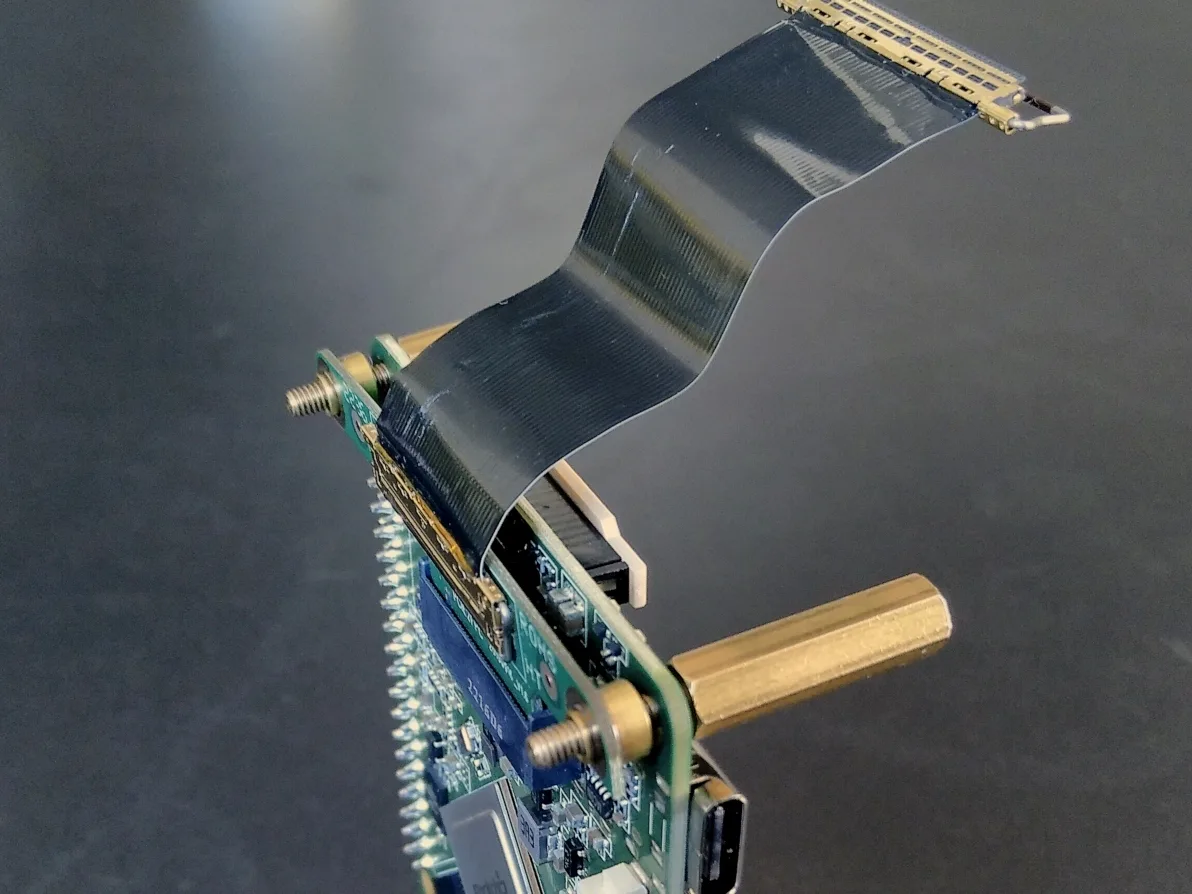
Then I inserted the small PCB into the M.2 slot of the ROCK Pi 4 and used the two longest of the included hex standoff bolts to screw it on.
The standoff bolts go through the ROCK Pi 4, the small PCB, the small spacers (see below) and then into the heat sink. Both the small PCB and the heat sink have matching female screw threads, so at this point I had to make sure not to tighten the standoffs to firm.
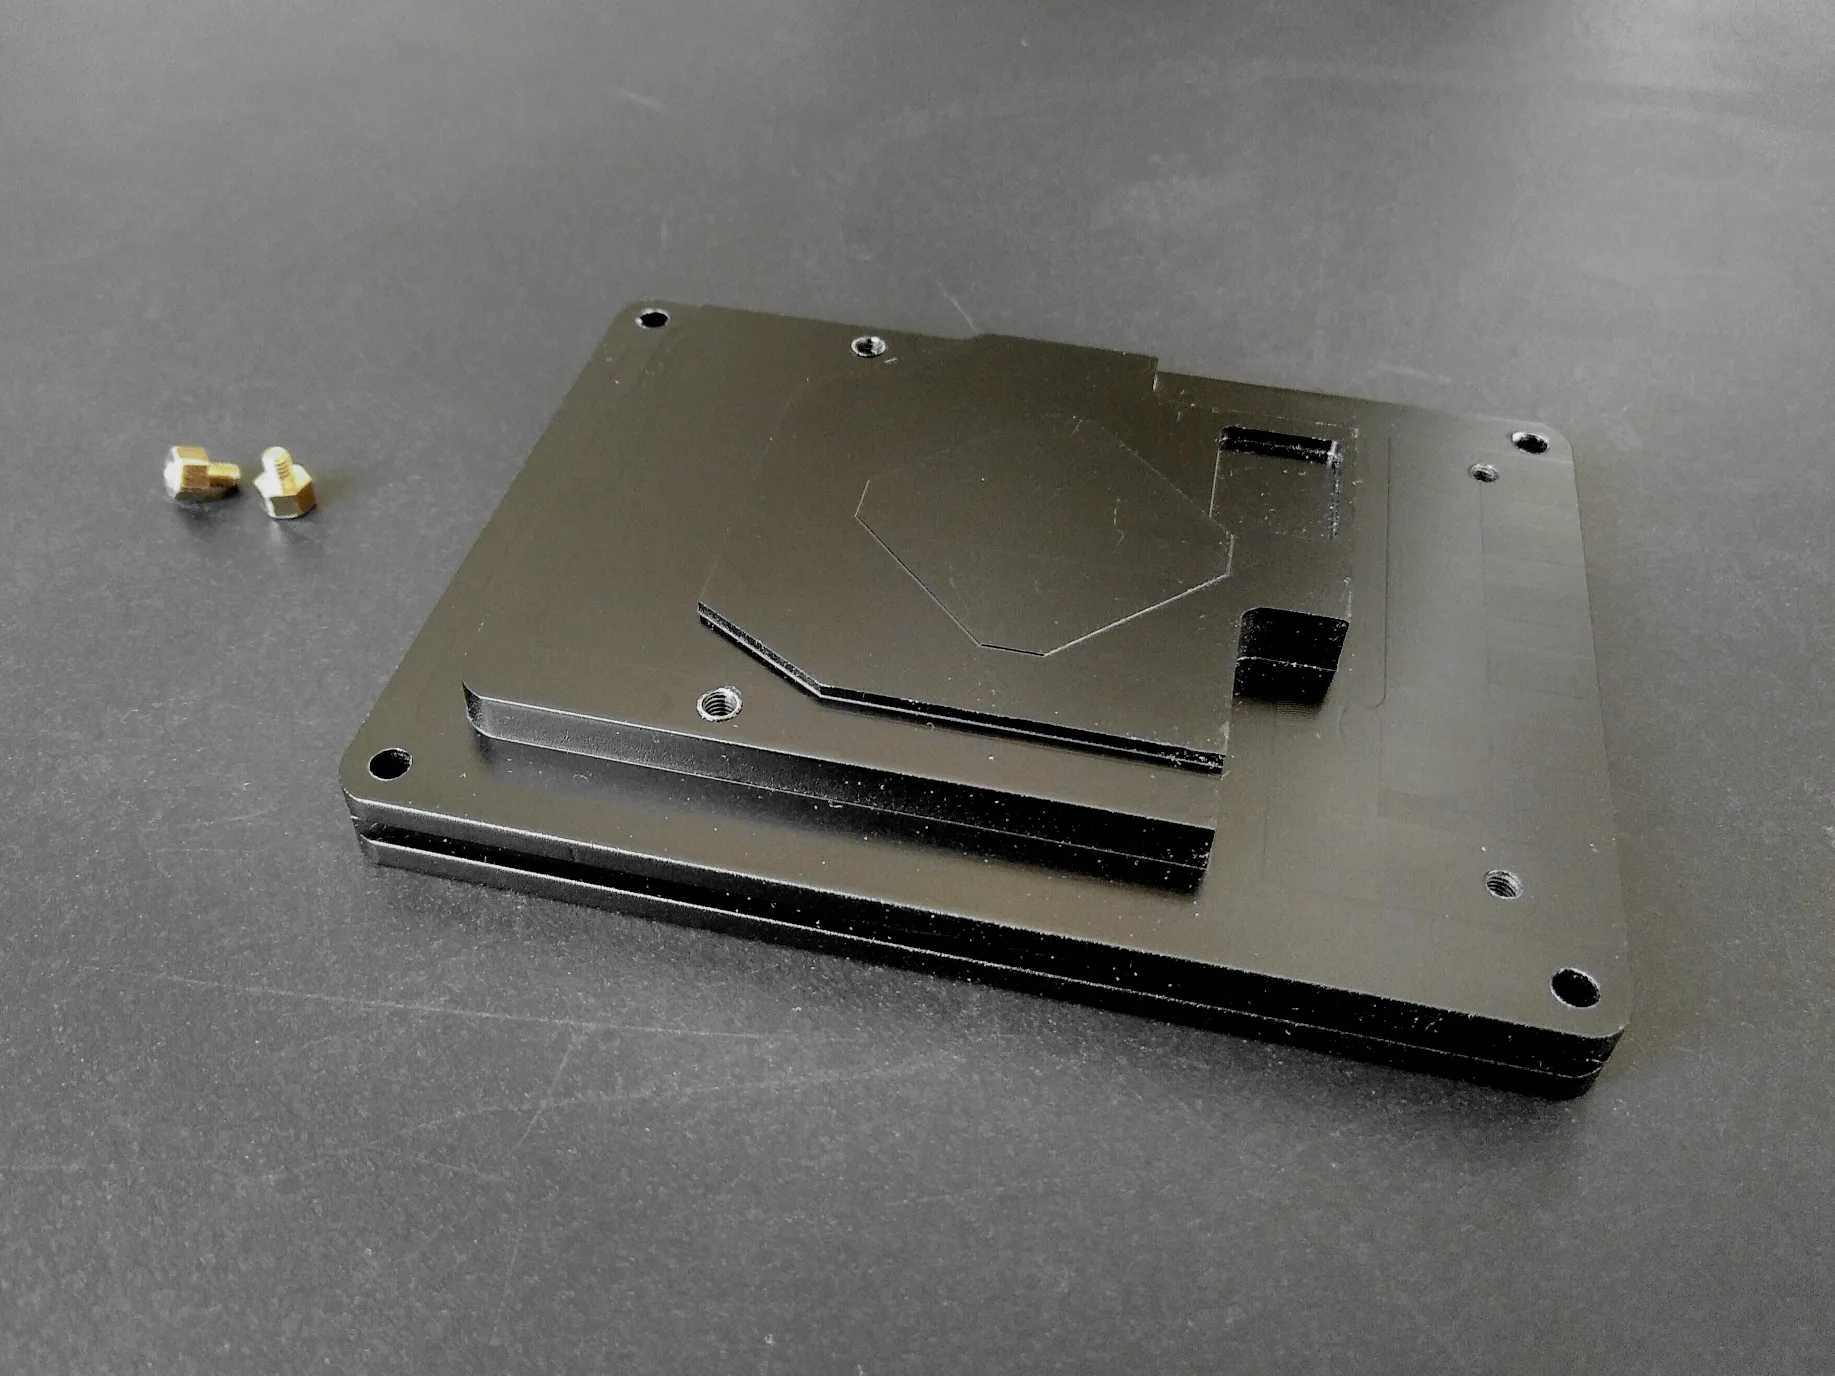
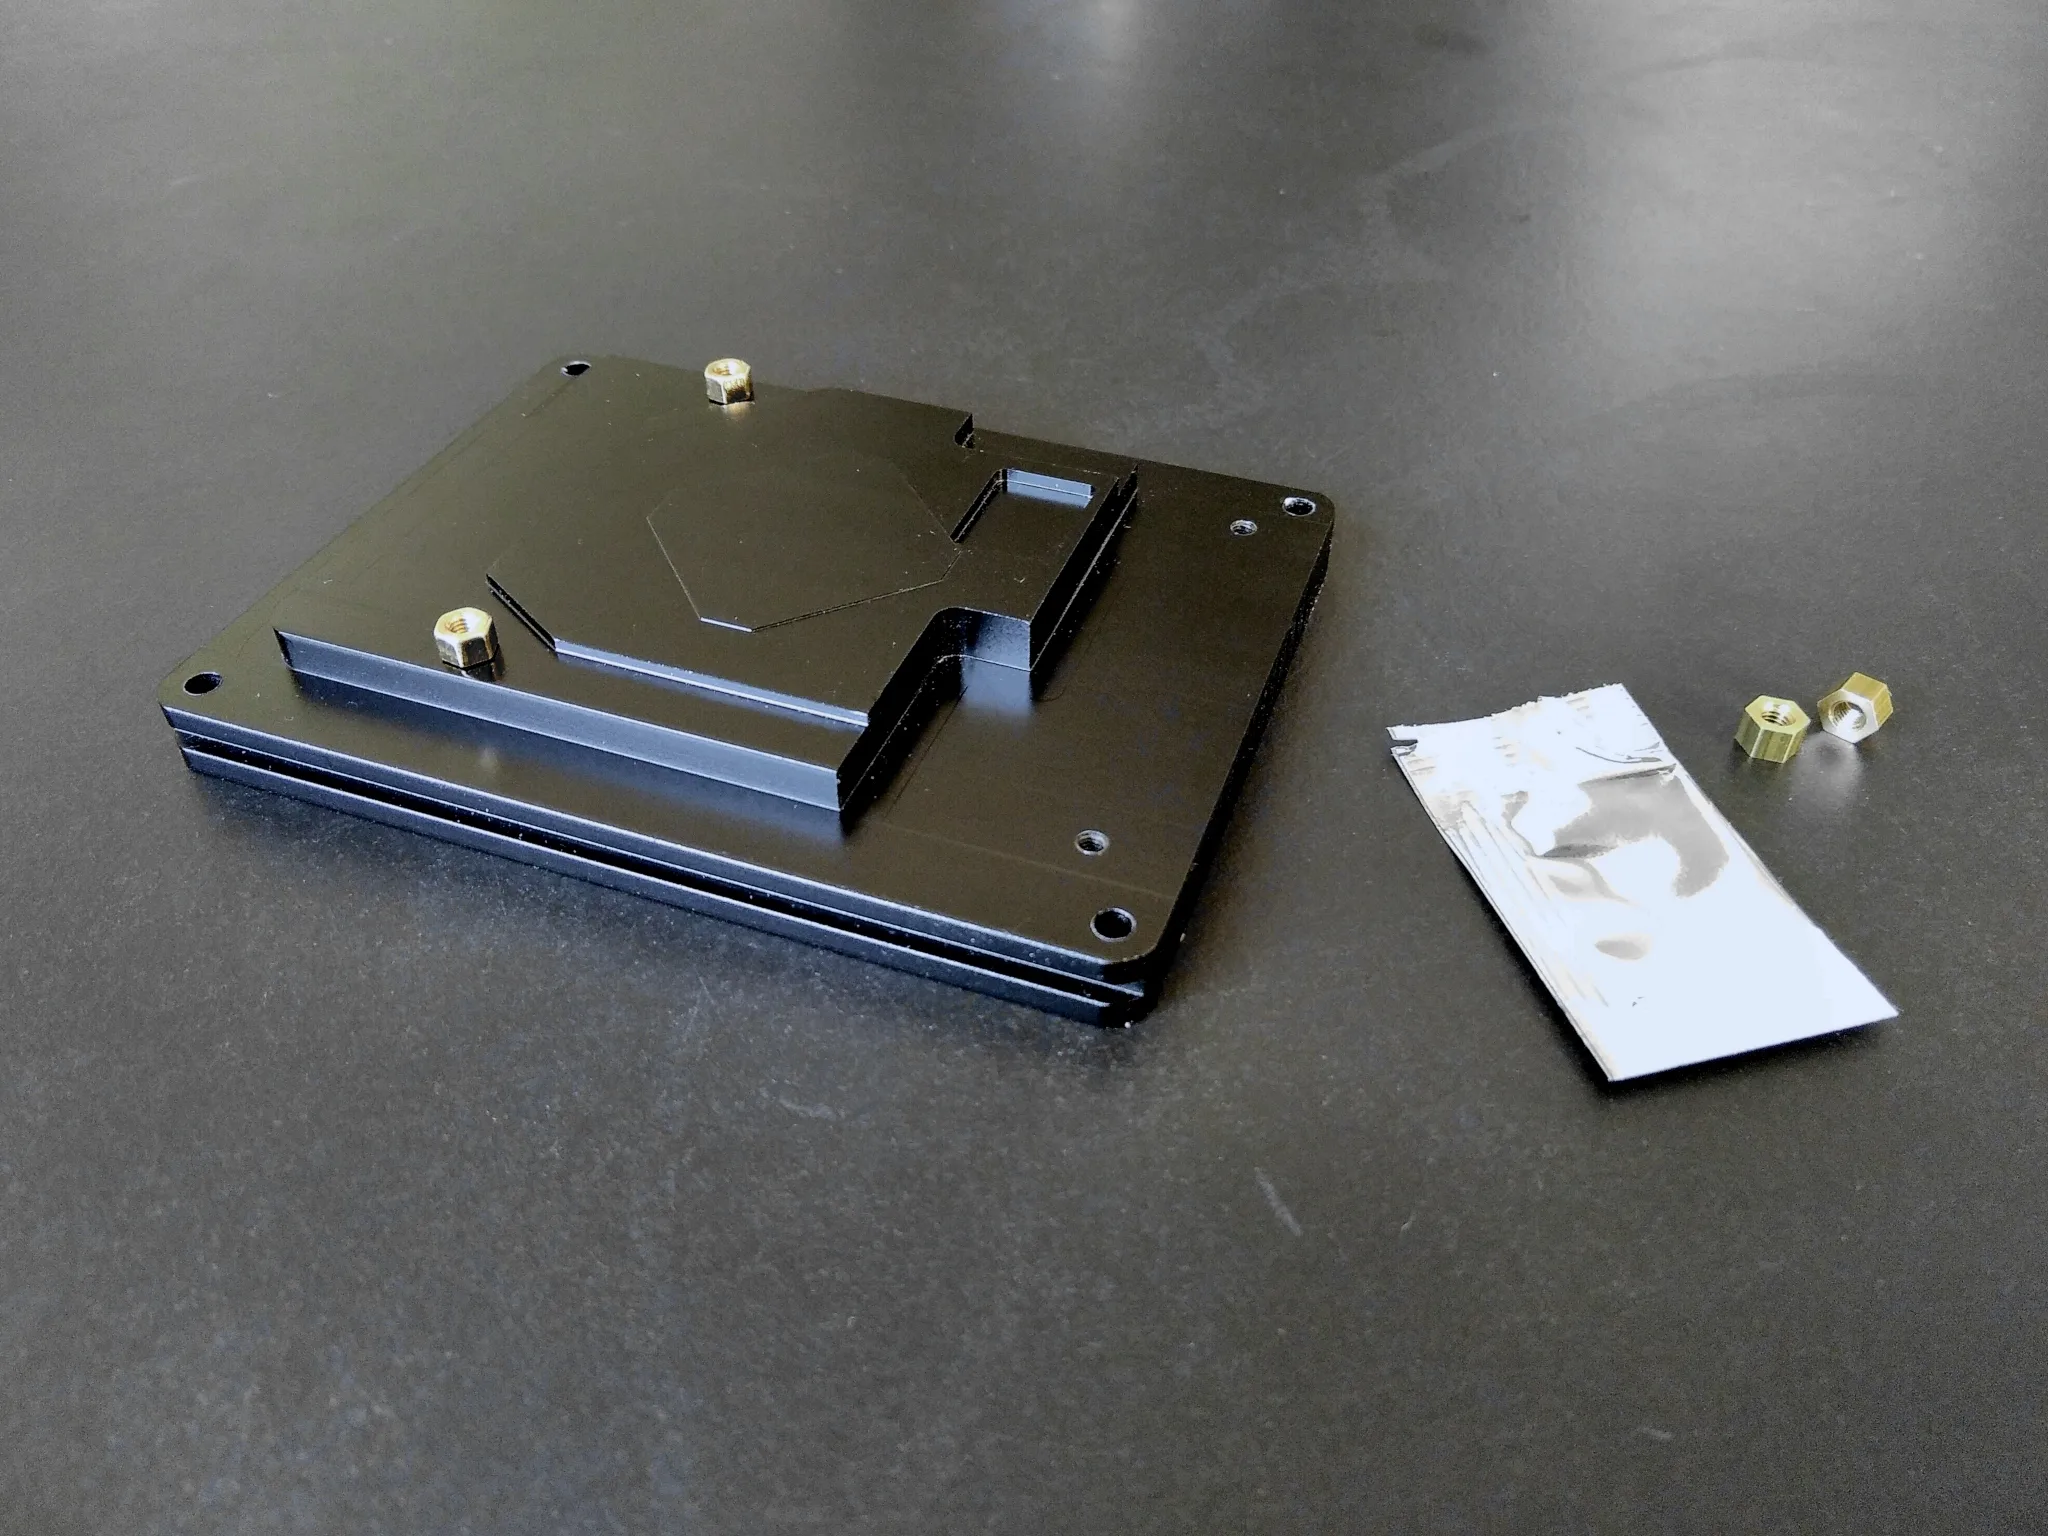
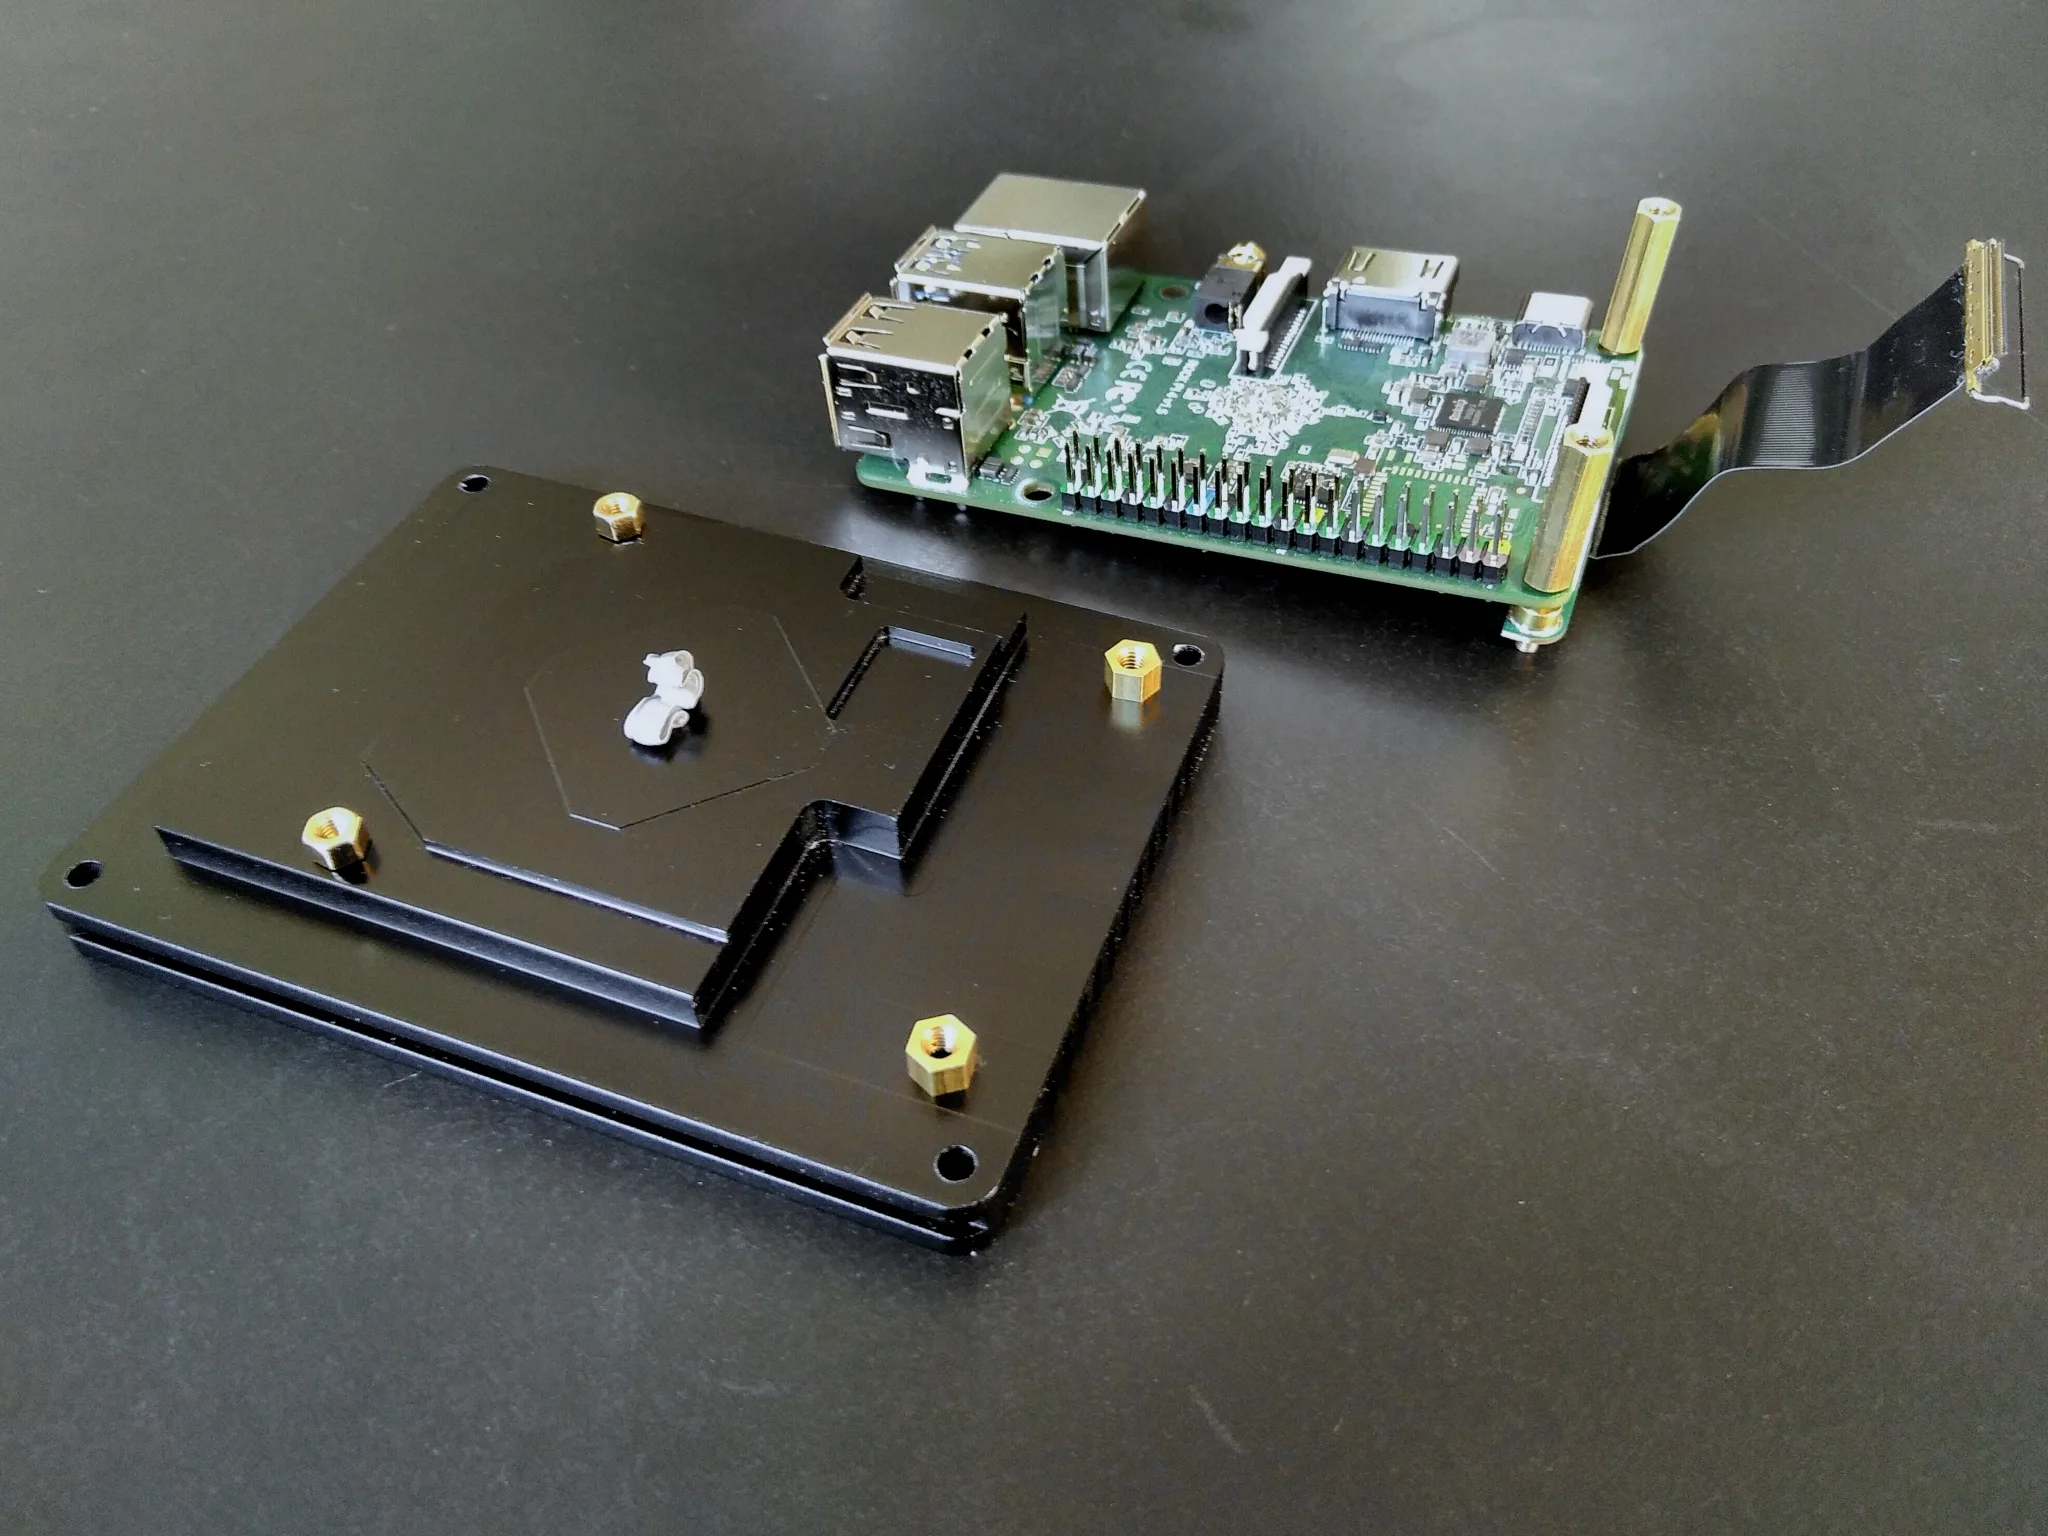
Next I prepared the heat sink for the mounting of the ROCK Pro 4: I screwed on the two short standoffs, applied some thermal paste and placed the two included hex spacers on the threaded holes for the long standoff bolts.
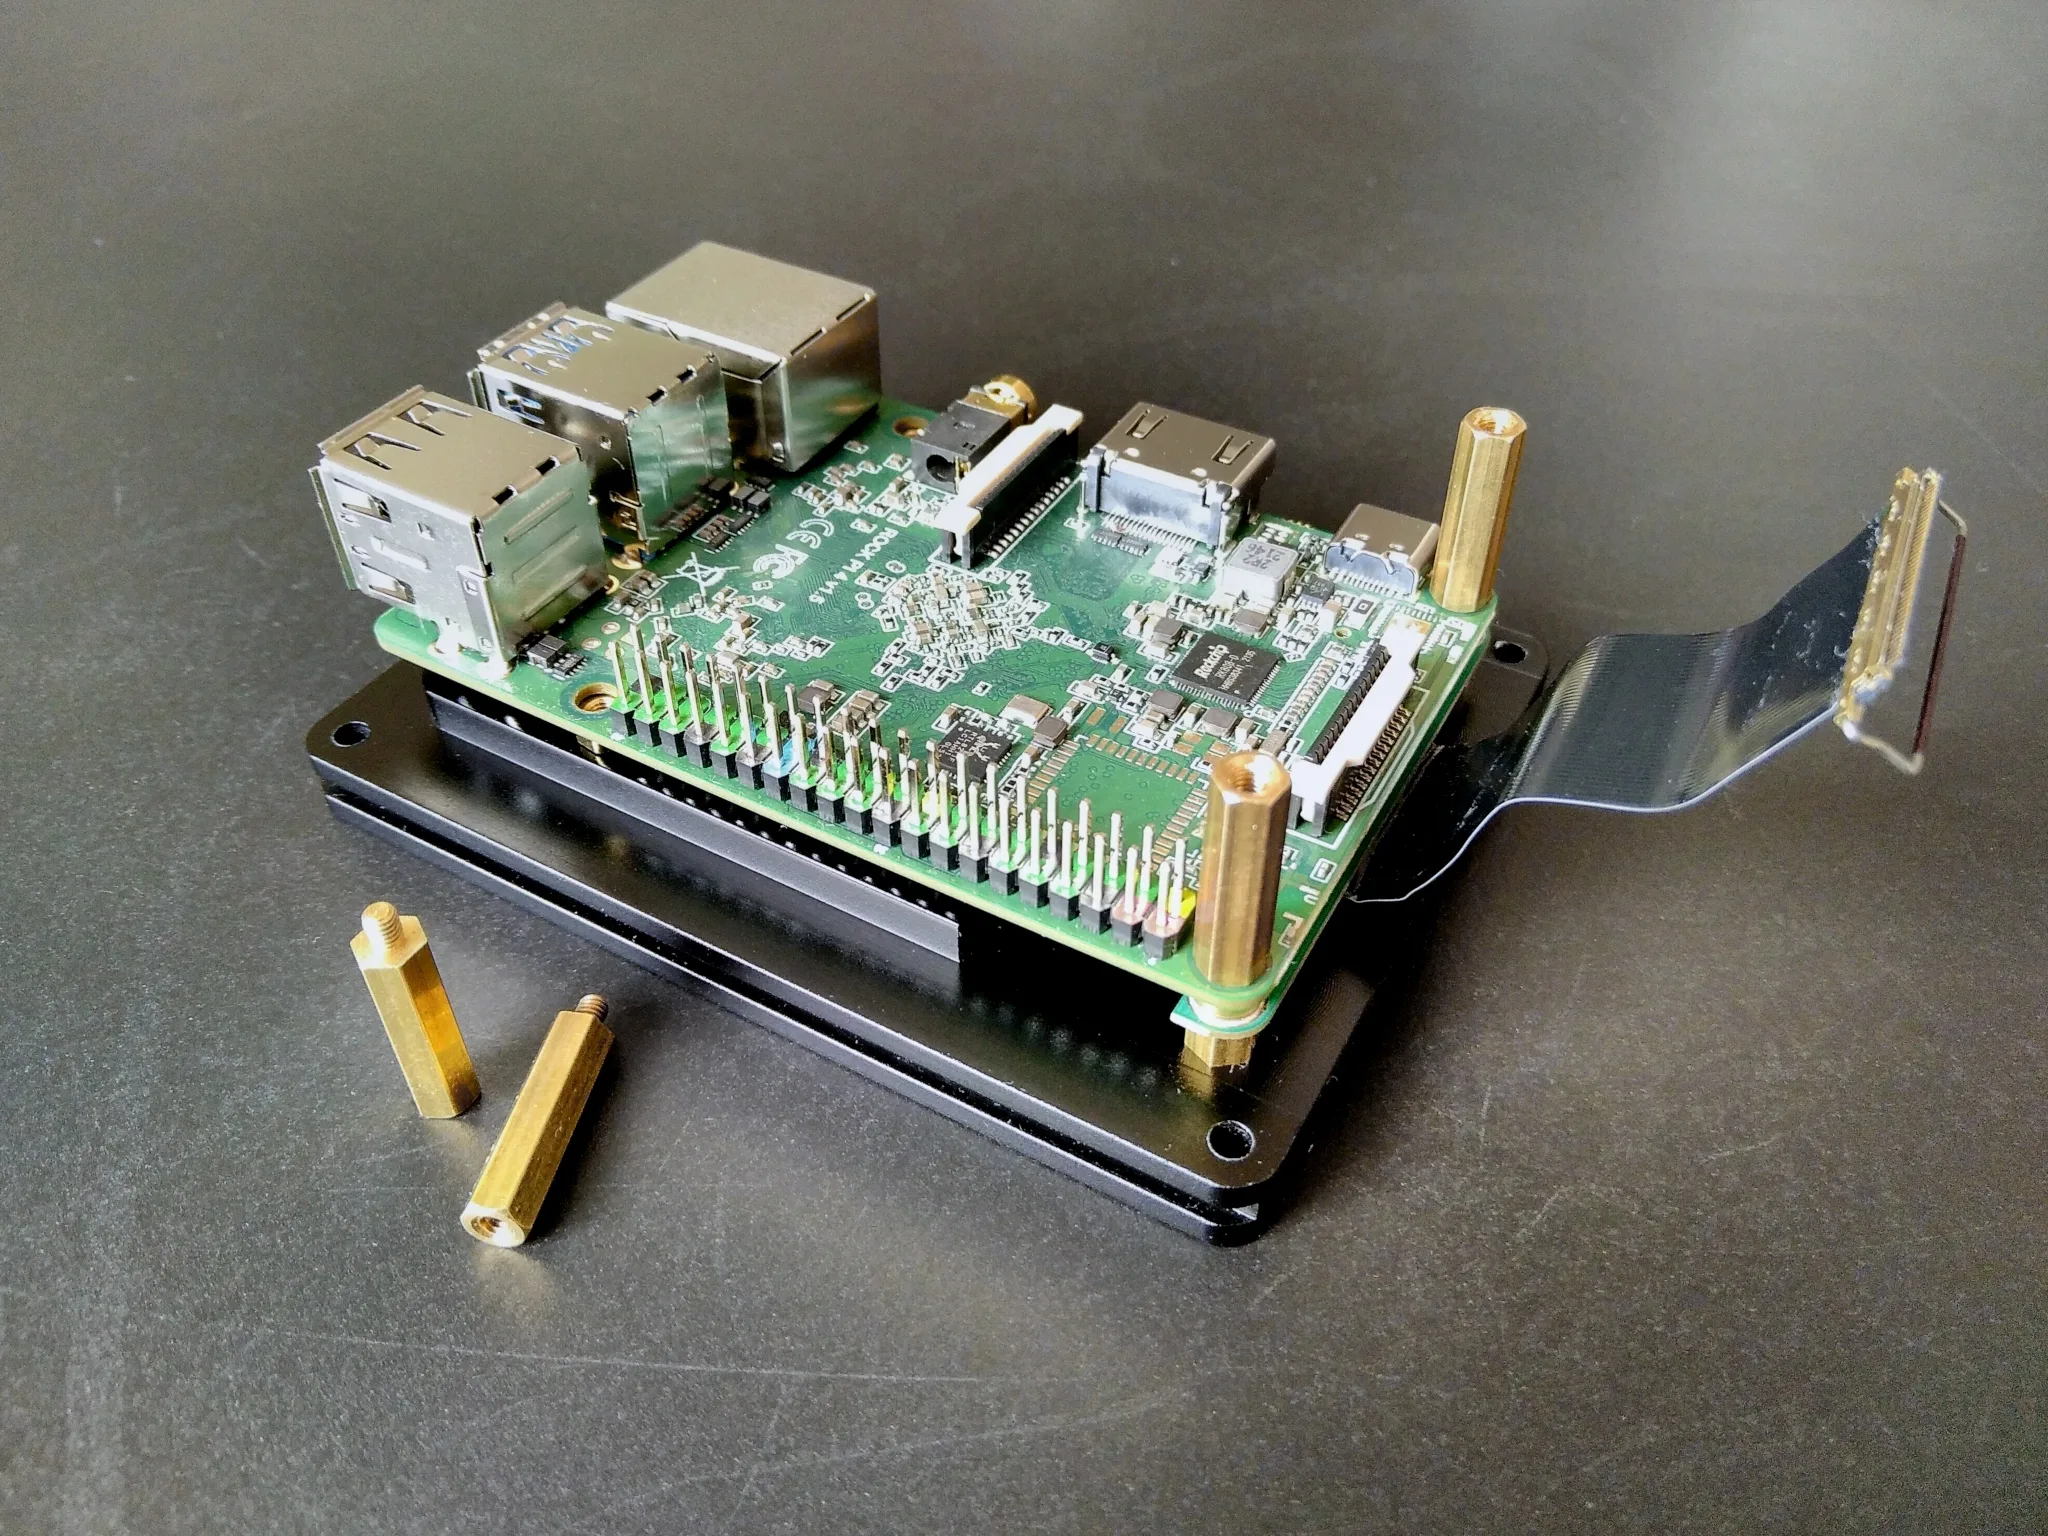
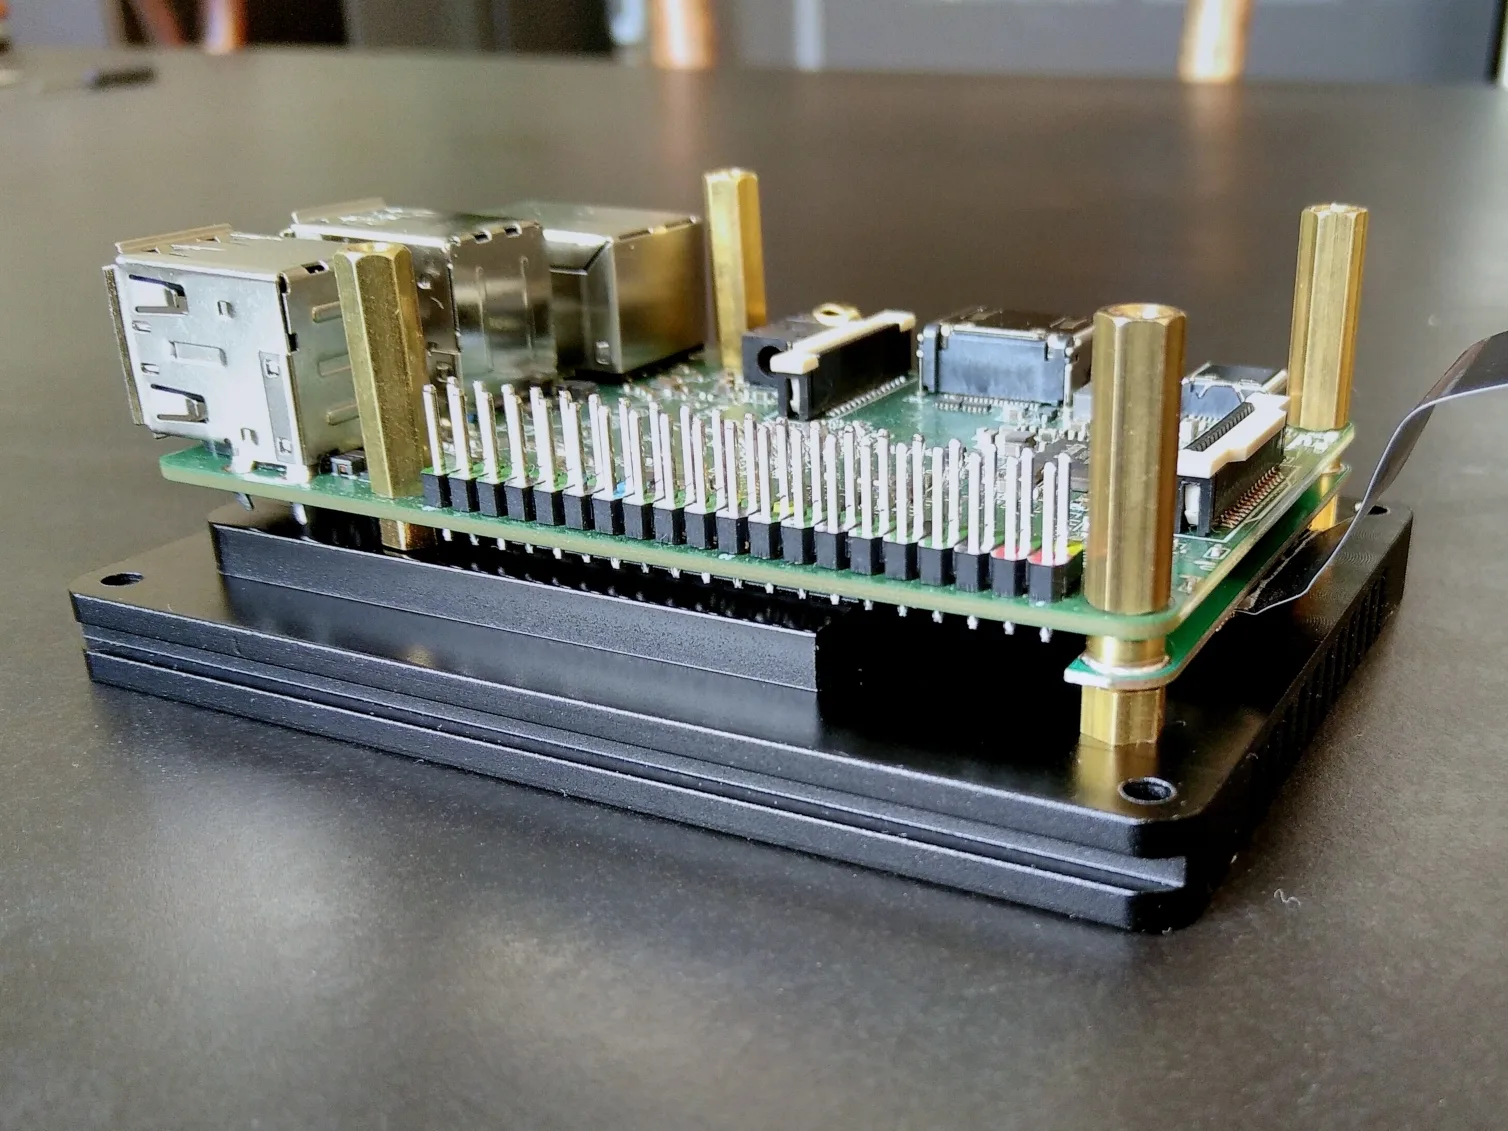
After that I carefully put the ROCK Pi 4 on the heat sink, screwed tight those two and then two additional standoffs.
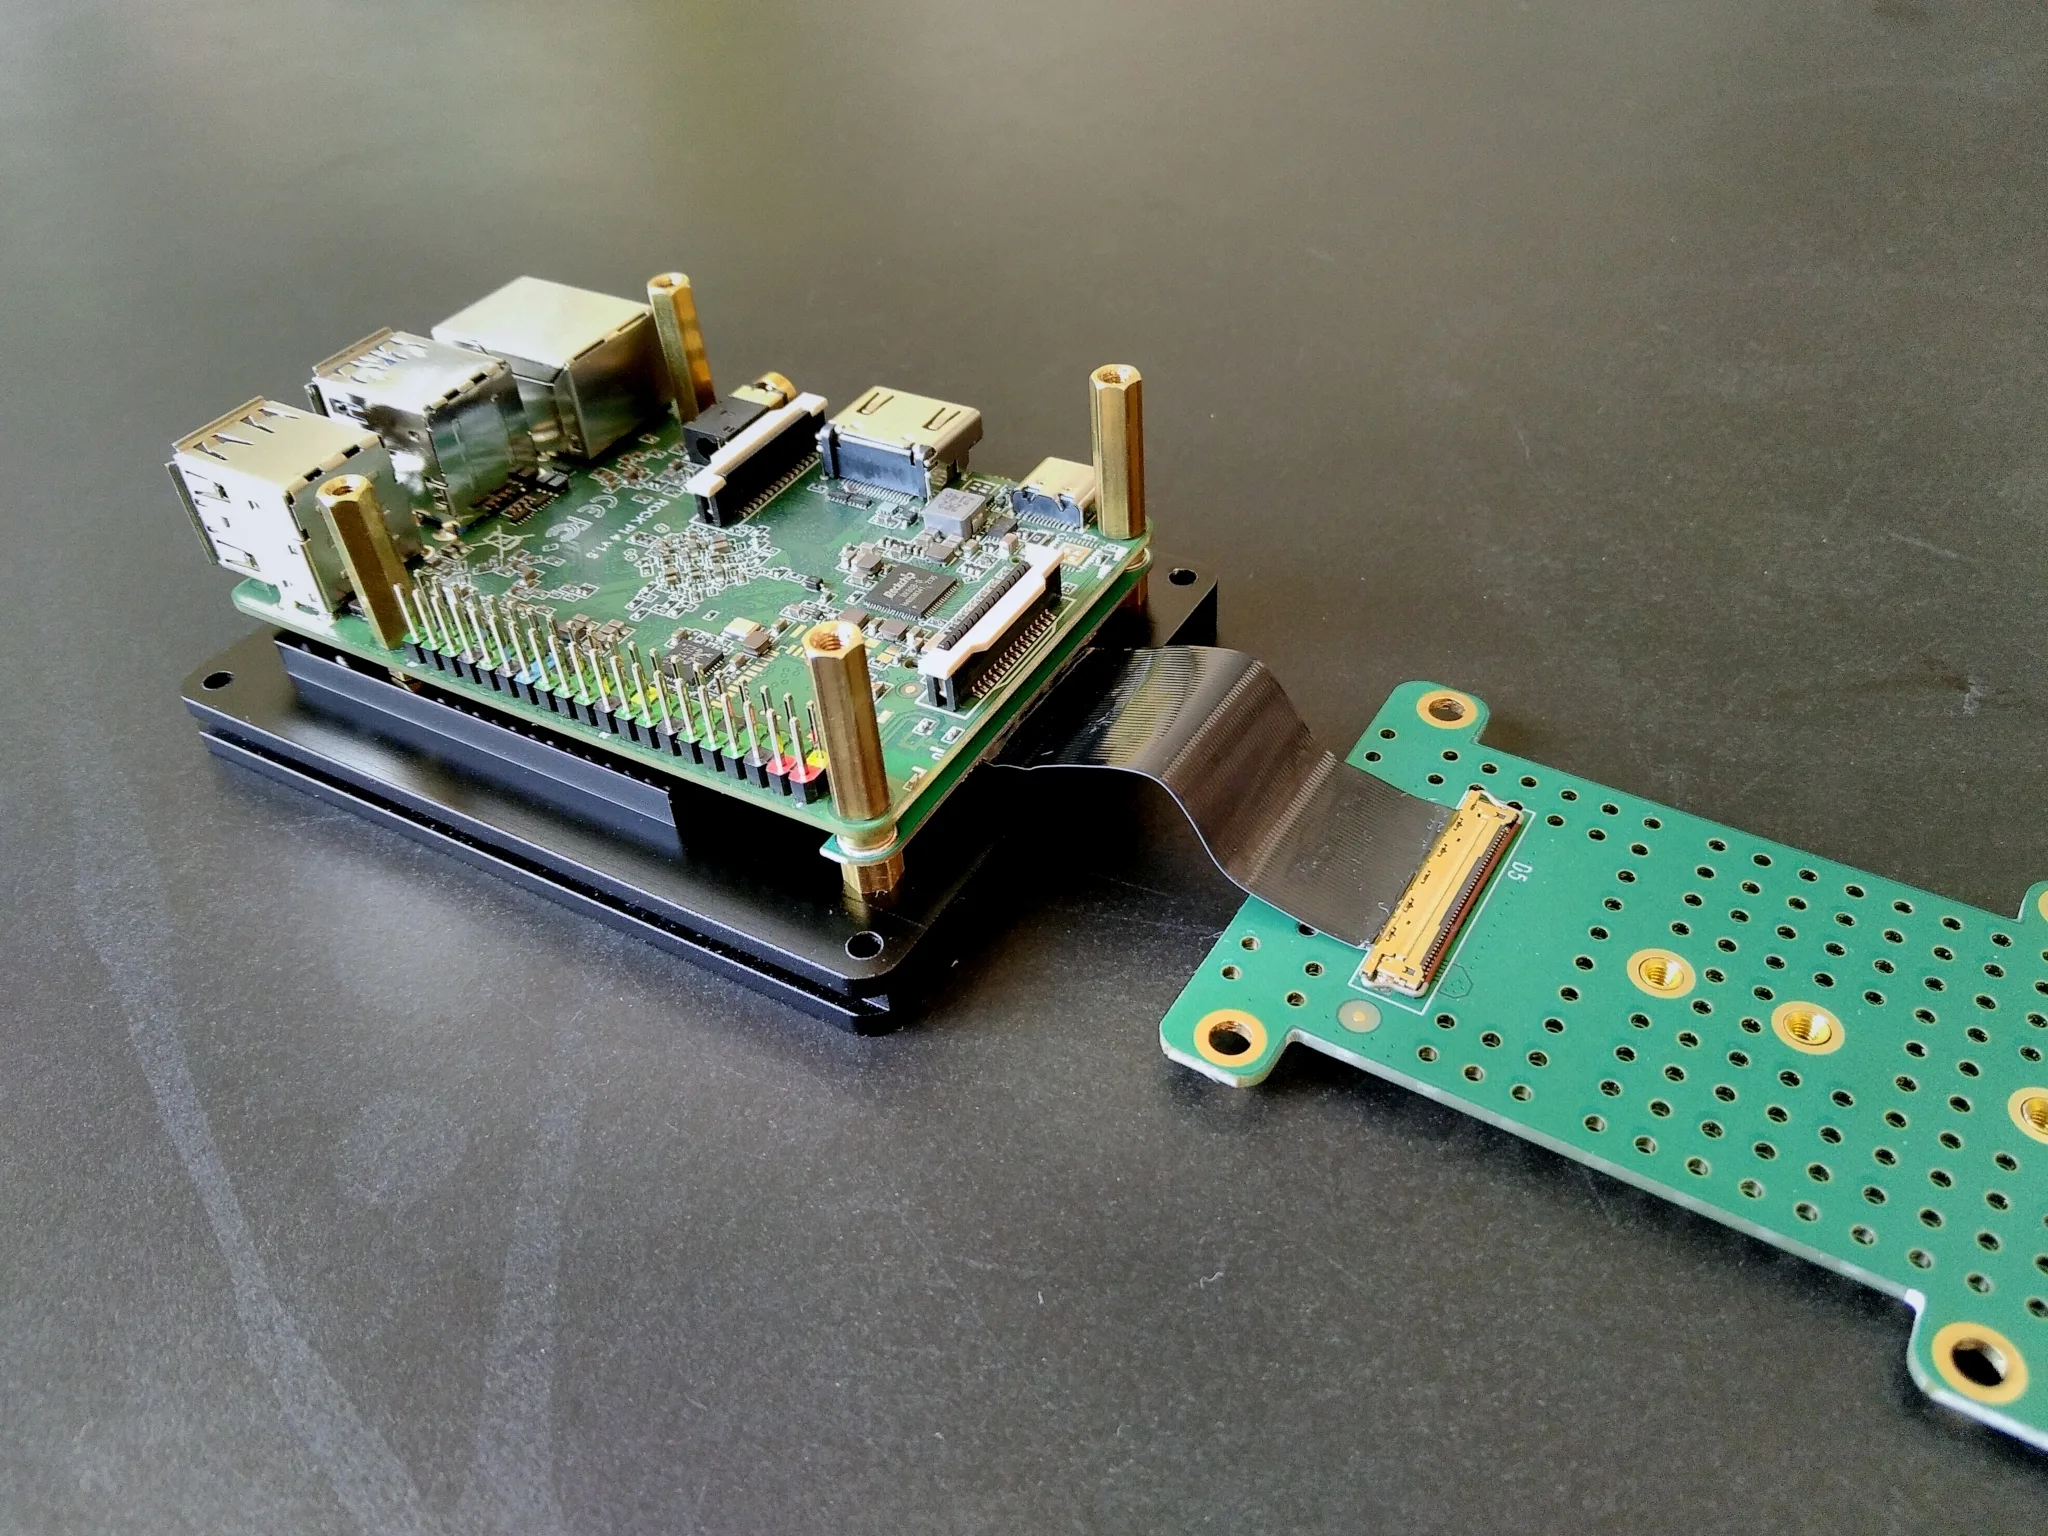
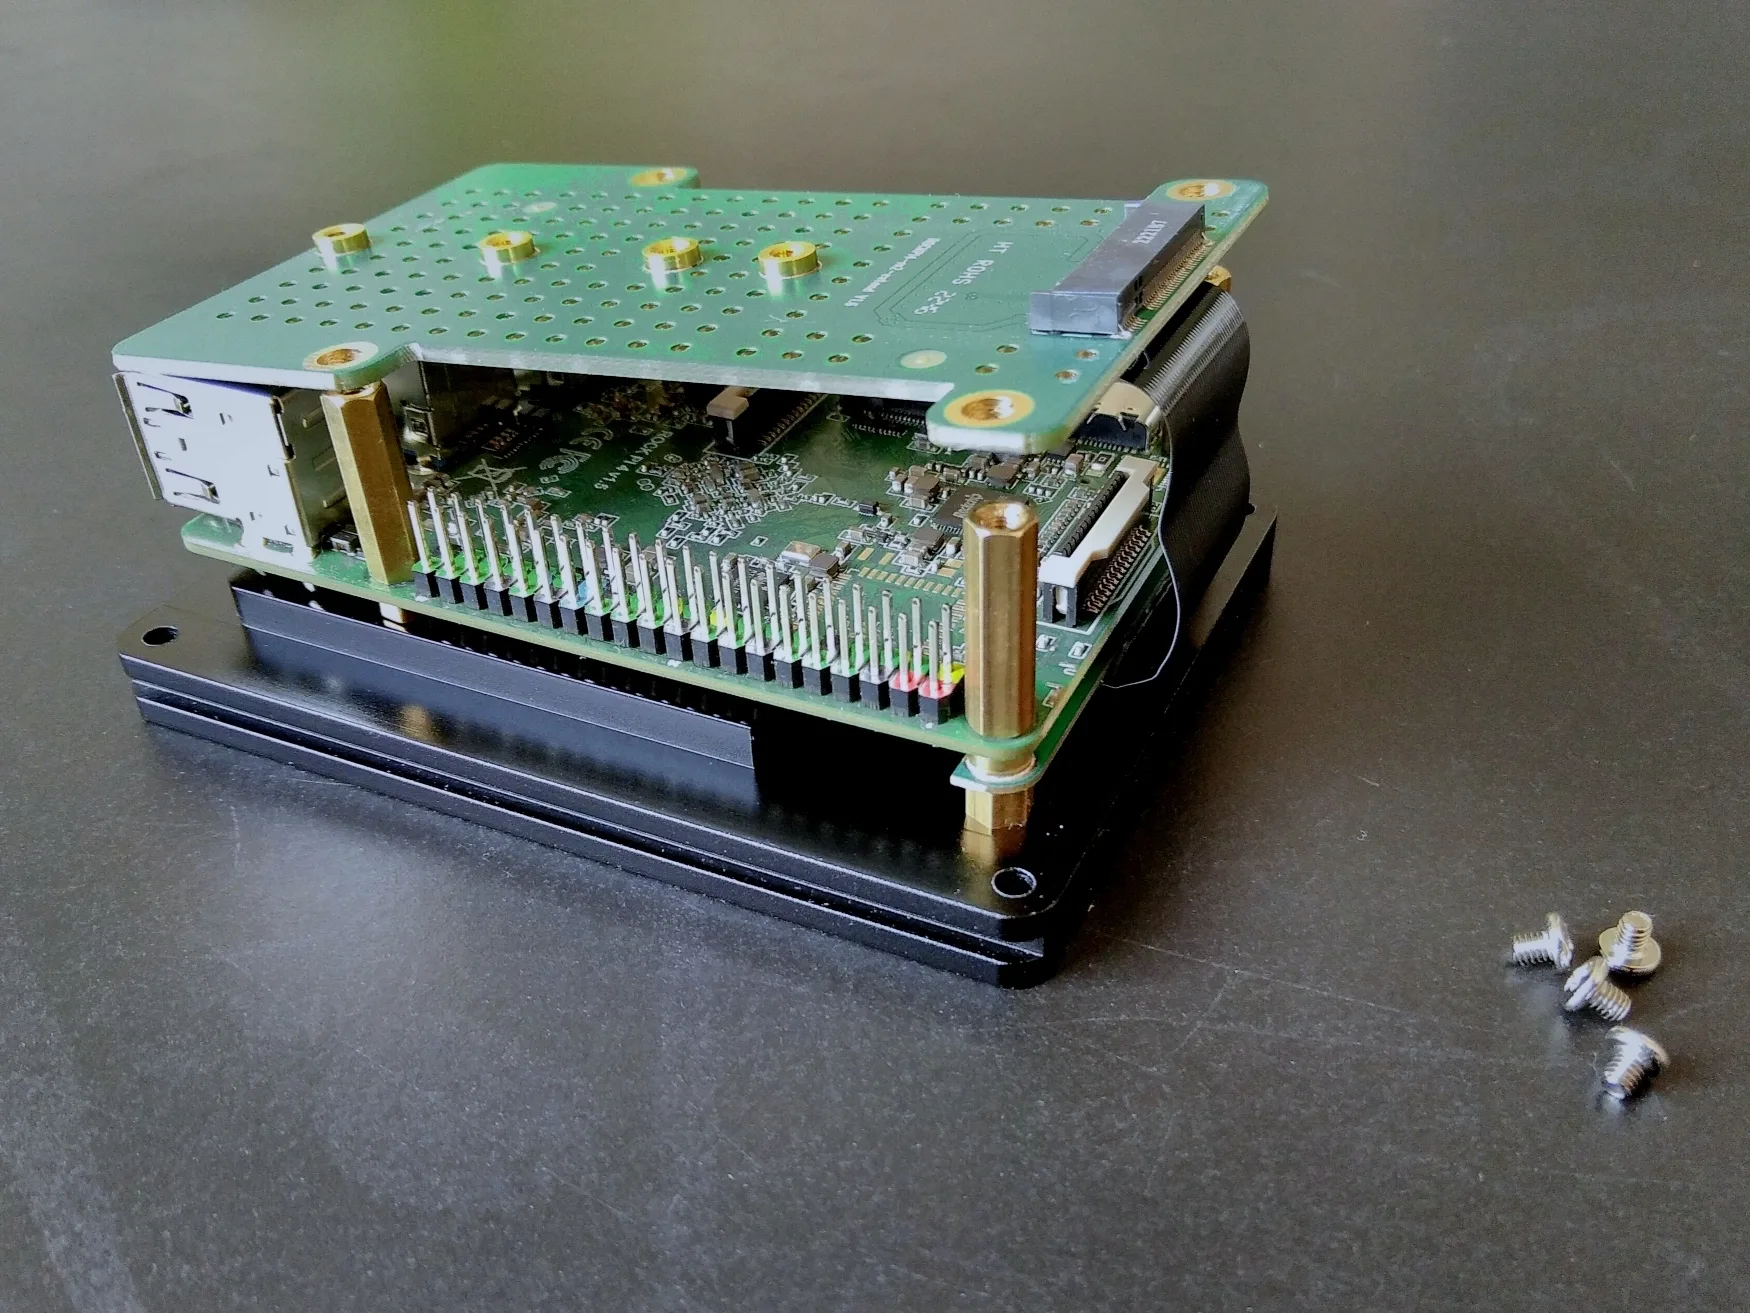
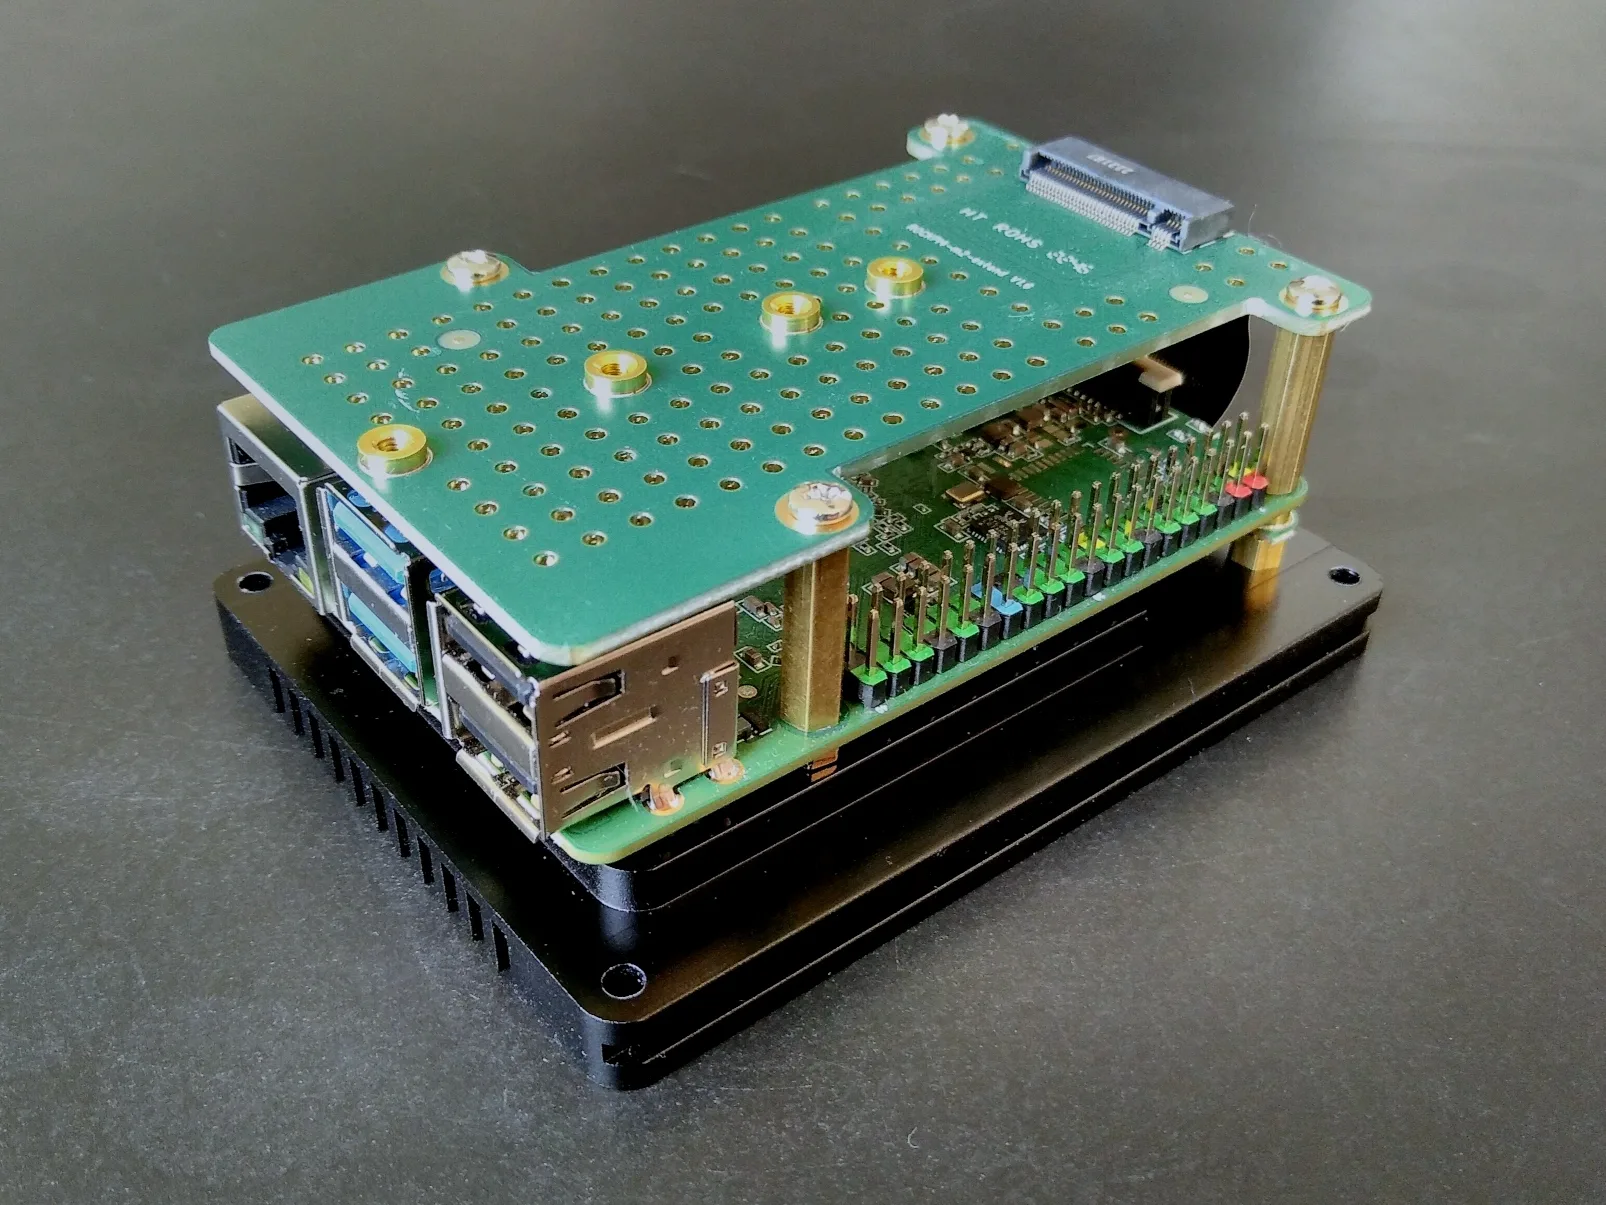
I connected the ribbon cable to the extension board, placed the board on the standoffs and used four included Phillips head screws to mount it.
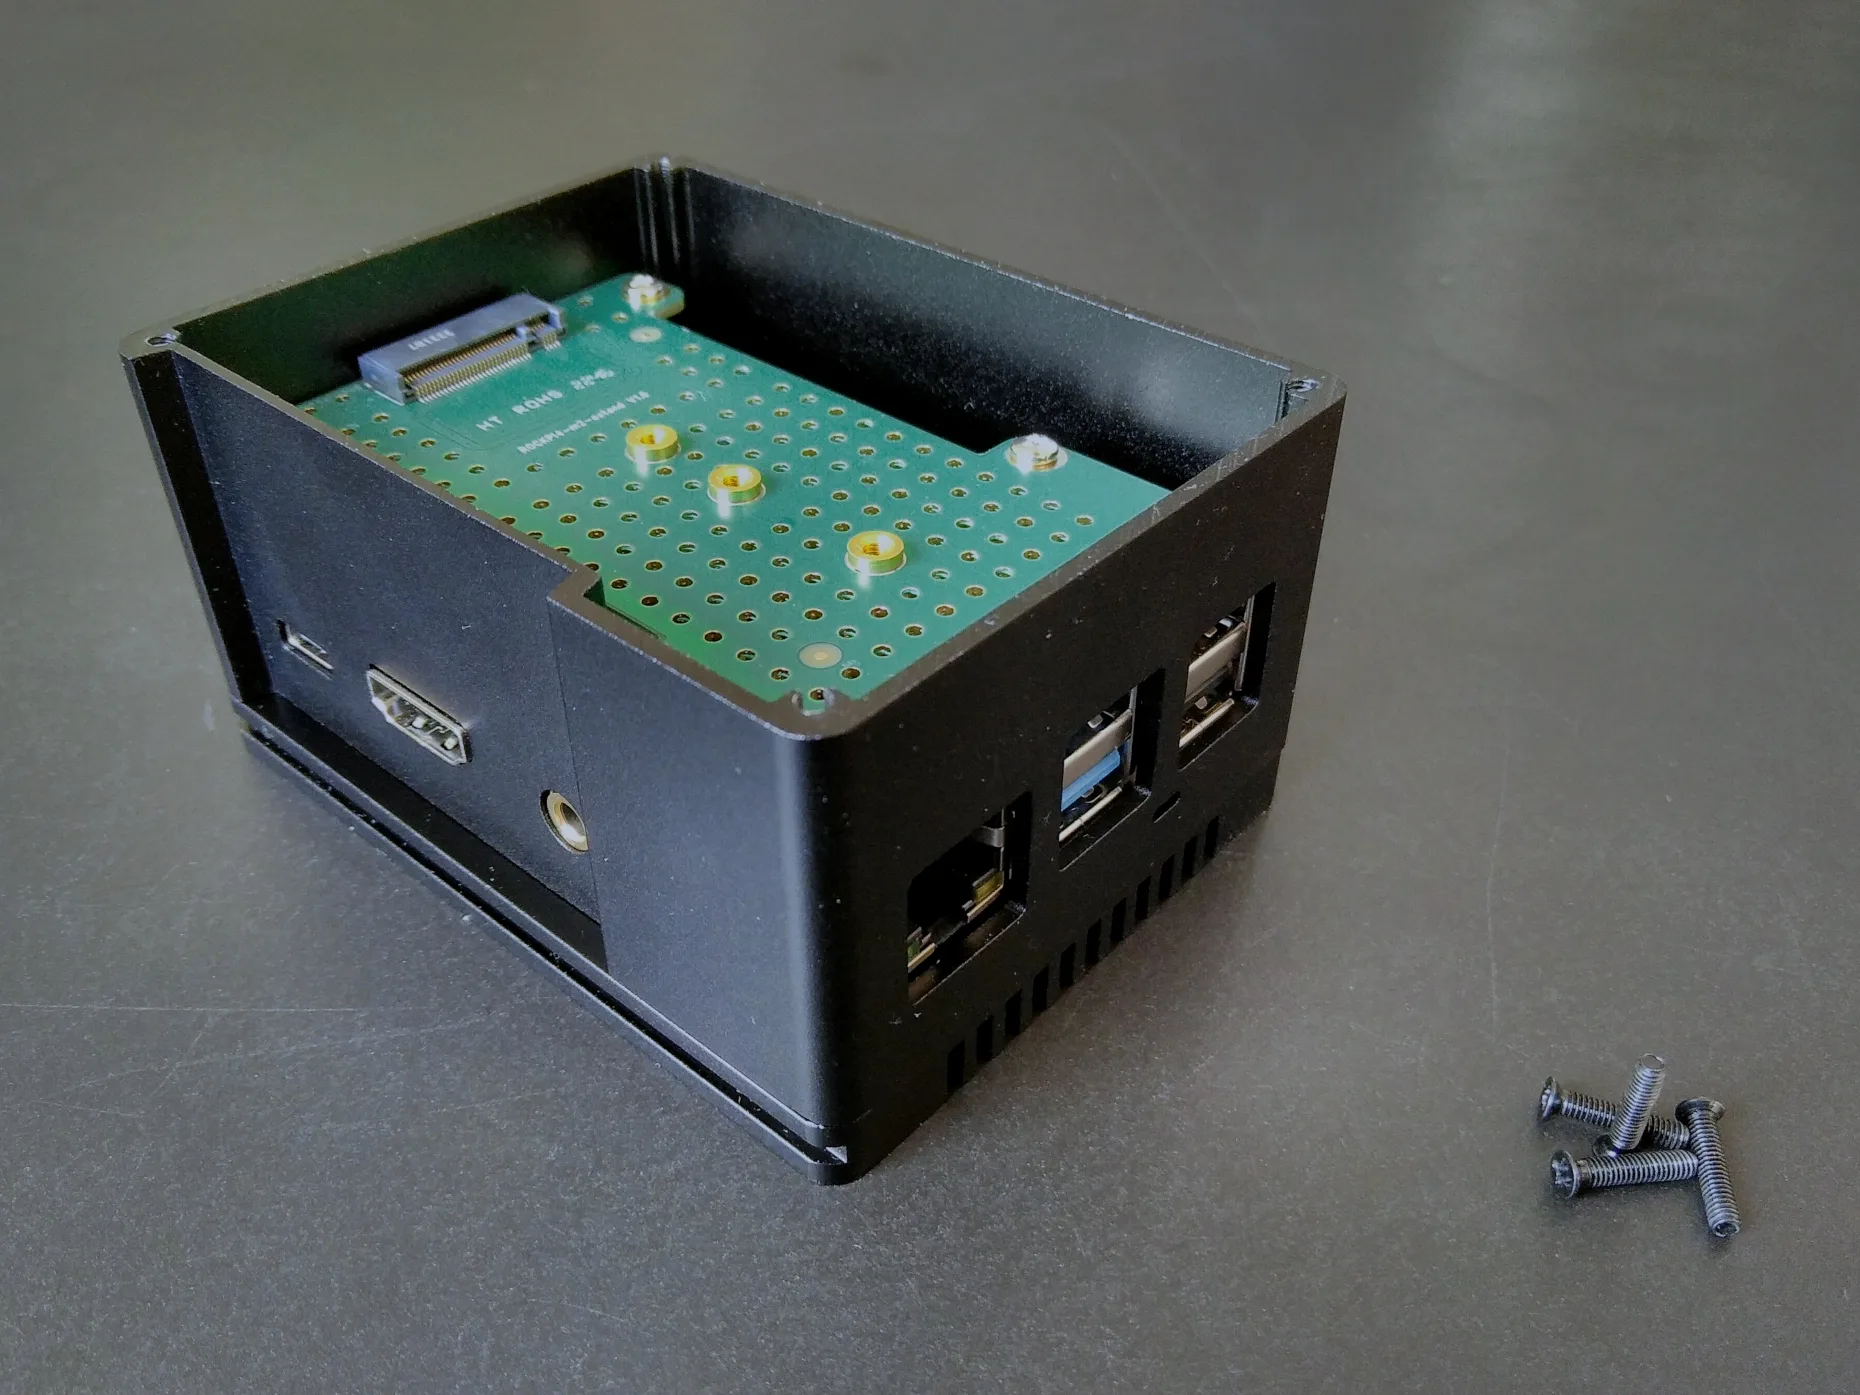
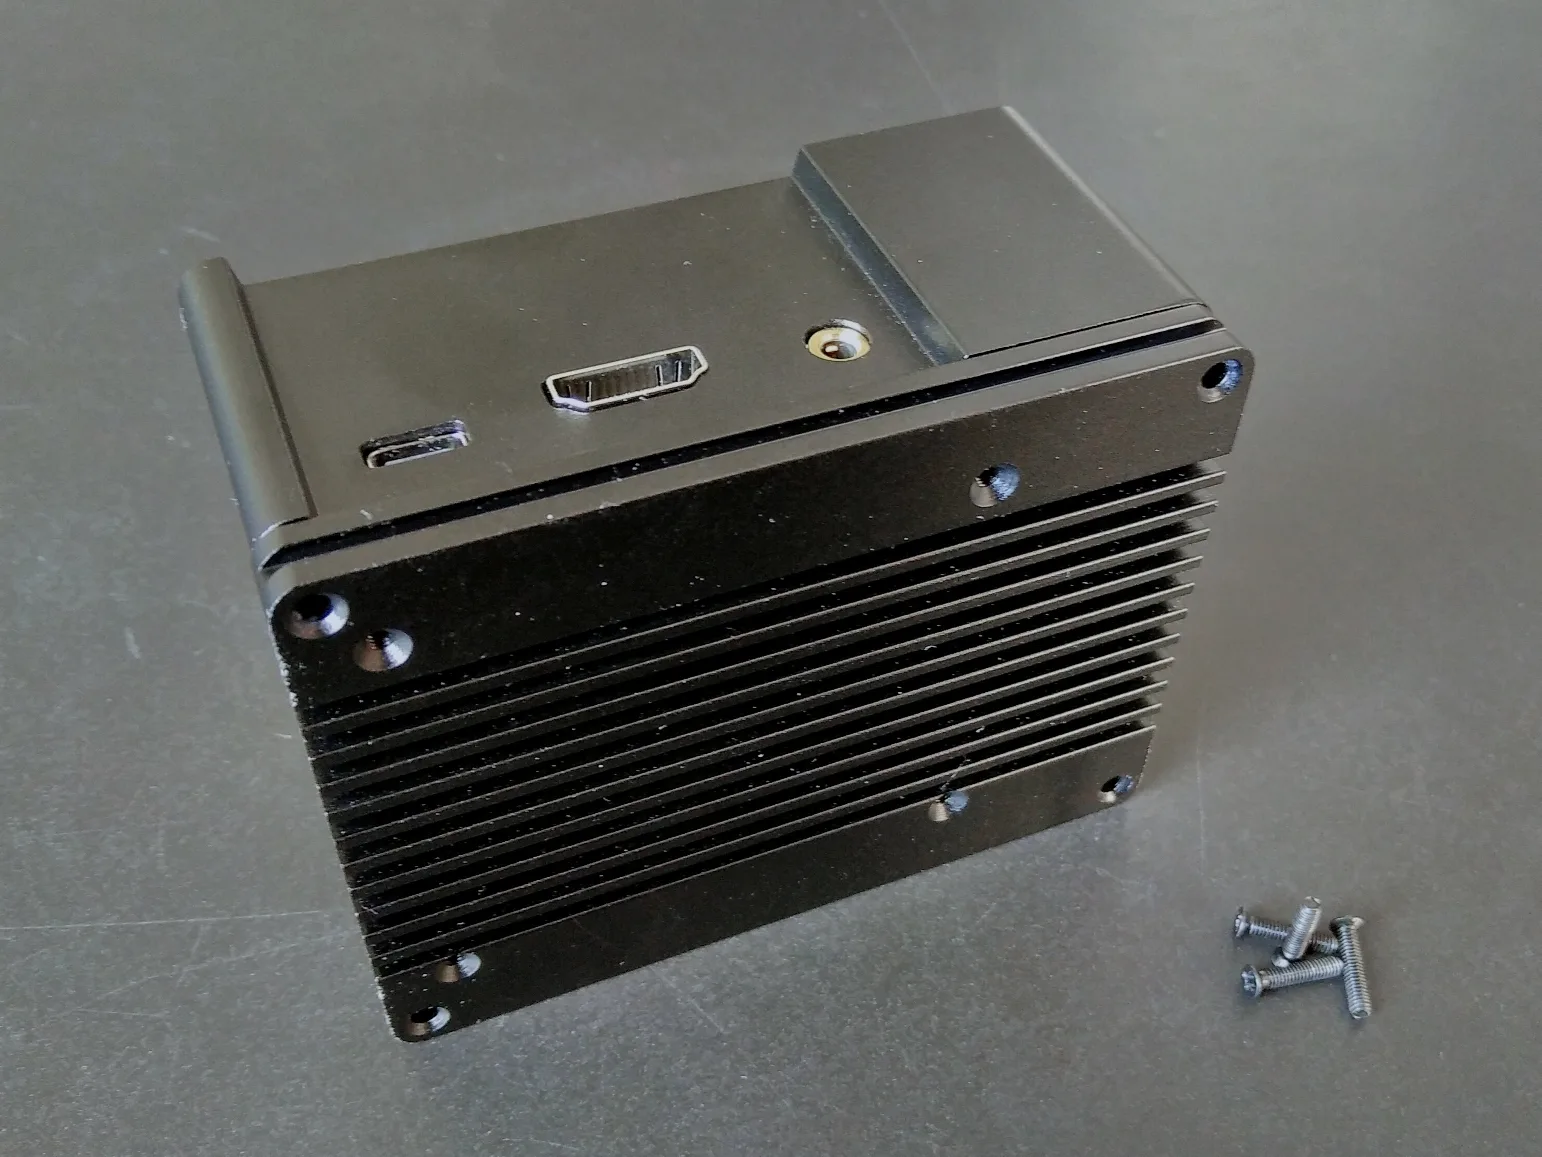
The hardest part was mounting the aluminum part with the walls of the housing. Maybe the ribbon cable in all pictures above already told you a story about that. The reason why the cable looks so maltreated is that I didn’t manage to place the case walls where they belong without brute force. The ribbon cable is quite hard, inelastic… and it dared to stand in my way 🙂
However, after putting this aluminum part in place I used four Phillips head screws to bolt the walls of the housing to the heat sink.
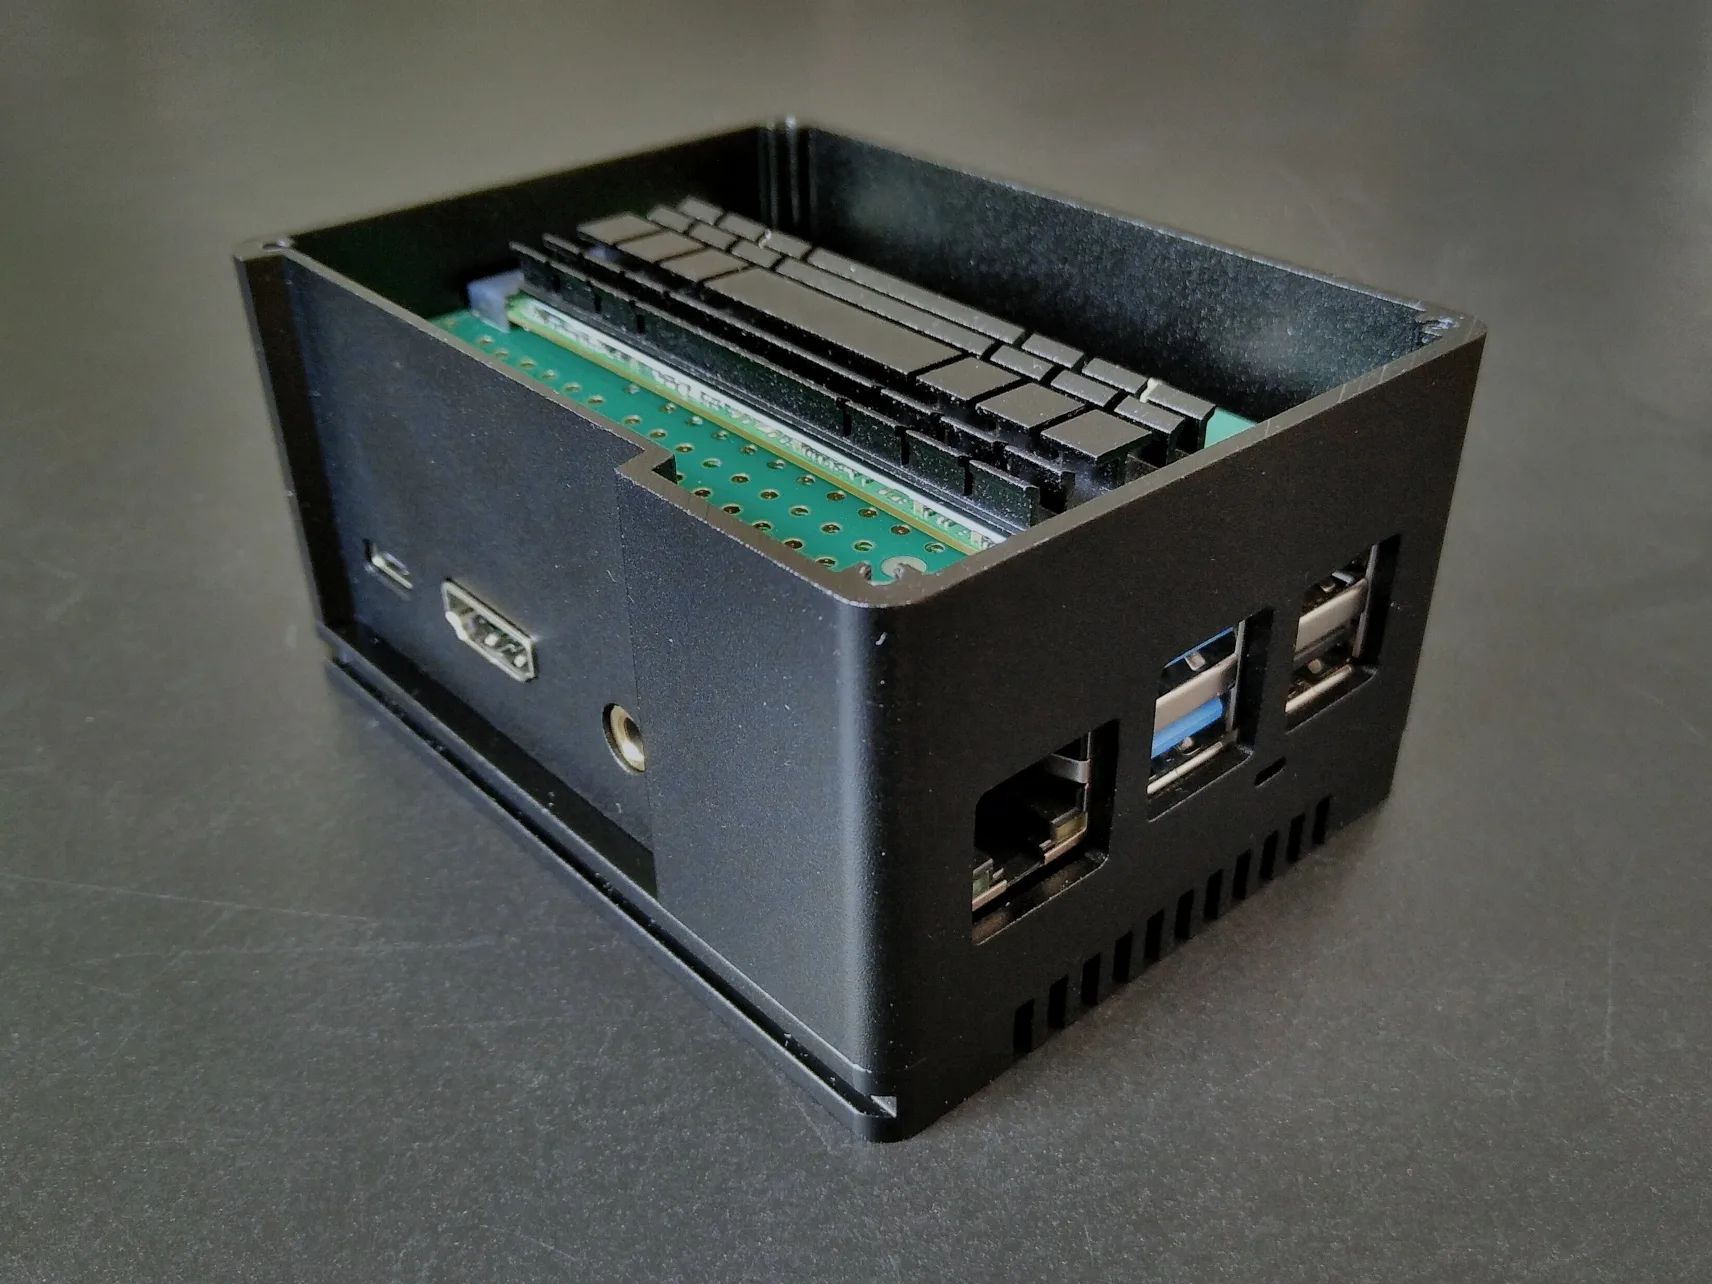
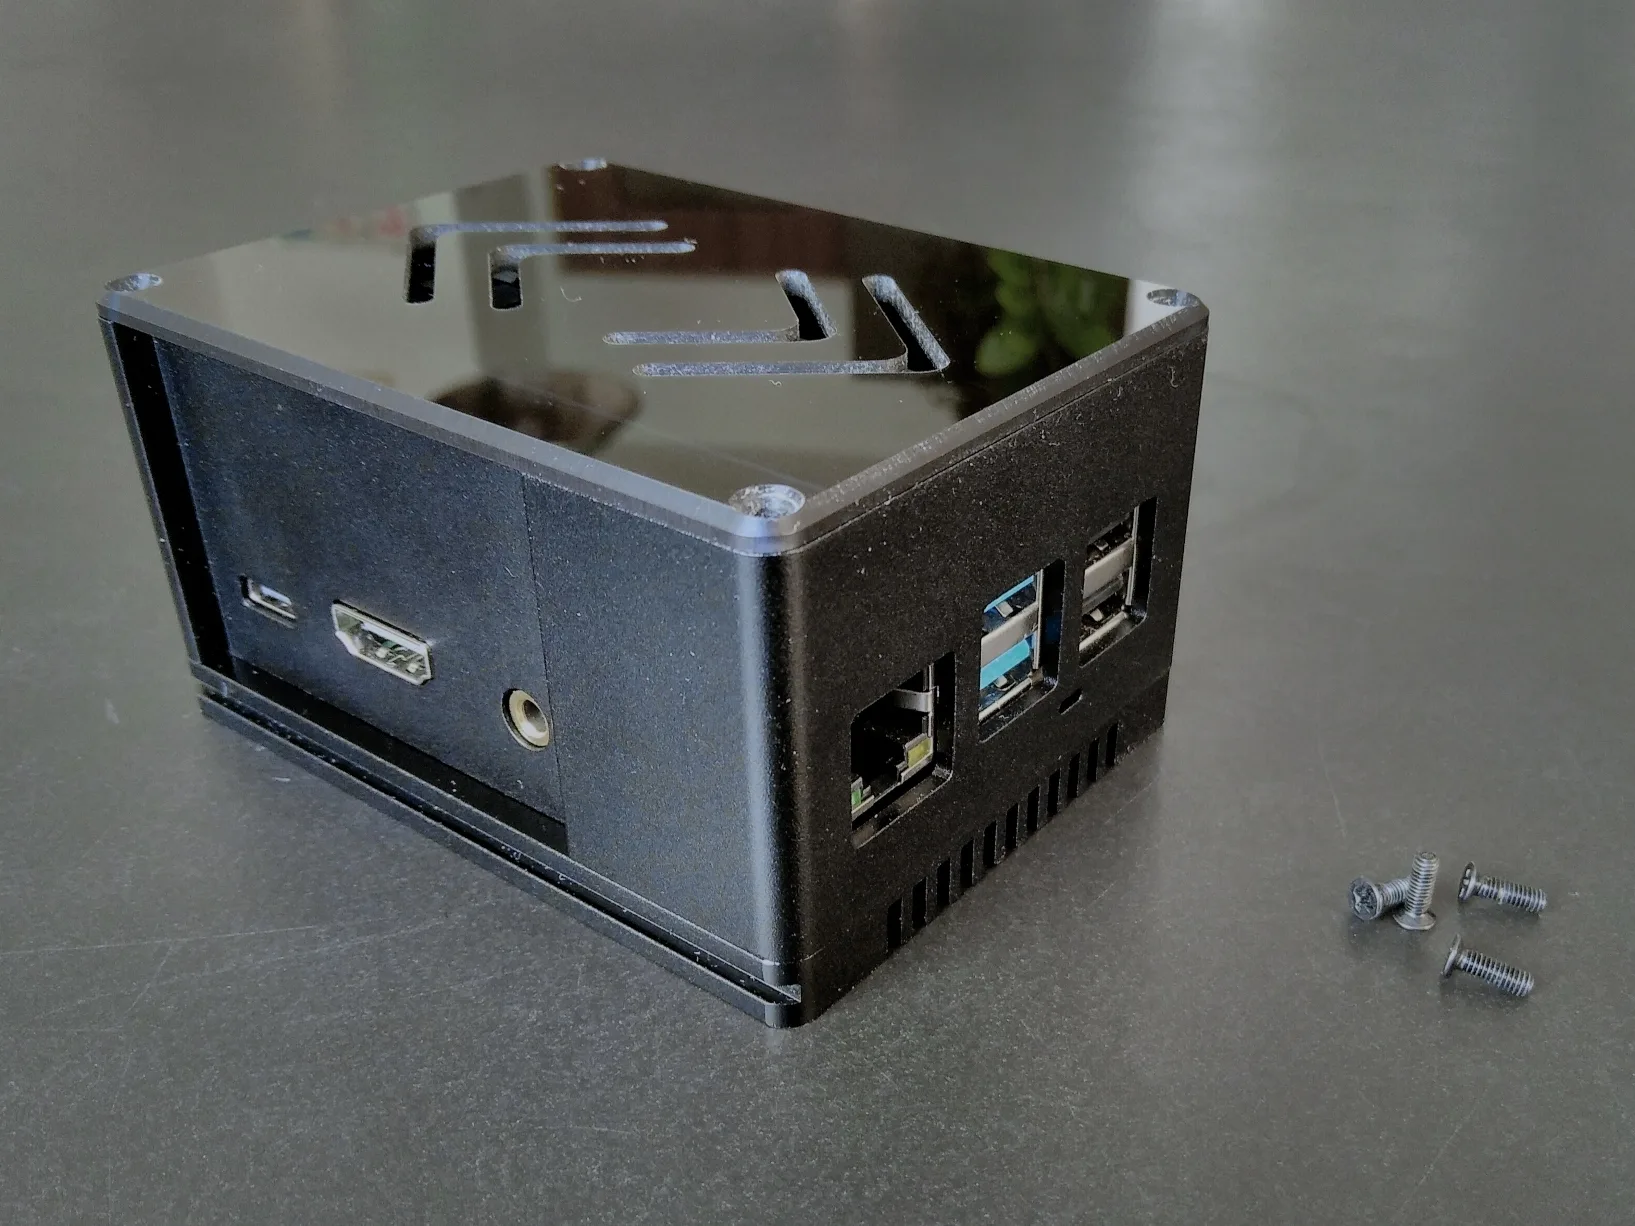
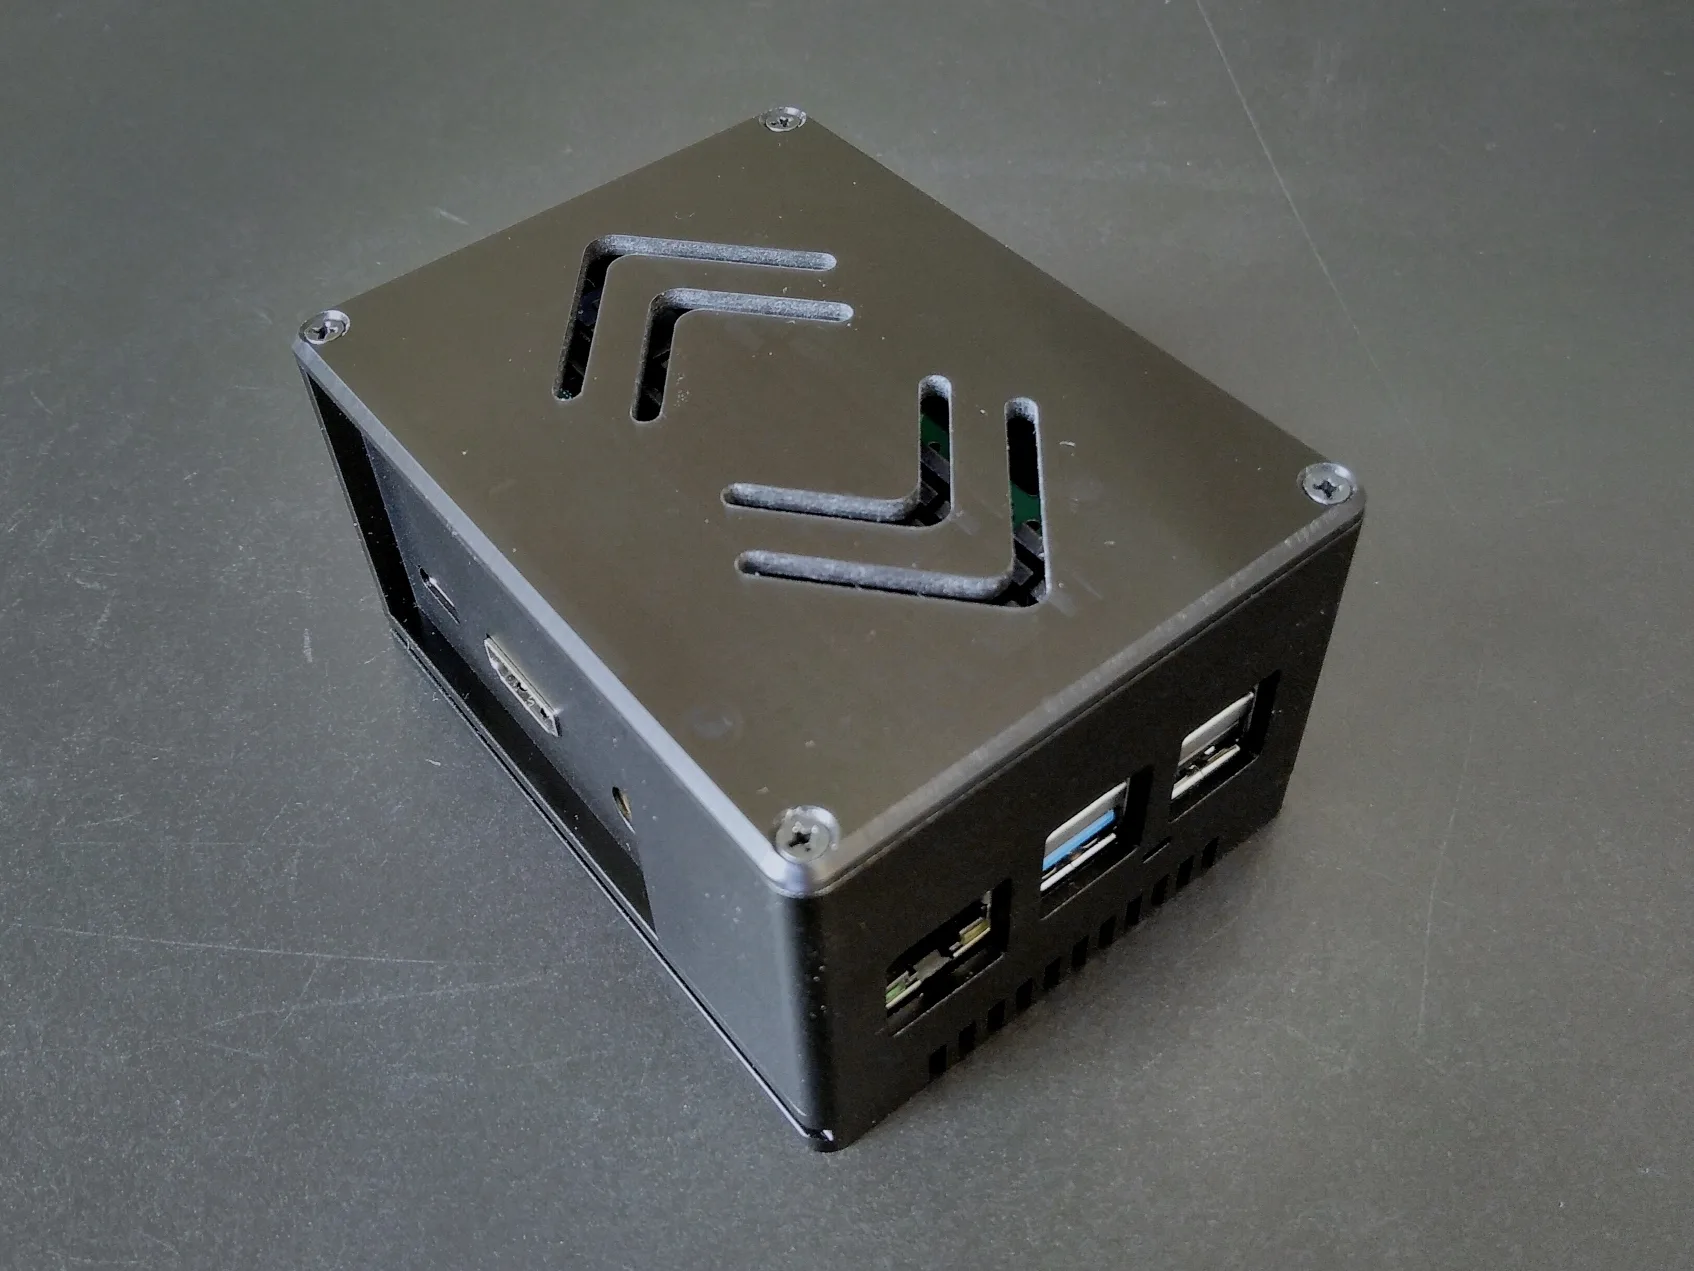
Finally I put in my M.2 SSD (size 2280) and then used four more Phillips screws to mount the transparent cover.
